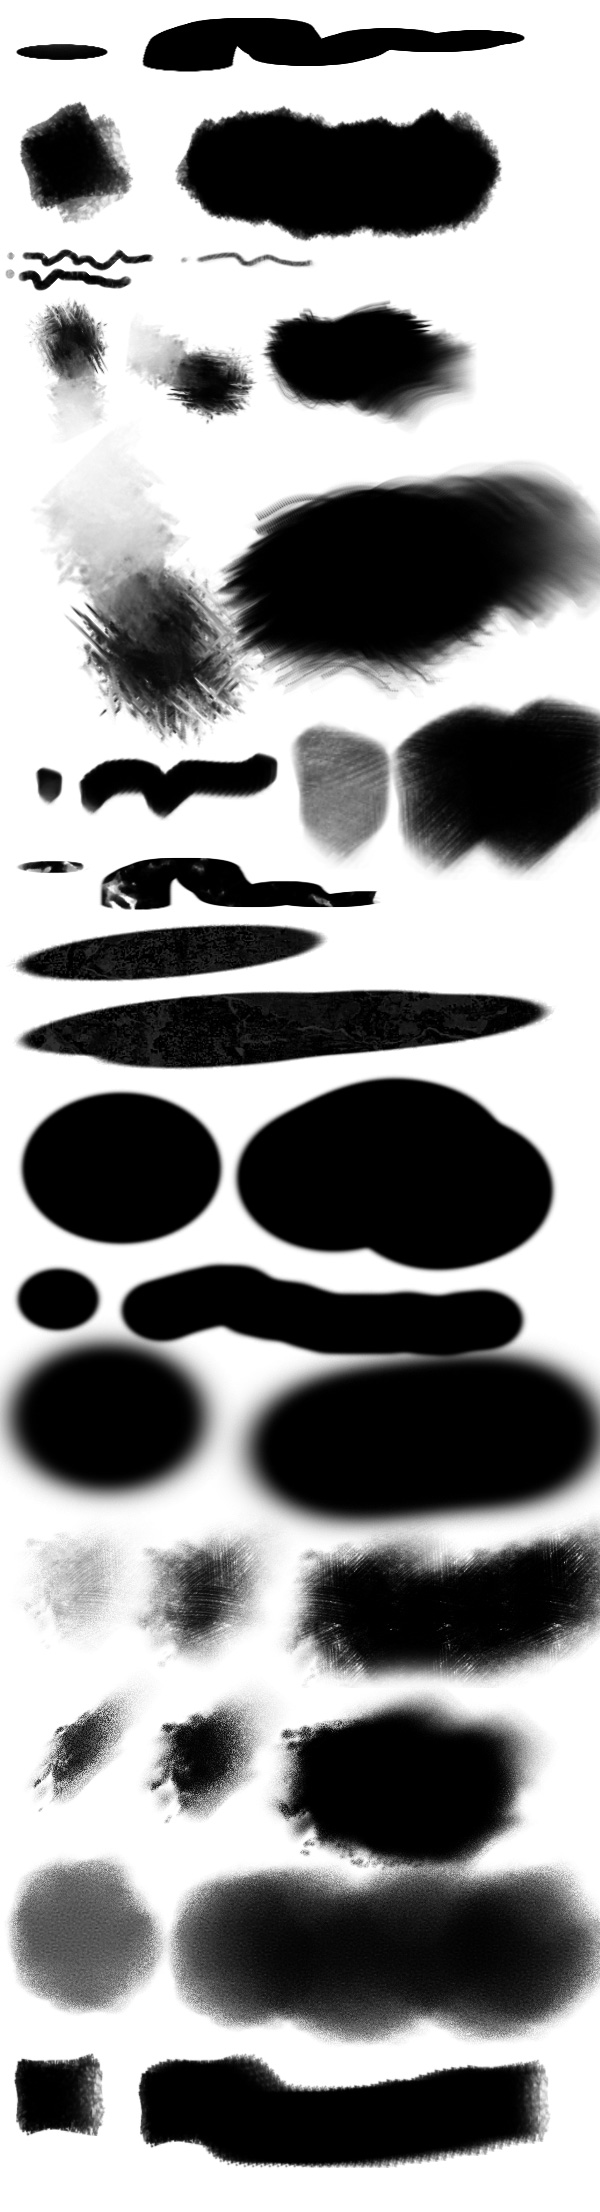
Standard round brushes are great for precise work, but if you want to add drama, texture, or an artistic edge to your compositions, unusual Photoshop brushes are exactly what you need. In this article, I have collected 20 extraordinary brush sets that will change the way you think about digital painting and photo editing.

These are not your average hard-round and soft-round brushes. We are talking about smoke brushes, bokeh overlays, geometric pattern stamps, watercolor splashes, grunge textures, photo-effect brushes, and much more. Each set brings something unique to the table — whether it is a specific texture, a ready-made effect, or a time-saving automation.

Before we dive into the list, let me give you a quick overview of what makes a brush set truly useful and how to pick the right one for your project.

What Makes a Photoshop Brush Set Unusual?

An unusual brush set breaks away from the traditional round-tip paradigm. Instead of painting solid color, these brushes apply complex textures, multiple shapes, lighting effects, or even complete design elements with a single stroke. They are perfect for:

  • Adding realistic textures (paper, fabric, stone, rust)
  • Creating atmospheric effects (fog, smoke, rain, light rays)
  • Generating decorative elements (ornaments, frames, patterns)
  • Simulating natural media (watercolor, oil, charcoal, pastel)
  • Automating repetitive design tasks (badges, ribbons, photo frames)

Installation Guide: How to Add Brushes to Photoshop

Before you start using any of the brushes from this collection, make sure you know how to install them properly. The process is simple:

  1. Download the brush set (usually a .abr or .zip file).
  2. Extract the archive if needed — locate the .abr file.
  3. Open Photoshop and select the Brush Tool (B on your keyboard).
  4. Open the Brush Preset picker in the top toolbar.
  5. Click the gear icon and choose Import Brushes.
  6. Navigate to your .abr file and click Load.

Brushes are stored in your Photoshop Presets folder. You can also copy .abr files directly into C:\Users\[YourName]\AppData\Roaming\Adobe\Adobe Photoshop [Version]\Presets\Brushes and restart Photoshop.

Top 20 Unusual Photoshop Brush Sets

1. Smoke and Fog Brushes

These brushes let you paint realistic smoke, mist, and fog in seconds. Perfect for creating mystery or atmosphere in portraits and landscapes. Use them on a separate layer with a soft opacity setting for the most natural results.

2. Watercolor Splash Set

Simulate the unpredictable beauty of watercolor on paper. Each brush carries a unique dispersion pattern — some are wet-on-wet, others mimic dry brush strokes. Combine with a paper texture layer for a convincing traditional-media look.

3. Bokeh Light Overlays

Add dreamy background blur with realistic bokeh circles. These brushes create hexagonal and circular light shapes with varying opacity. Great for wedding photos, romantic portraits, and fantasy scenes.

4. Grunge and Distress Textures

Need a worn, urban, or vintage look? These brushes stamp rust spots, peeling paint, scratches, and dirt smudges. Excellent for poster design, album covers, and streetwear graphics.

5. Geometric Pattern Stamps

From mandalas to hexagonal grids, these brushes stamp perfect geometric patterns with a single click. Ideal for backgrounds, textile design mockups, and abstract compositions.

6. Hair and Fur Brushes

Painting individual strands of hair is tedious. These specialized brushes paint entire locks, fur patches, and eyebrows with natural variation. A lifesaver for portrait retouching and digital illustration.

7. Sparkle and Glitter Set

Add magic and shine to your designs. These brushes create scattered sparkles, diamond reflections, and glitter trails. Use sparingly for maximum impact — a few well-placed sparkles go a long way.

8. Blood and Gore Effects

For horror posters, game art, or Halloween designs. These brushes paint realistic blood splatters, drips, pools, and spatter patterns. They come in multiple densities and directions.

9. Cloud and Sky Brushes

Skip the cloud stock photos. These brushes paint fluffy cumulus clouds, wispy cirrus, and dramatic storm skies directly onto your canvas. Layer them with gradients for stunning sunsets.

10. Fire and Flames

Paint realistic fire, embers, and smoke trails. Each brush represents a different flame shape — from candle-sized to inferno-level. Use on a black background with screen blending mode for best results.

11. Vintage Stamp and Postmark Brushes

Create instant vintage mail art. These brushes stamp postal marks, date stamps, ink splatters, and envelope textures. Perfect for invitations, posters with a retro feel, and social media graphics.

12. Lightning and Electric Effects

Zap your compositions with energy. Lightning bolt brushes with jagged edges, plasma trails, and electric arcs. Combine with outer glow layer styles for a charged look.

13. Fabric and Textile Textures

Simulate denim, canvas, linen, wool, and silk weaves. These brushes paint repeating textile patterns that respond to stroke direction. Great for fashion illustrations and product mockups.

14. Rain and Snowfall

Paint weather effects without external plugins. Rain streak brushes at various angles and densities, plus snowflake clusters of different sizes. Tilt your canvas for dynamic storm effects.

15. Ornament and Filigree Brushes

Baroque frames, Celtic knots, Art Nouveau flourishes — these brushes deliver intricate decorative elements instantly. Ideal for certificate design, wedding invitations, and luxury branding.

16. Abstract Fluid Art Brushes

Inspired by acrylic pouring and resin art. Each brush creates fluid color blends, marble swirls, and organic cell patterns. No two strokes look the same — perfect for abstract backgrounds.

17. Photo Effect and Double Exposure Brushes

These brushes combine photo textures (scratches, light leaks, grain, dust) with blend modes to create analog film effects. Some include clipping masks for quick double-exposure composites.

18. Sci-Fi and Cyberpunk Elements

Hologram glitches, neon lines, circuit board traces, and UI interface elements. Designed for futuristic and cyberpunk-themed artwork. Use with glowing layer styles to complete the aesthetic.

19. Calligraphy and Ink Wash Brushes

Unlike standard calligraphy brushes, these simulate real ink wash (sumi-e) with variable pressure, paper absorption, and brush fraying. Excellent for logo design and artistic typography.

20. Fantasy and Magic Effects

Ethereal glow brushes, fairy dust trails, magical rune symbols, and portal effects. The most versatile set for fantasy illustrators and game concept artists.

Comparison Table: Unusual Brush Sets by Category

Category Best For Blending Mode Tip Opacity Setting
Smoke and Fog Atmosphere in portraits Screen 20-40%
Watercolor Splash Artistic illustrations Multiply 50-70%
Bokeh Overlays Background effects Screen 10-30%
Grunge Textures Vintage poster design Multiply / Overlay 60-80%
Geometric Patterns Abstract backgrounds Normal 80-100%
Hair and Fur Portrait retouching Normal 70-90%
Fire and Flames Fantasy / action scenes Screen 70-100%
Rain and Snow Weather effects Screen 30-50%
Calligraphy Ink Wash Logo and typography Multiply 60-90%
Sci-Fi Elements Cyberpunk artwork Screen / Linear Dodge 50-80%

Comparison: Unusual Brushes vs Standard Photoshop Brushes

Feature Standard Brushes Unusual Brushes
Shape variety Round, soft, hard Complex shapes, textures, patterns
Texture None or basic Paper, fabric, grunge, natural media
Installation Built-in Requires .abr import
Use case scope General painting and masking Specialized effects and textures
File size Minimal 2-50 MB per set
Learning curve Flat Moderate (needs blend mode knowledge)
Customization Full control Best used as-is or with minor tweaks
Versatility High Niche but powerful in specific contexts

Pro Tips for Using Unusual Brushes

Here are some techniques I have developed over years of using brush sets professionally:

Layer Stacking

Never apply an effect brush directly on your main subject. Always use a separate layer. This gives you the freedom to adjust opacity, change blending modes, or erase parts without damaging the original artwork.

Blending Modes Are Your Best Friend

\u{201c}

The difference between a good result and a great one is often just the right blending mode. Screen for light effects, Multiply for textures, Overlay for contrast enhancement.

Admin, Photoshop Expert

Customize Brush Settings

Press F5 to open the Brush Settings panel. Play with Shape Dynamics, Scattering, and Transfer to make any unusual brush behave exactly how you need. For example, adding size jitter to a watercolor brush creates a more organic edge.

Combine Multiple Effects

The most stunning results come from layering different brush types. Try painting a grunge texture, then adding a bokeh overlay on top, and finishing with a light leak effect. The combination creates depth that no single brush can achieve.

Where to Find High-Quality Unusual Brush Sets

While there are thousands of free brush sets scattered across the internet, quality varies dramatically. Here are reliable sources:

  • Brushes.design — curated collections with preview images
  • DeviantArt — massive library, filter by popularity and ratings
  • Creative Market — premium commercial-use brush sets
  • BrushBox — subscription service with organized brush packs
  • Adobe Exchange — official marketplace, vetted by Adobe

Always check the license before using brushes in commercial projects. Some free sets forbid commercial use or require attribution. When in doubt, choose sets marked as "commercial license included."

Troubleshooting Common Brush Issues

Brushes not showing up? Here is a quick checklist:

  • Make sure the file extension is .abr (not .png or .psd).
  • Restart Photoshop after importing.
  • Check that your Photoshop version supports the brush format (CS6+ for newer .abr files).
  • If brushes appear but do not paint anything, reset your Brush tool settings via the panel menu.

Pro trick: Convert any image to a brush! Open the image, go to Edit > Define Brush Preset, and it will be available as a custom brush tip. Experiment with grayscale images for the best results.

Frequently Asked Questions

How do I install .abr brush files in Photoshop?

Open Photoshop, select the Brush Tool, open the Brush Preset picker, click the gear icon, choose Import Brushes, locate your .abr file, and click Load. Alternatively, copy the .abr file into your Photoshop Presets/Brushes folder and restart the program.

Can I use free brushes for commercial projects?

It depends on the license. Some free sets are for personal use only, others require attribution. Always check the readme file or the download page. Premium sets from Creative Market or Envato Elements typically include commercial licenses.

Why do my brushes look pixelated or low quality?

Brushes are raster-based and have a maximum size limit. If you scale a brush beyond its native resolution, it will pixelate. Check the brush preview size — if it looks jagged at 100%, find a higher-resolution set or reduce your canvas size.

What is the difference between .abr and .tpl brush files?

.abr files store brush tips (shapes and textures), while .tpl (Tool Preset) files store the entire brush configuration including size, opacity, flow, color dynamics, and scattering settings. Import both for the complete intended experience.

How can I organize hundreds of installed brushes?

Use the Brush Preset Manager (gear icon > Preset Manager). Group brushes by category into separate sets, delete duplicates, and save your favorites as a custom .abr file. You can also use third-party tools like BrushBox or Adobe Bridge for advanced library management.

Can I create my own unusual brushes from photos?

Absolutely. Open any photo, convert it to grayscale, adjust contrast to boost the shape definition, select an area with the Rectangular Marquee tool, and go to Edit > Define Brush Preset. This works especially well with texture photos, silhouettes, and natural patterns.

What blending mode works best for smoke brushes?

Screen blending mode is the standard choice for smoke, fog, fire, and light effects because it hides dark pixels and only shows lighter ones. For colored smoke on a white background, try Multiply with a lowered opacity (20-30%).

Are there keyboard shortcuts for switching brushes quickly?

Yes. Press . (period) for the next brush and , (comma) for the previous brush. Add Shift to jump to the first or last brush. Use Ctrl+Alt+Right-click (Windows) to scrub through brush sizes interactively.

How do I restore default Photoshop brushes after installing too many?

Open the Brush Preset picker, click the gear icon, and choose Reset Brushes. Confirm the dialog — this restores the default set. Your custom brushes remain in the Presets folder and can be re-imported later.

Final Thoughts

Unusual brushes are not just a gimmick — they are legitimate productivity tools that can save hours of manual work. A single stamp brush can replace dozens of layered adjustments. A well-crafted texture brush can make the difference between a flat design and a rich, tactile composition.

Download Brush Usage Cheat Sheet1.2MB

{"@context":"https://schema.org","@type":"FAQPage","inLanguage":"en","mainEntity":[{"@type":"Question","name":"How do I install .abr brush files in Photoshop?","acceptedAnswer":{"@type":"Answer","text":"Open Photoshop, select the Brush Tool, open the Brush Preset picker, click the gear icon, choose Import Brushes, locate your .abr file, and click Load."}},{"@type":"Question","name":"Can I use free brushes for commercial projects?","acceptedAnswer":{"@type":"Answer","text":"It depends on the license. Some free sets are for personal use only, others require attribution. Always check the readme file or the download page."}},{"@type":"Question","name":"Why do my brushes look pixelated or low quality?","acceptedAnswer":{"@type":"Answer","text":"Brushes are raster-based and have a maximum size limit. If you scale a brush beyond its native resolution, it will pixelate."}},{"@type":"Question","name":"What is the difference between .abr and .tpl brush files?","acceptedAnswer":{"@type":"Answer","text":".abr files store brush tips while .tpl (Tool Preset) files store the entire brush configuration including size, opacity, flow, color dynamics, and scattering settings."}},{"@type":"Question","name":"How can I organize hundreds of installed brushes?","acceptedAnswer":{"@type":"Answer","text":"Use the Brush Preset Manager to group brushes into separate sets, delete duplicates, and save favorites as a custom .abr file."}},{"@type":"Question","name":"Can I create my own unusual brushes from photos?","acceptedAnswer":{"@type":"Answer","text":"Absolutely. Open any photo, convert it to grayscale, adjust contrast, select an area, and go to Edit > Define Brush Preset."}},{"@type":"Question","name":"What blending mode works best for smoke brushes?","acceptedAnswer":{"@type":"Answer","text":"Screen blending mode is the standard choice for smoke, fog, fire, and light effects because it hides dark pixels and only shows lighter ones."}},{"@type":"Question","name":"Are there keyboard shortcuts for switching brushes quickly?","acceptedAnswer":{"@type":"Answer","text":"Yes. Press . for the next brush and , for the previous brush. Add Shift to jump to the first or last brush."}},{"@type":"Question","name":"How do I restore default Photoshop brushes after installing too many?","acceptedAnswer":{"@type":"Answer","text":"Open the Brush Preset picker, click the gear icon, and choose Reset Brushes. Confirm the dialog to restore the default set."}}]}

Tap to react