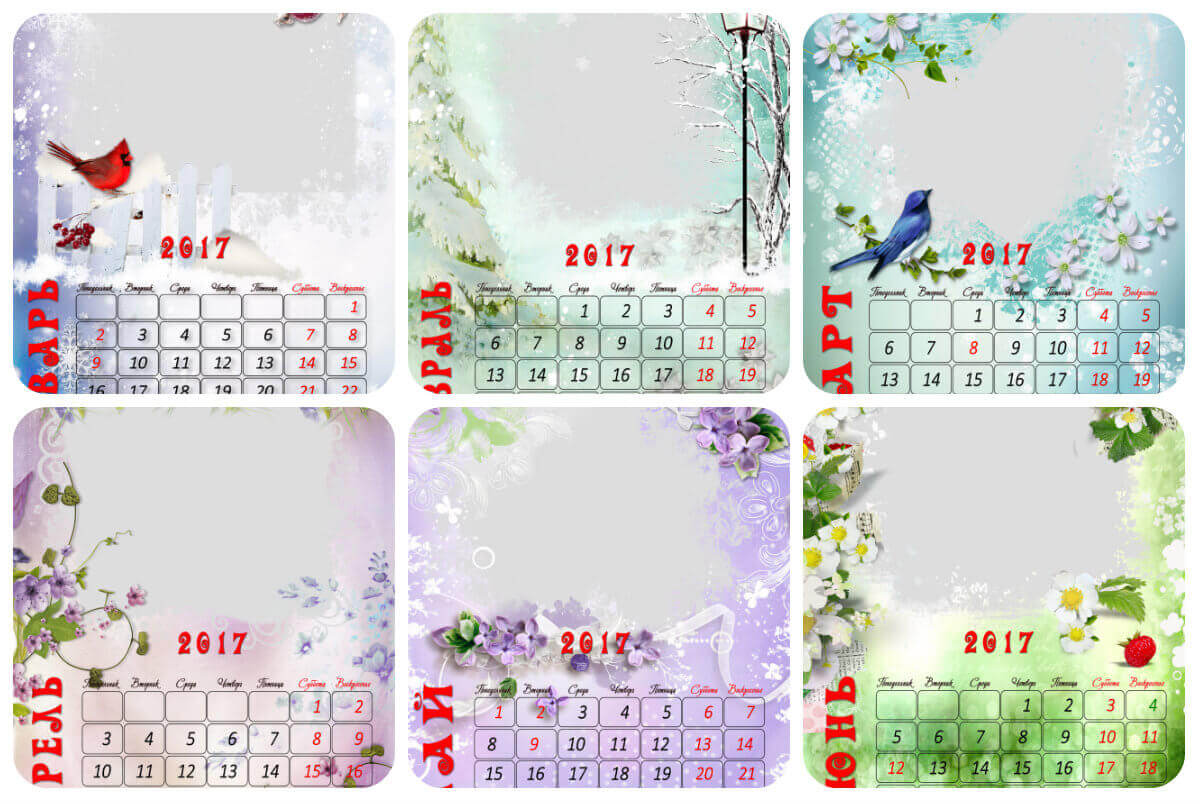
Предлагаем вам скачать бесплатно на 2018 год календарь на 12 месяцев, который разделен по отдельным файлам/месяцам + календарную сетку на 2019 год.
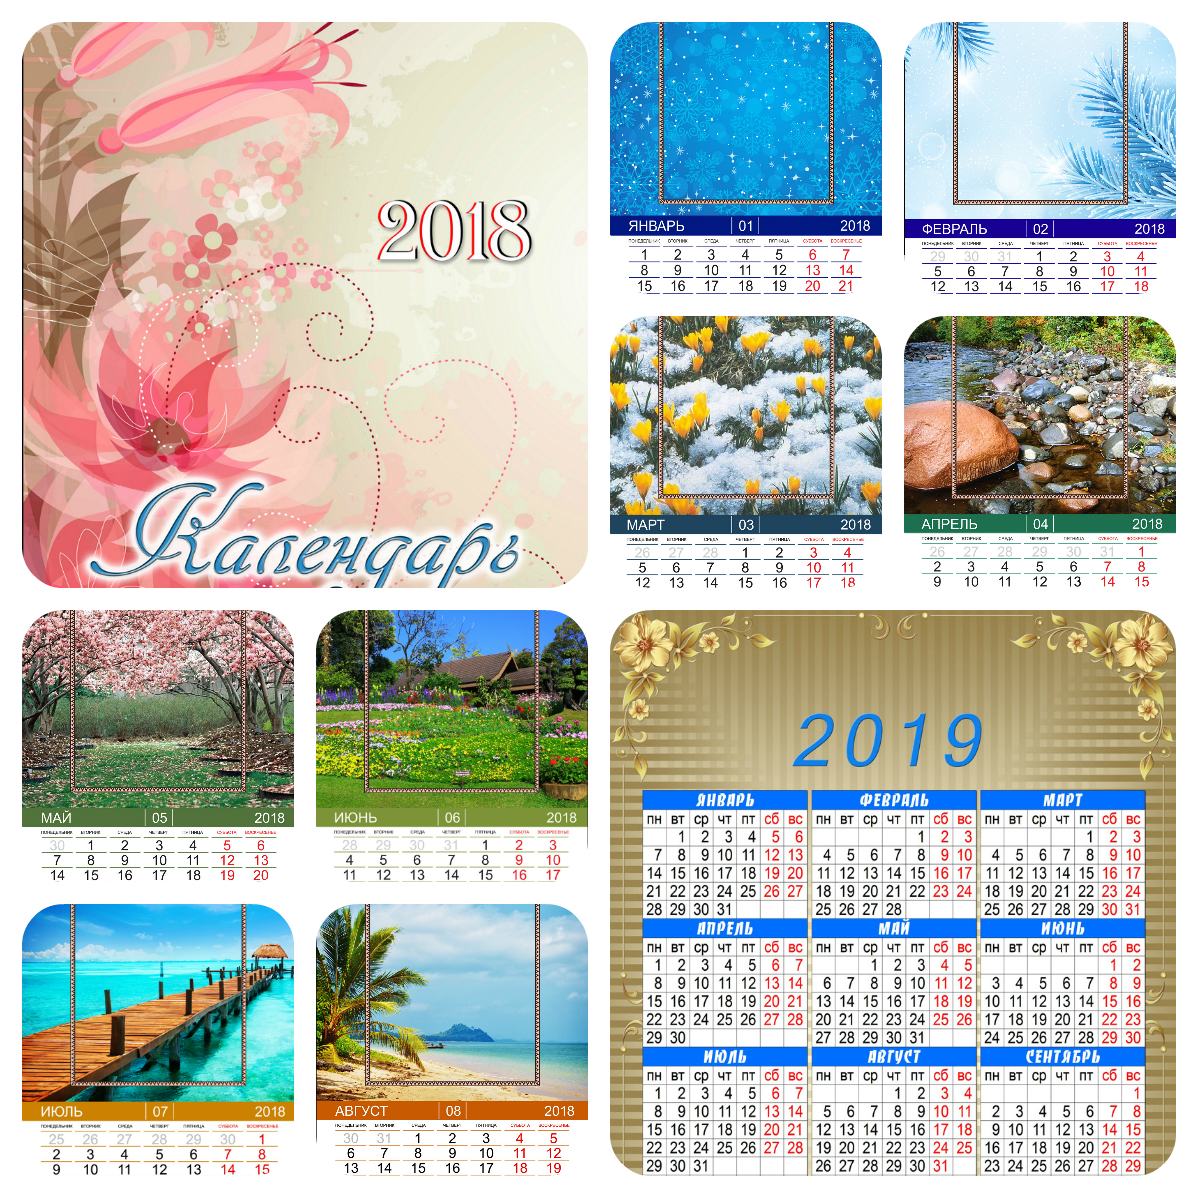
Помимо высокого разрешения файлов в формате .PSD, вы получаете качественные снимки и календарную сетку на ближайшие годы.
Перекидной календарь на 12 месяцев - это быстрое изменение и редактирование собственных фото, который позволит превратить их в настоящее произведение искусства, а также оформить календарь в нужном дизайне.
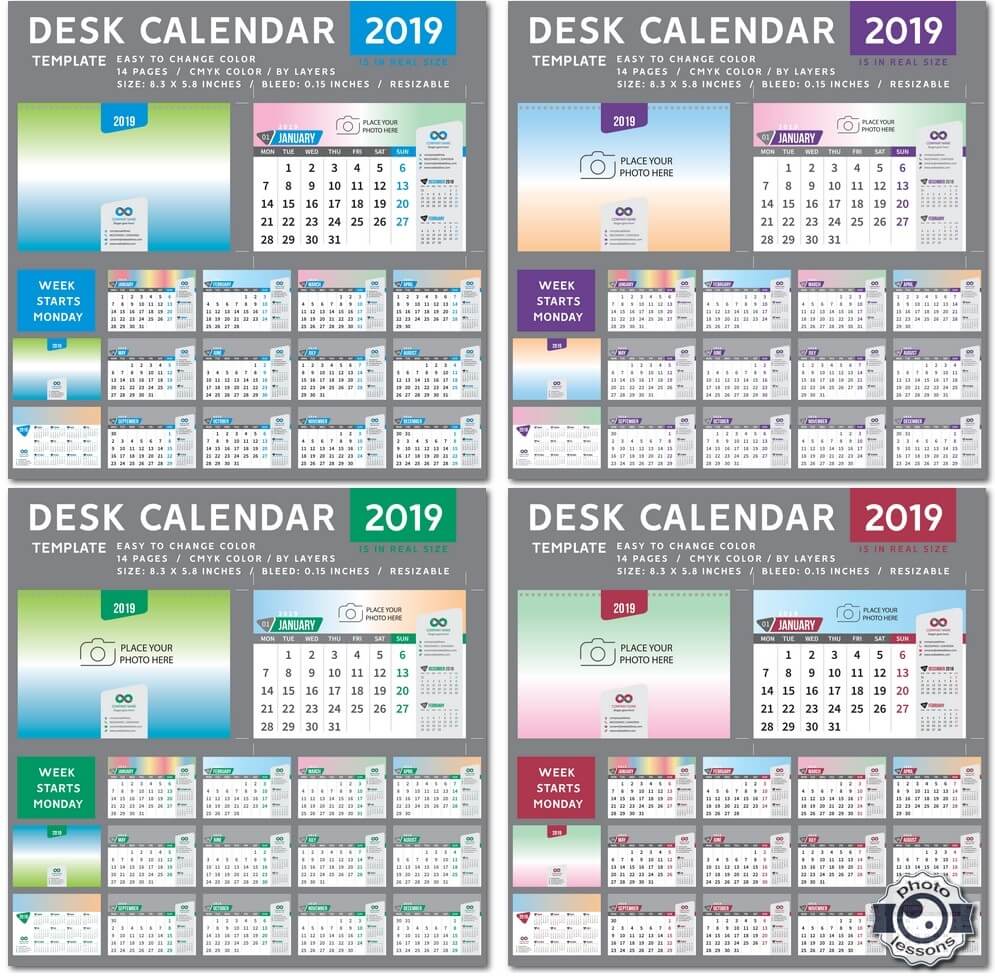
Всего: 14 файлов PSD в разрешении 3661-5197 пикселей при 300 dpi и весом архива в 637.73 мб.
Tap to react