
To fully enjoy a high-quality rest after a trip, you must definitely save a panoramic photo of the area.
You don’t need to chase after special cameras, wide-angle lenses, and other accessories. The main thing is to have a more or less decent camera, a stable tripod, and, of course, Adobe Photoshop. How to shoot a panorama is covered in a separate tutorial, but in this one, we’ll try to combine the photos into a single shot.
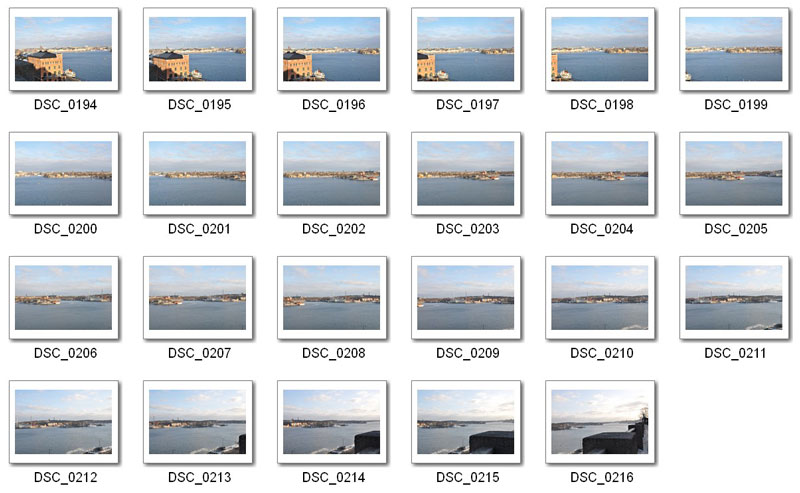
Let’s begin. First, gather all the photos you need to merge into a panoramic image into a separate folder.
Go to the Photoshop menu File-Automate-PhotomergeFile-Automate-Photomerge.

Next, select the automatic panorama creation mode - Layout - AutoLayout-Auto, and choose our folder with photos using the BrowseBrowse button. Click OK and wait for the files to process.

Now we need to merge the images together. To do this, go to the menu Layer-Merge VisibleLayer-Merge Visible.
Here’s what we got:

Now remove unnecessary details by selecting the CropCropping tool and trimming the image.
Enhance the image contrast - Image-Adjustments-Brightness/ContrastImage-Adjustments-Brightness/Contrast - and enjoy the result.

https://www.youtube.com/embed/lQGtHmFnkWg
Tap to react


