Continuing the previous lesson on creating a climber in a cave.
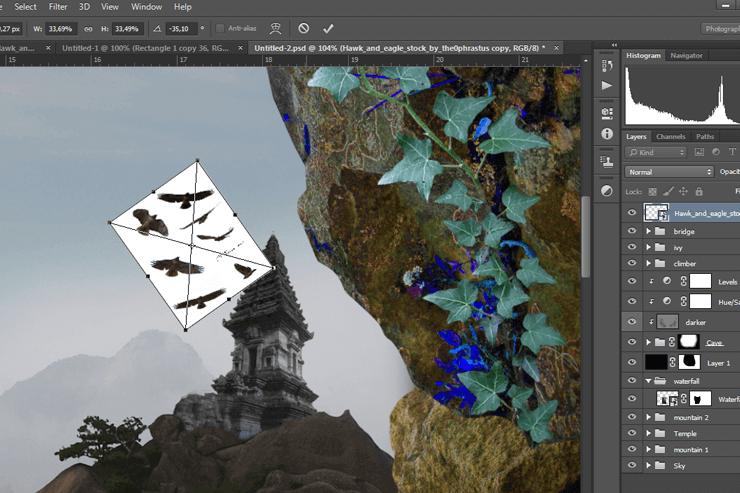
Add a photo of a hawk to the document.

Step number 61
Take a soft round brush and create a mask as shown in the photo below. Then change the opacity to 60%.
Step number 62
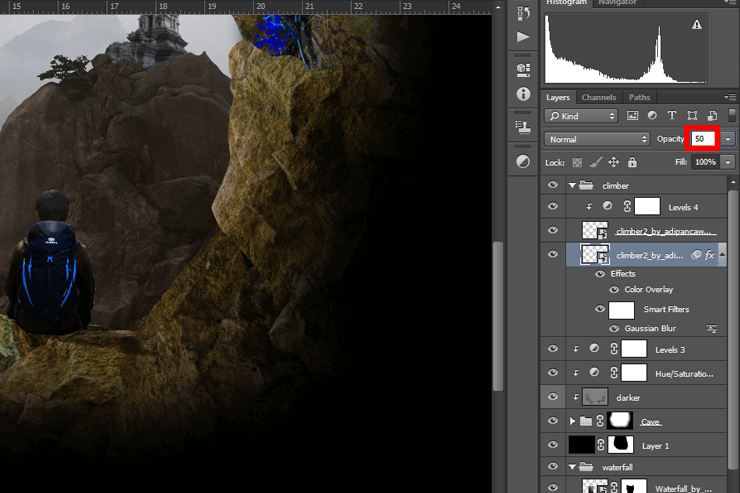
Duplicate the hawk layer, move it, and edit it, then change the group opacity to 40%.

Step number 63
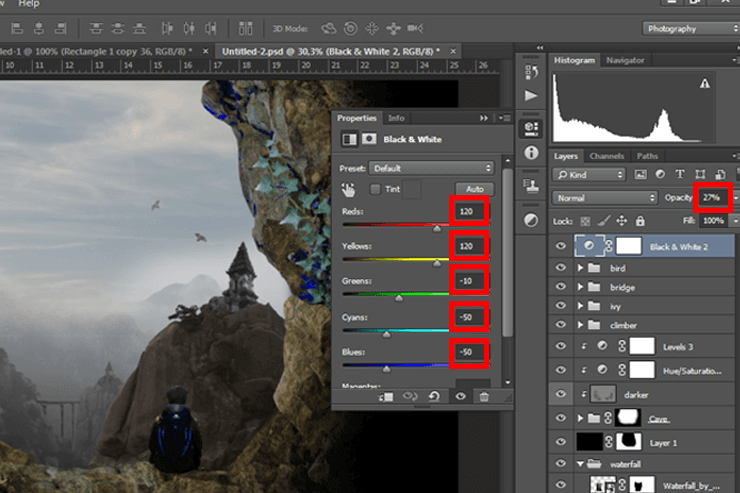
Now it's time for final corrections and retouching to create all remaining elements so they look realistic. Start with a new black color and an adjustment layer (Layer > New Adjustment Layer > Black & white), set the parameters for it and create a clipping mask. Then change the layer opacity to 27%.
Step number 64
Next, create a new layer and highlight it in orange (#d8b623). You can use any convenient method for this. For example, you can add a new adjustment layer or simply press Cmd/Ctrl + Backspace (make sure the foreground color is #d8b623 first)

Step number 65
Change the layer blending mode to Soft light and set the opacity to 35%.

Step number 66
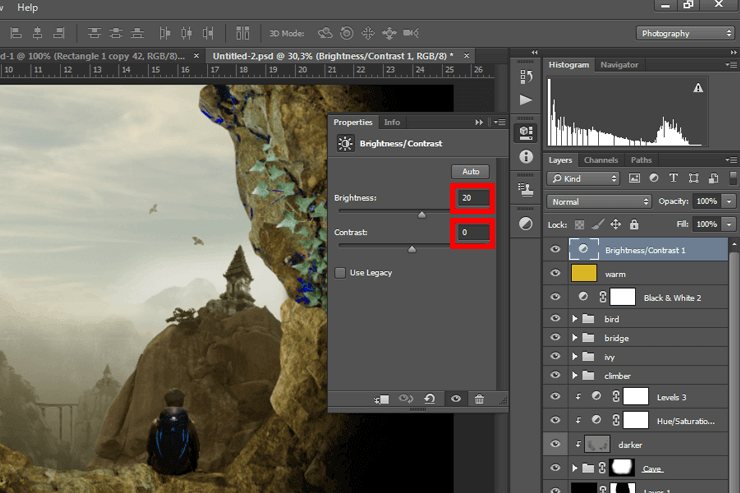
Now create a new adjustment layer Brightness/Contrast via the menu (Layer > New Adjustment Layer > Brightness/Contrast), and again create a clipping mask.
Step number 67
Create a new color selection adjustment layer (Layer > New Adjustment Layer > Selective Color) and perform the same actions we did in the previous step.
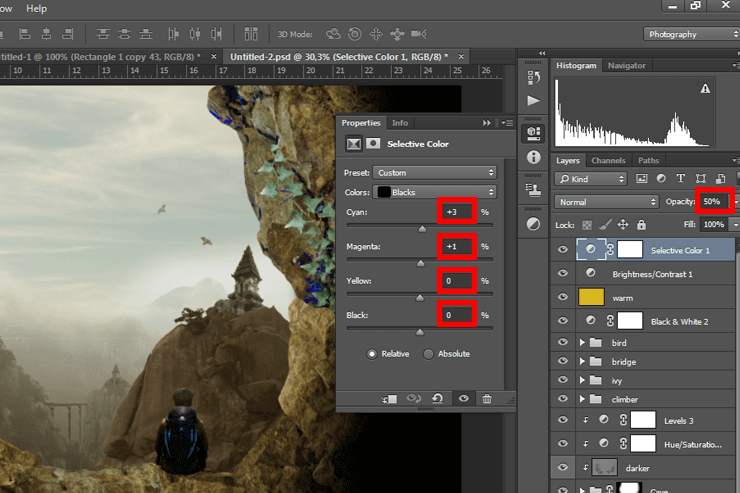
Step number 68
Adjust the levels using another adjustment layer (Layer > New Adjustment Layer > Levels), creating another clipping mask.
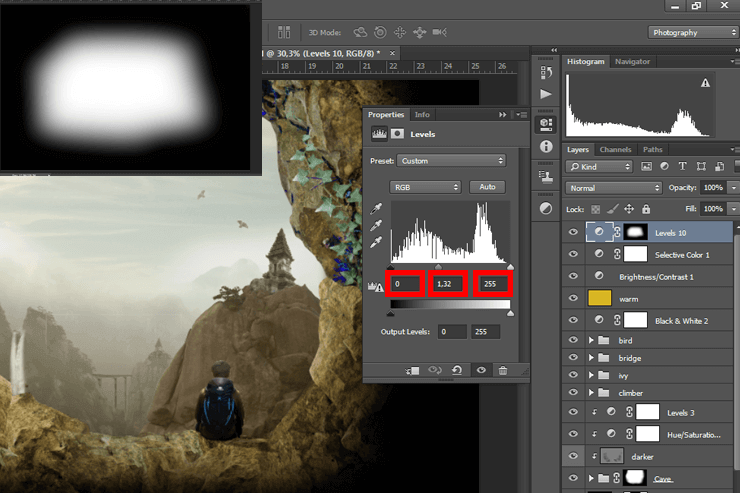
Step number 69
Add another levels adjustment layer (Layer > New Adjustment Layer > Levels).
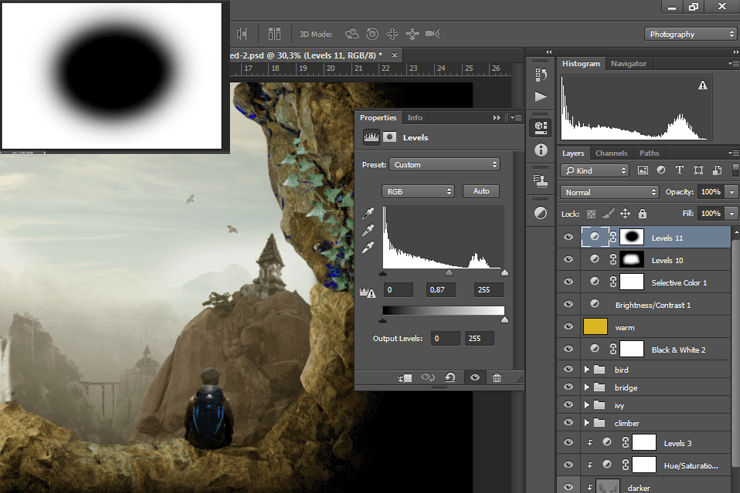
Step number 70
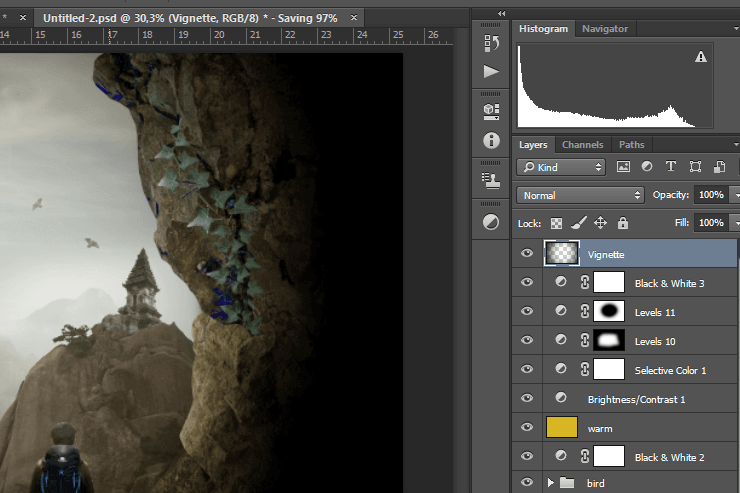
Add black using a Black & white adjustment layer (Layer > New Adjustment Layer > Black & white), then change the layer opacity to 25%.

Step number 71
Take the softest round brush to paint a shadow in the corner of the scene as shown in the image (note that the foreground color should be black).
Step number 72
Add a texture photo to the document.

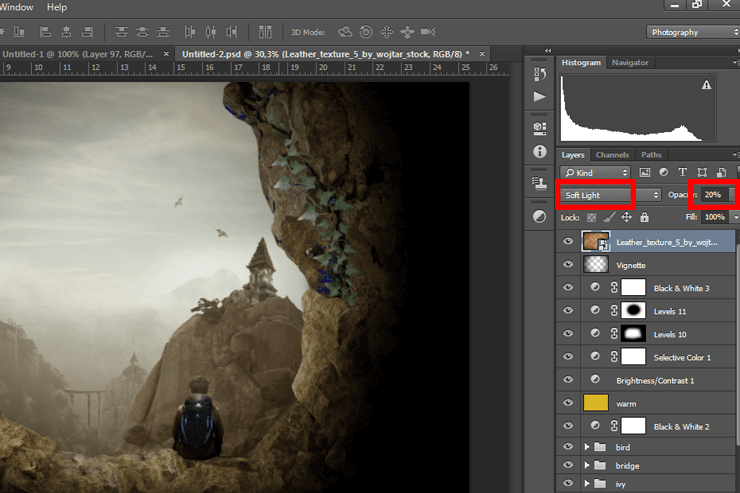
Step number 73
Change the layer blending mode to "Soft light" and set the layer opacity to 20%.
Step number 74
The final step will be to create a warm tint for the scene. Create a new adjustment layer with a Photo Filter (Layer > New Adjustment Layer > Photo Filter).

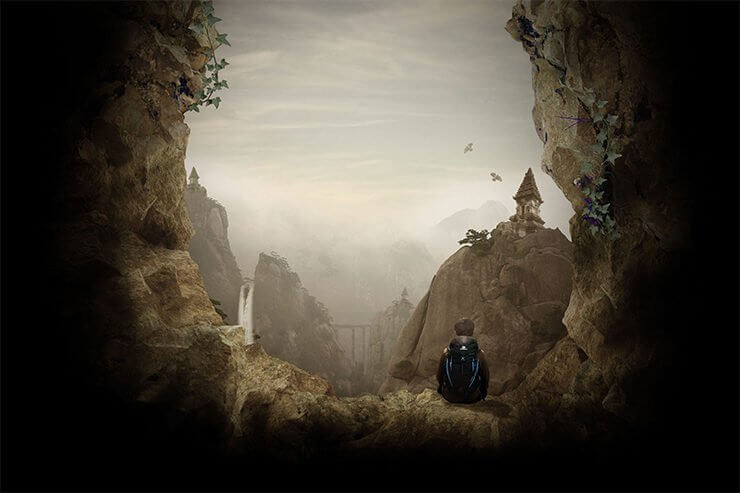
Final result
Tap to react


