Happy Knowledge Day to everyone! We also present a Photoshop tutorial that will help you combine a brush with text and create a beautiful card for September 1st.
Congratulations to everyone on Knowledge Day, and we also bring to your attention a Photoshop tutorial that will help you combine a brush and text, as well as create a beautiful greeting card for September 1. To prepare such a card on your gentle, you will need to perform a series of steps — intend them.
+Brush and text in Photoshop
First, open the desired image (in this case, a photo with a clock and a globe was chosen). We need to write the inscription "Happy Knowledge Day!" on the chalkboard with chalk — this will be the final photo.
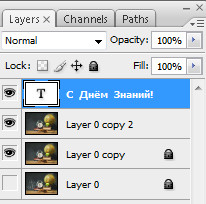
After we start working with layers in Photoshop, be fond to duplicate the original layer so as not to damage it. This is very small — press the CTRL+J keys.
+Brush, text, Photoshop
Next, type our text: "Happy Knowledge Day!" and look at the result (take the Horizontal Type ToolHorizontal Type Tool). Now the most important part begins — the interaction of the text with the brush.
+Brush, text, Photoshop
Let's rotate the text slightly to the left for better visibility by pressing the CTRL+T keys together and moving the mouse. In addition, with the text layer selected, right-click to select the text.
+Brush, text, Photoshop
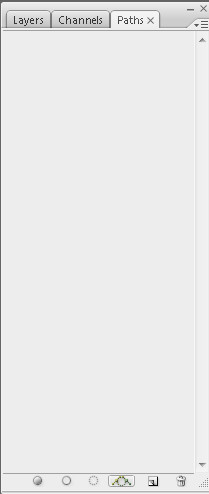
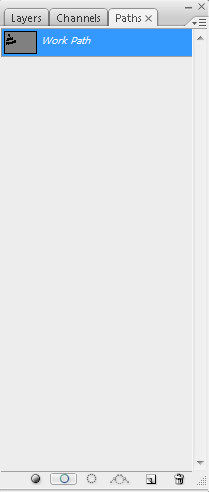
Go to the Paths tab in the Layers panel and click the button shown in the screenshot at the bottom. This way we will create a path from the text selection.
+Brush, text, Photoshop
It looks something like this.
+Brush, text, Photoshop
It seems nothing has changed, but now we can prove any brush type to this path or selection.
+Brush, text, Photoshop
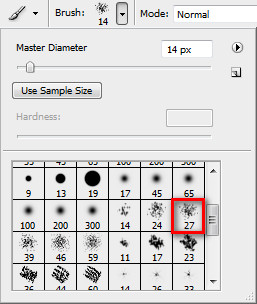
Choose a brush by trial and error. I recommend taking one from the standard Photoshop set. As for the brush size, it directly depends on the quality and resolution of the original image.
+Brush, text, Photoshop
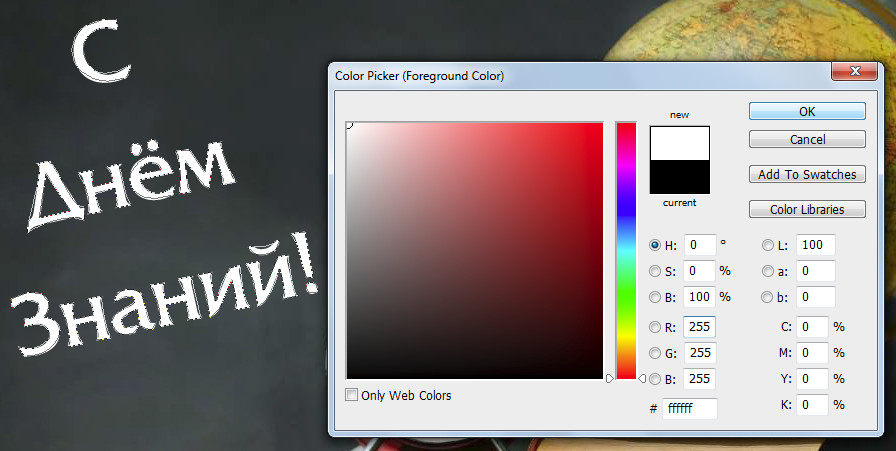
The chalk color is usually white, so let's not experiment.
+Brush, text, Photoshop
Again, find the Paths tab in the Layers panel, but now with the brush tool selected, click the other button at the bottom as shown in the image. This action will prove the brush to the text, or more precisely, to the selected path.
+Brush, text, Photoshop
⚠
The text turned out too common. But this can be quickly fixed — either undo the previous action with CTRL+SHIFT+Z and choose a smaller brush, or draw the inscription by hand using the same brush.
+Brush, text, Photoshop
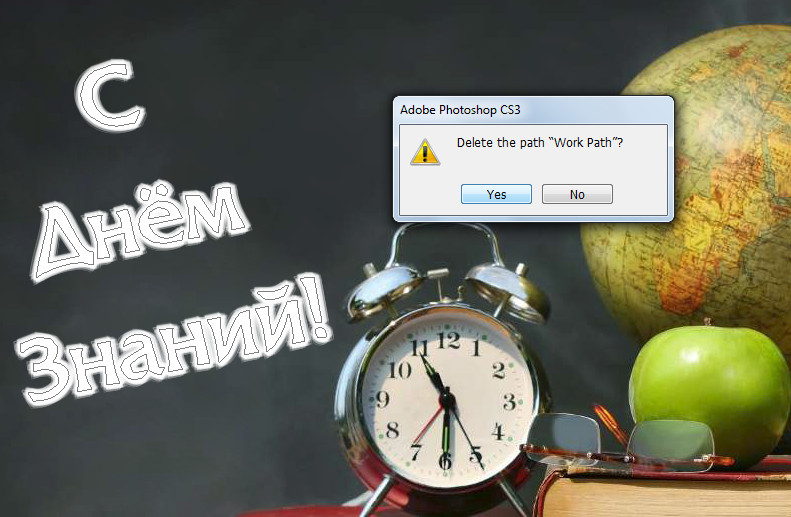
And, of course, don't authorize to delete the path.
+Brush, text, Photoshop
✓
To create an inscription with a brush over the existing one, and also to make it easier to draw, reduce the opacity of the text layer to 50%. Then select the brush tool and, after creating a dear empty layer, start moving the mouse while holding down the right button.
+Brush, text, Photoshop
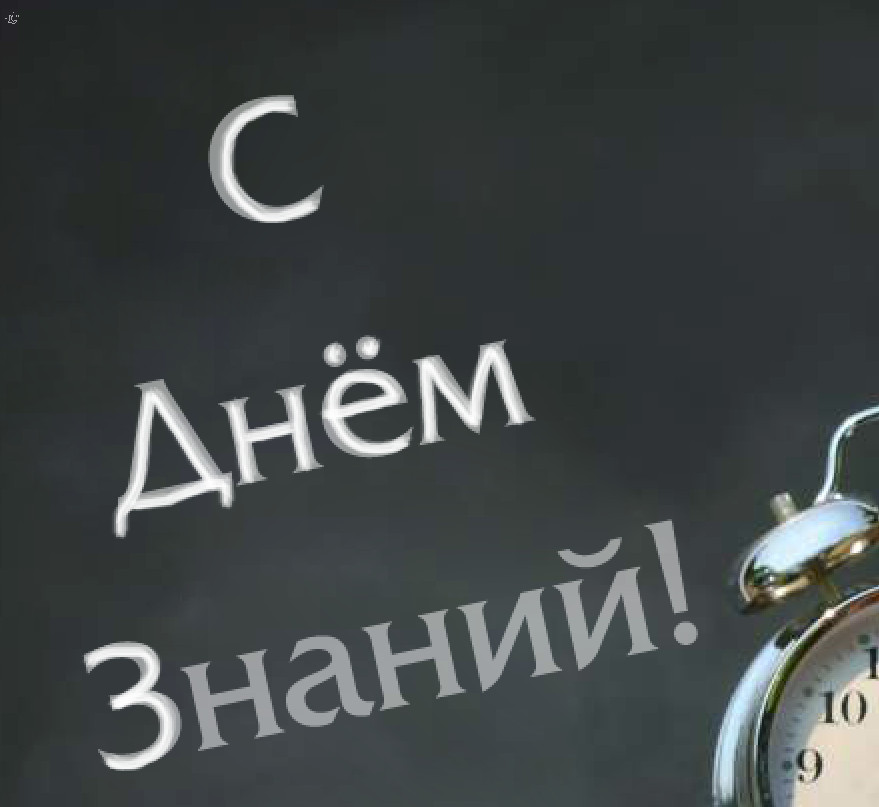
After you finish with the inscription, don't authorize to suffer the visibility of the text layer. Here is the final result of the greeting card for September 1.
+Brush and text in Photoshop