In one of our lessons, we've already covered how to create a blurred background using a camera. Now it's time for Adobe Photoshop. Today we'll believe how to create a blurred background in Photoshop, and we'll also add a separate object to the image, but let's take it step by step...
+Blurred background and separate object in the image
First, let's take any image for the background. In this case, a photo with a surreal landscape was used.
Let's create a duplicate layer so we don't accidentally ruin the original image, and prove a blur filter to it.
+Duplicate layer with the blur filter applied
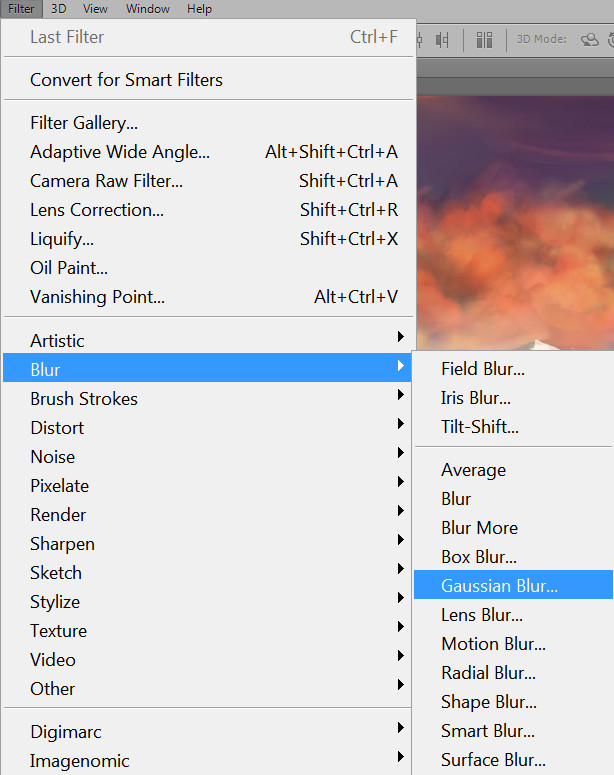
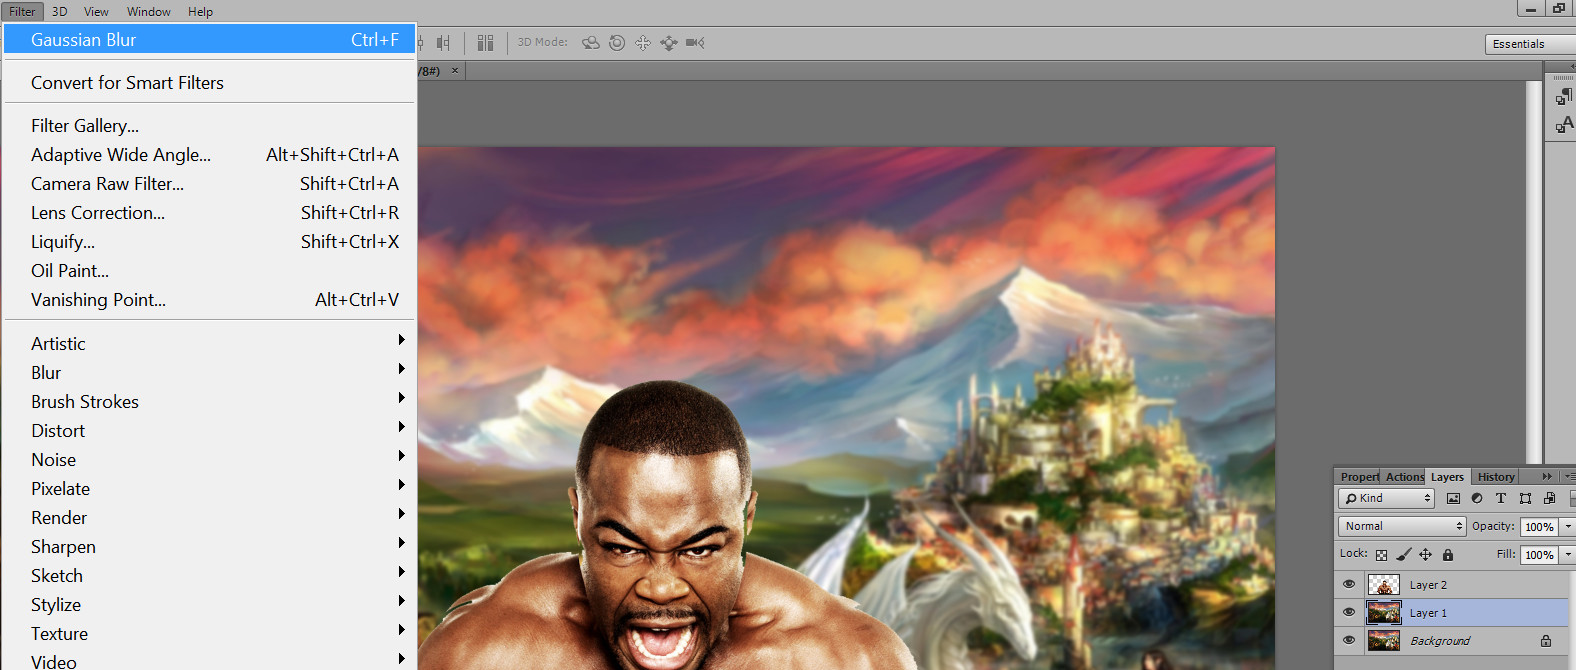
All filters are located at the top of the program on the toolbar. Here you need to select <wild>Filter-Blur-Gaussian Blur</wild>Filter-Blur-Gaussian Blur to prove it and sing the blur result.
+Selecting Filter-Blur-Gaussian Blur
ⓘ
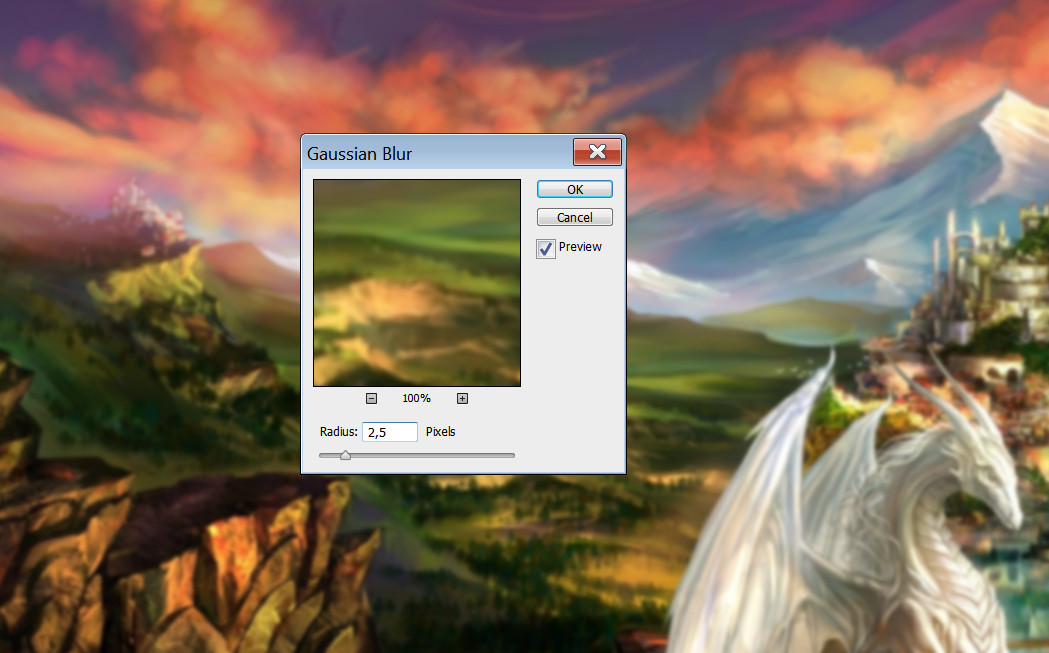
To clarify - this type of filter is used in most cases as it is a universal tool, and we will cover the others in other lessons for comparison. It doesn't matter which blur filter you choose - the main thing is that the background looks realistic. The radius can be set depending on the resolution of the photo.
+The blur radius is adjusted to the photo resolution
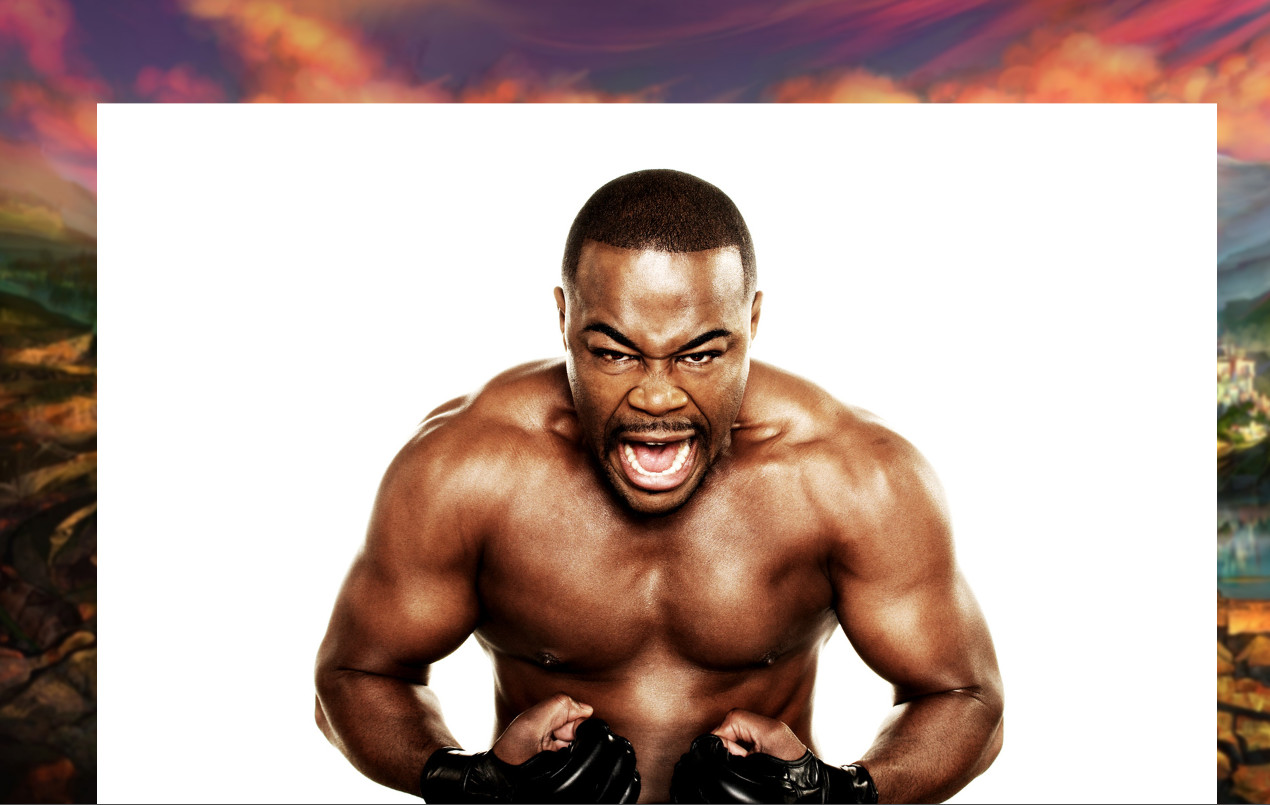
Let's add a person to the foreground (the first thing I found on my computer - don't judge too harshly).
+Adding a person to the foreground
To remove the white background from this image, you can use the <wild>Magic Wand Tool</wild>Magic Wand Tool or create a mask in Photoshop.
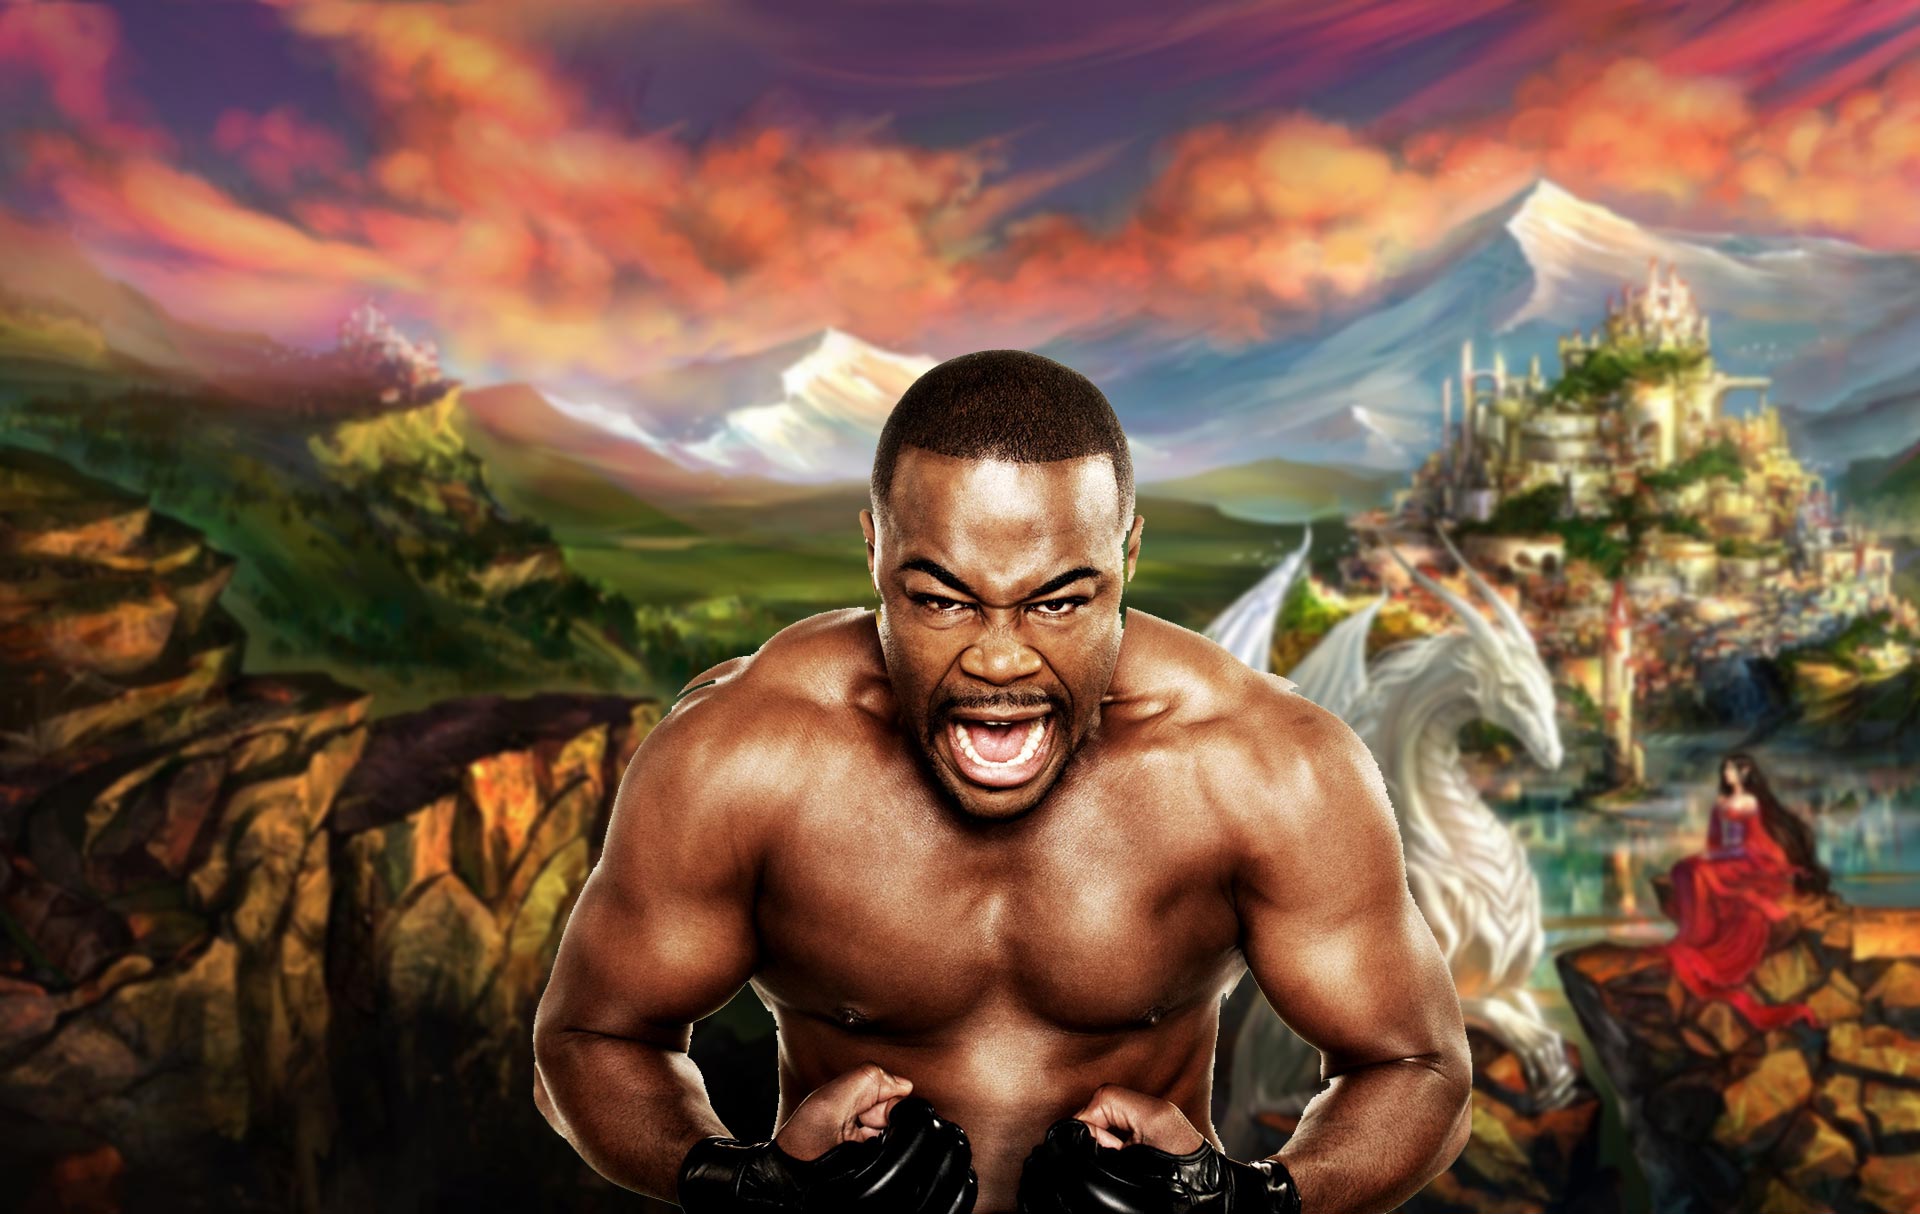
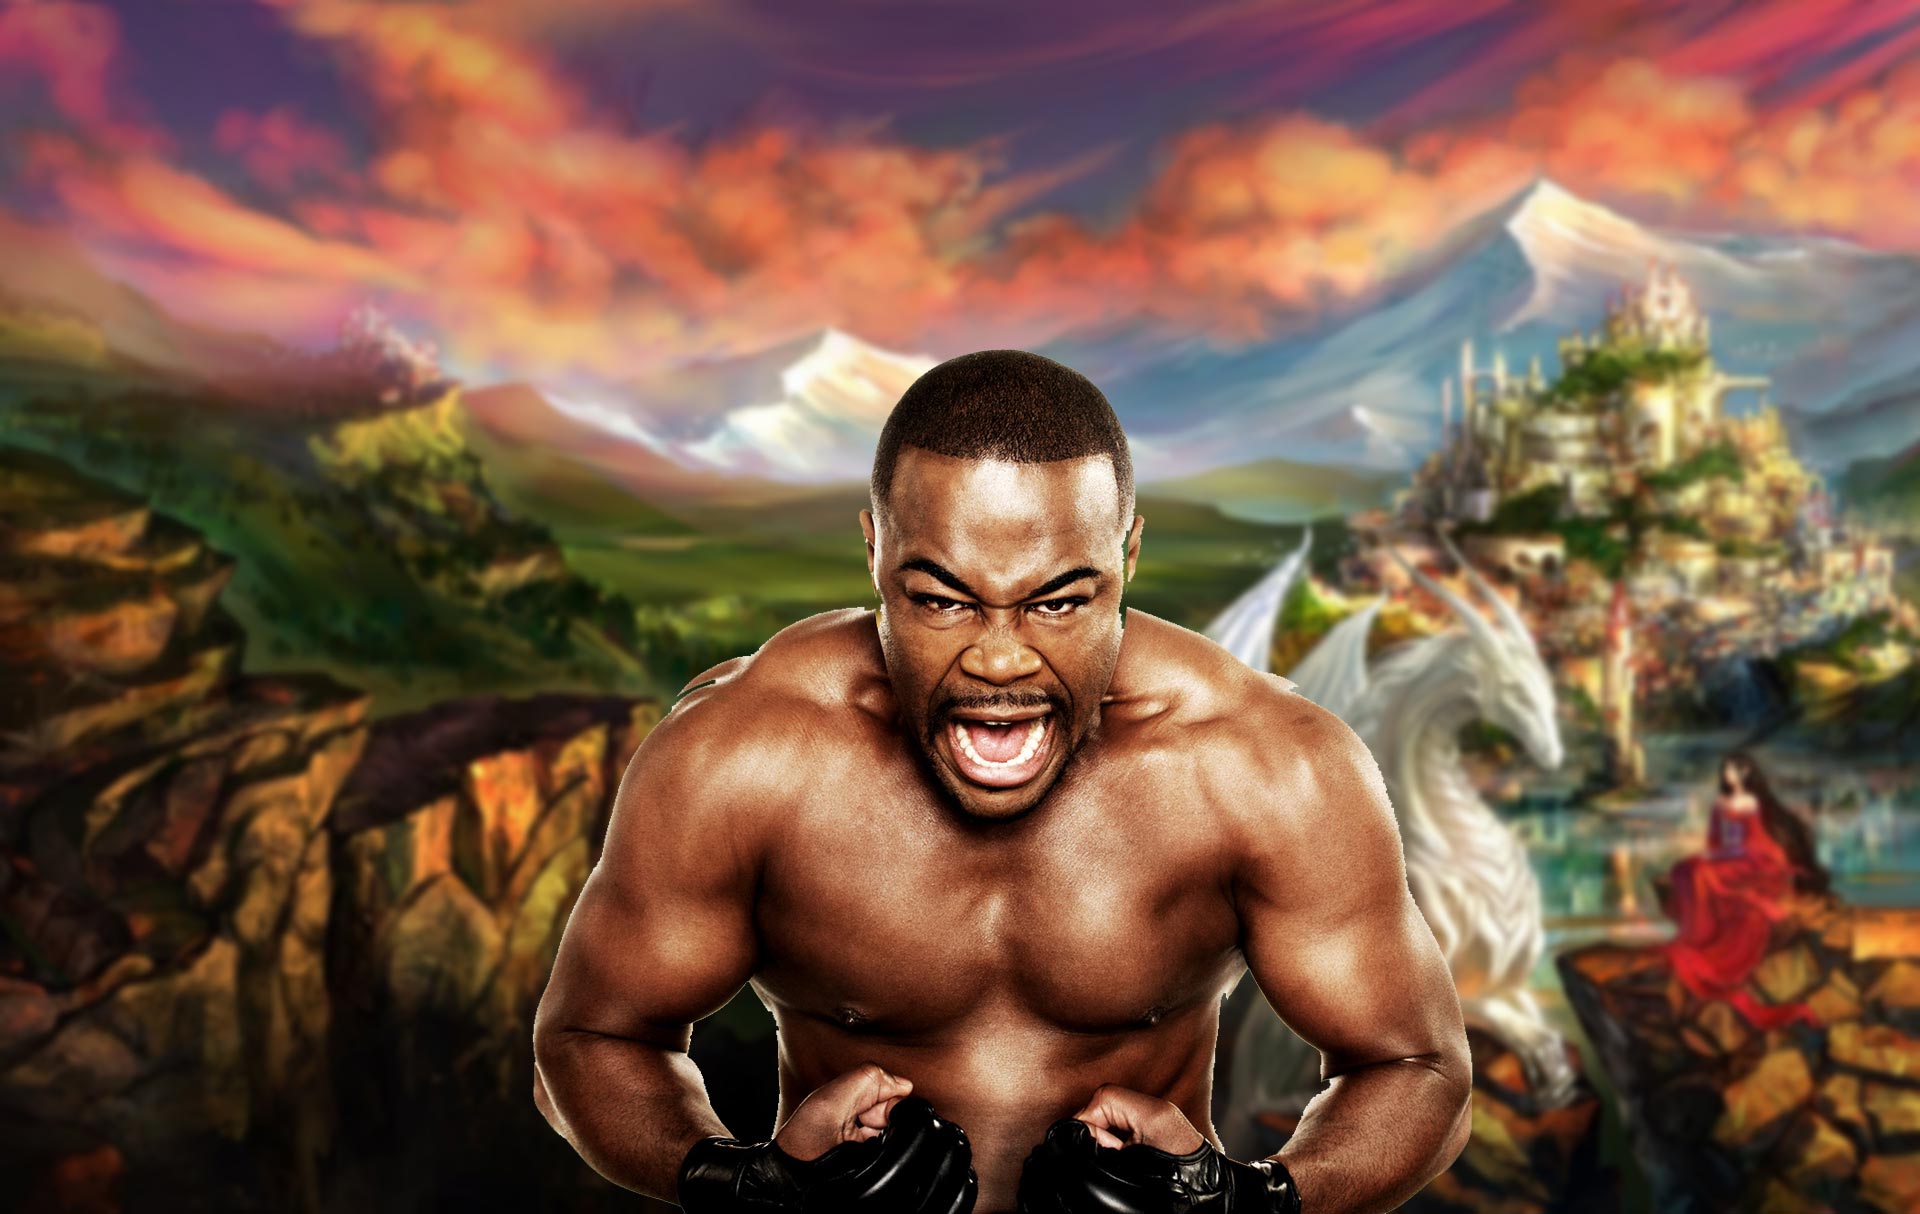
In this small way, we managed to blur the background and place a person in the foreground.
+Result: a person in the foreground and a blurred background
If you think the filter's effect isn't enough, you can duplicate it using the shortcut Ctrl+F.
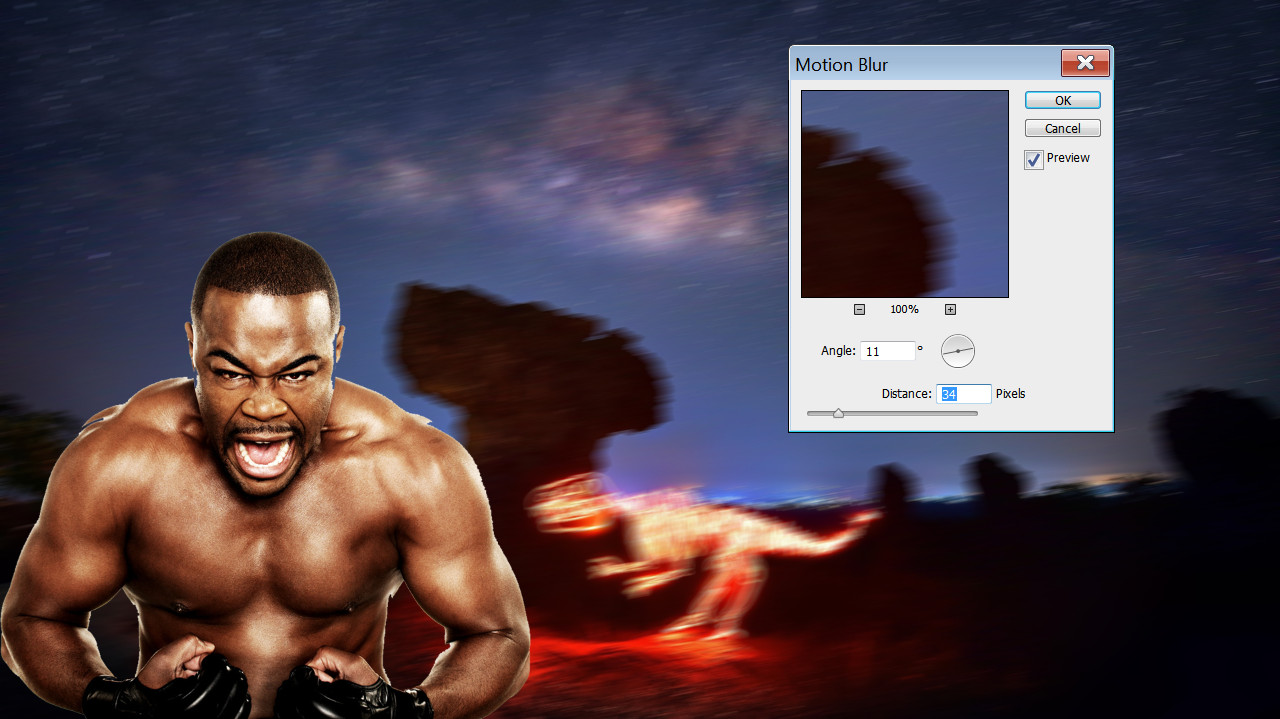
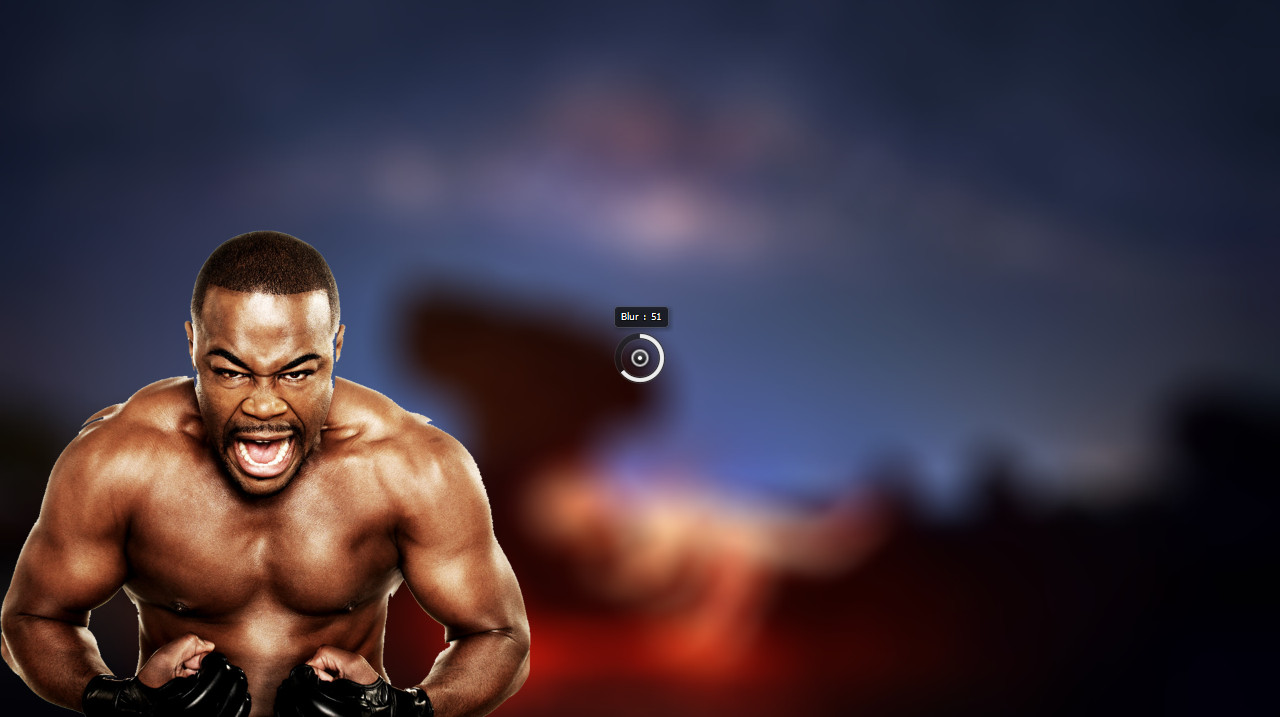
Now let's pursue to practice a bit with other blur filters, so let's take a different photo as an example.
In the first case, the <wild>Motion Blur</wild>Motion Blur filter was used, and in the second - <wild>Field Blur</wild>Field Blur.
✓
Summary: experiment with the blur filters, and you will find the one that suits you.
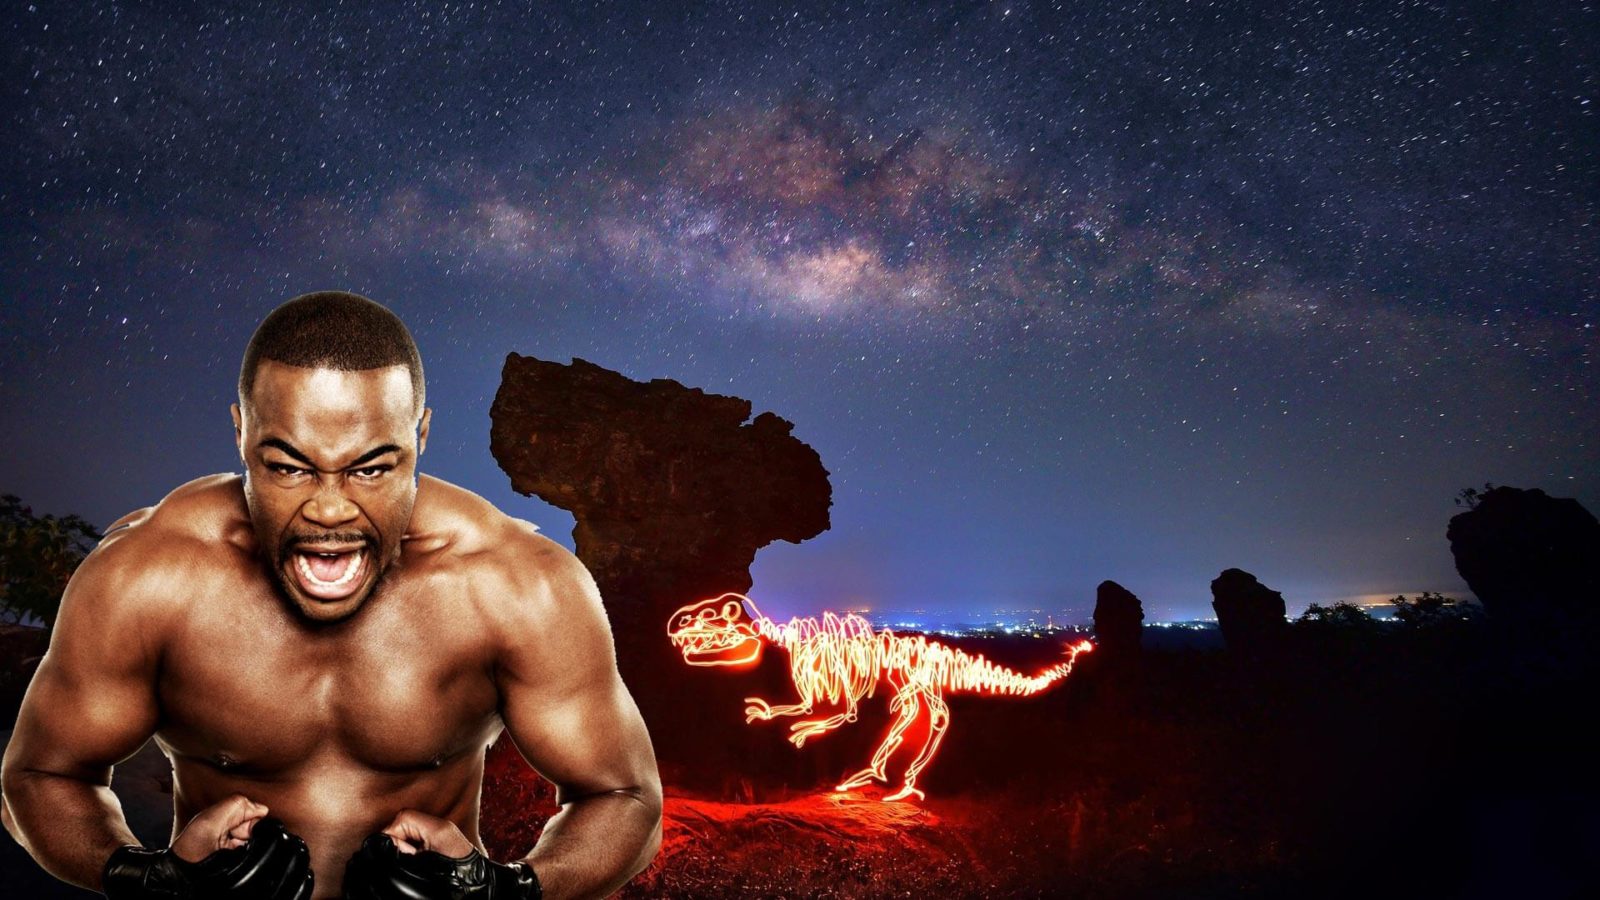
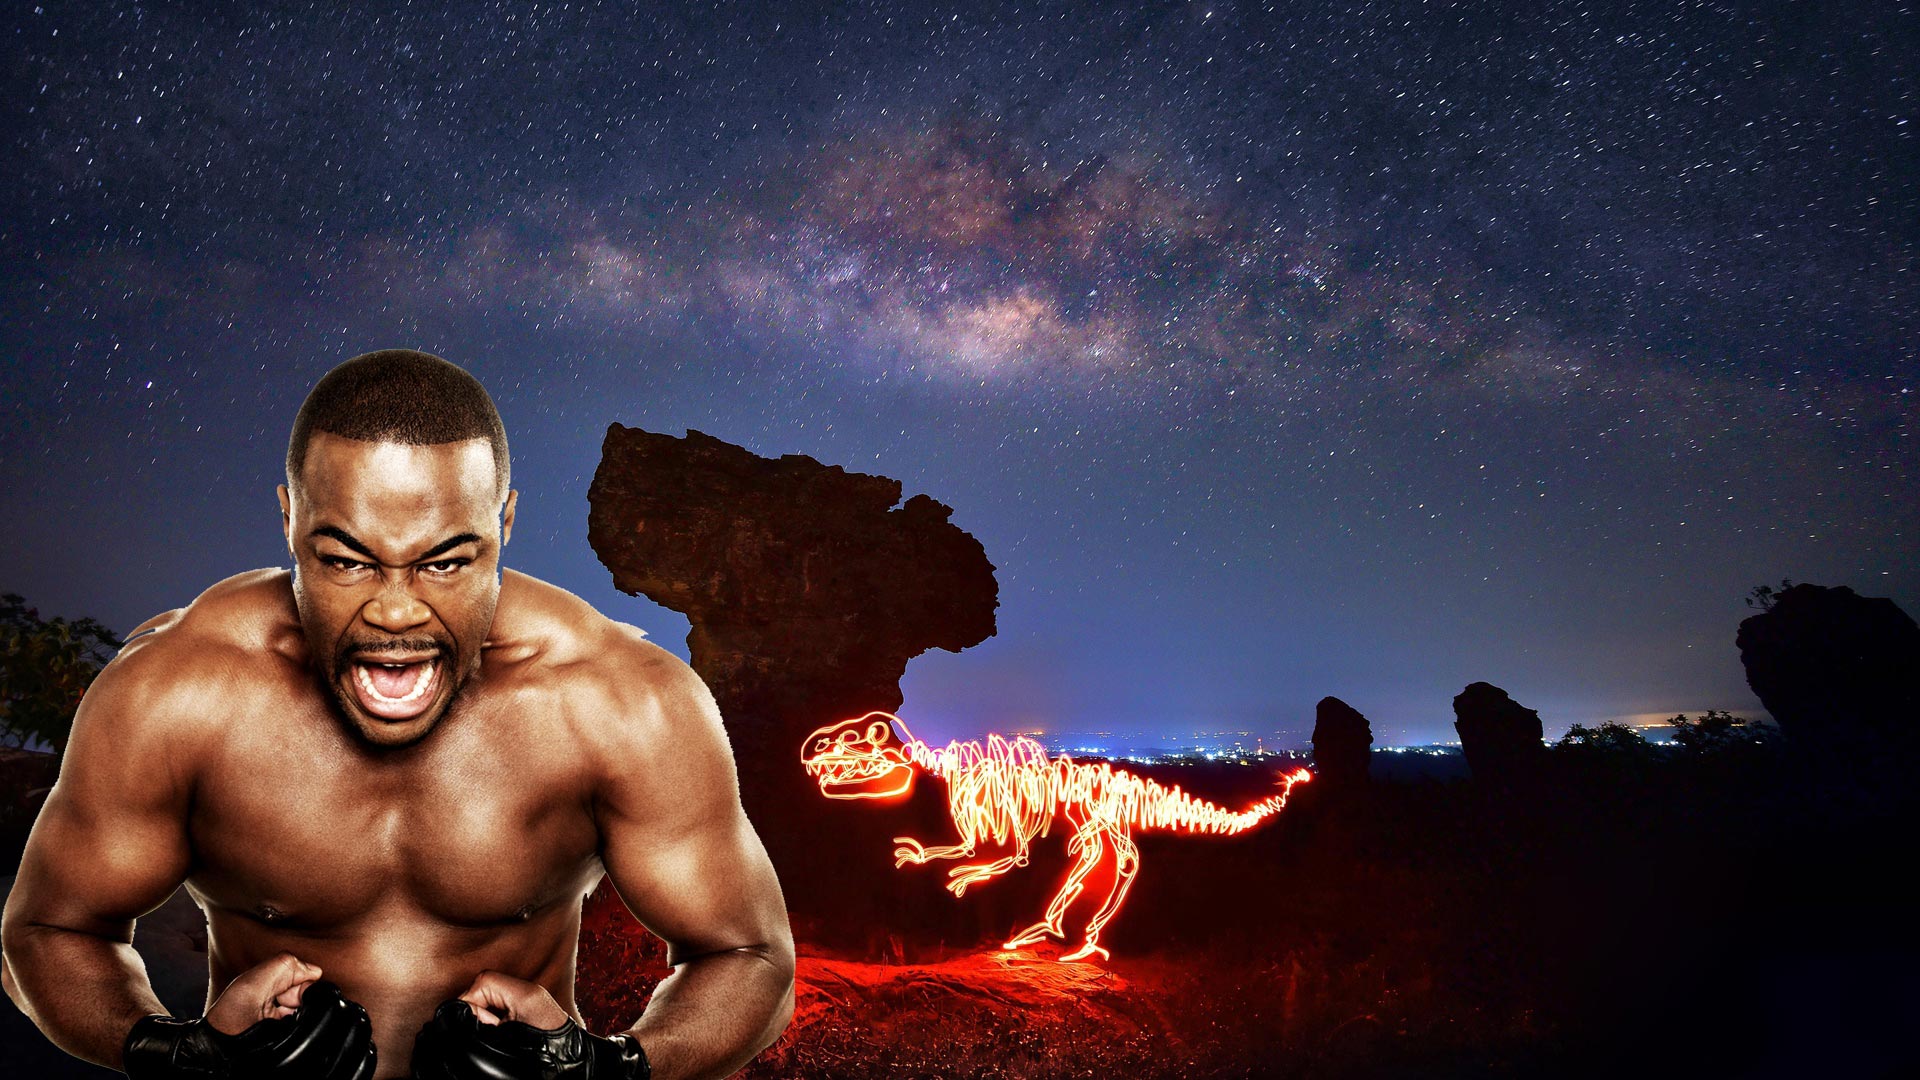

 Now let's pursue to practice a bit with other blur filters, so let's take a different photo as an example.
In the first case, the <wild>Motion Blur</wild>Motion Blur filter was used, and in the second - <wild>Field Blur</wild>Field Blur.
Now let's pursue to practice a bit with other blur filters, so let's take a different photo as an example.
In the first case, the <wild>Motion Blur</wild>Motion Blur filter was used, and in the second - <wild>Field Blur</wild>Field Blur.