В качестве предисловия
Сегодня платформа WordPress пользуется повышенной популярностью. Разработчики активно используют ее при выполнении заказов клиентов и при создании плагинов, тем. Вы можете без проблем отыскать руководство по настройке WordPress API в открытом доступе.
Если все работает, то это не свидетельствует о том, что задача была выполнена правильно. Вполне возможно, что разработчик сработал неэффективно. Особенно это касается тем и разделов. Данное руководство предназначено для того, чтобы решить данную проблему. При этом, сложилась ситуация, когда исходные коды находятся в открытом доступе. Все пользуются ими, не понимая, что делают одни и те же ошибки.

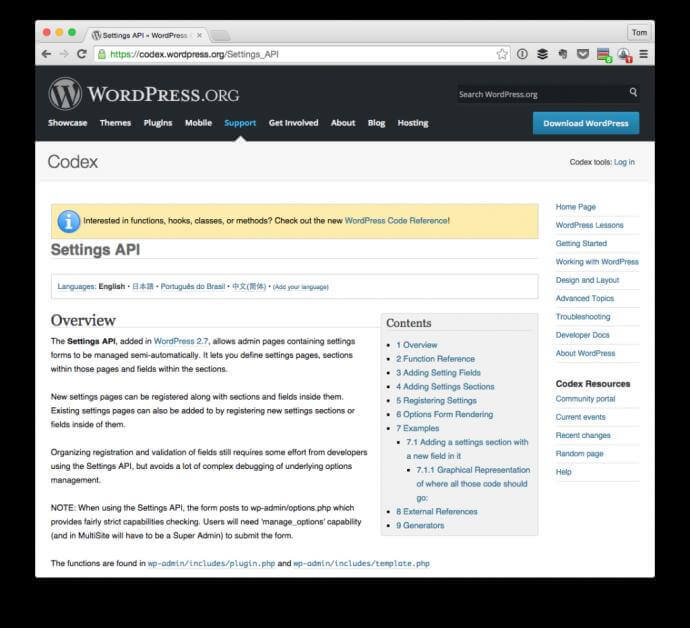
Первостепенно вам необходимо разобраться, как пользоваться Settings API. Если вы хотите научиться платформе WordPress, то вам требуется начинать с самого нуля.
Что представляет из себя Settings API?
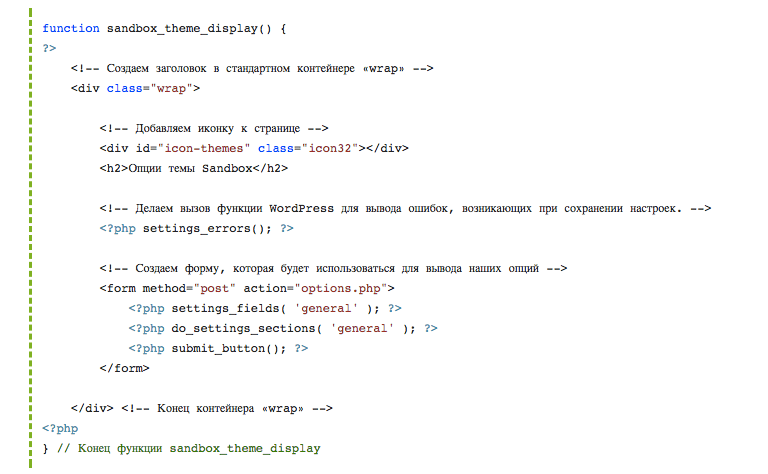
Если говорить простым языком, то это весь тот функционал, который позволяет создавать страницы, разделы, ставить темы и так далее. В общем, делать все для разработки ресурса.
Почему необходимо использовать данный инструмент?
Первостепенно вам приглянется понятный интерфейс, в котором сможет разобраться даже новичок. Кроме того, вы сможете выполнять широкий перечень действий.
Взаимодействие с ядром
Settings API создан разработчиками платформы WordPress, чтобы облегчить создание расширений. Поэтому логично задействование функций, предоставленных данным API.
Естественно, можно отказаться от данного инструмента и, методом наибольшего сопротивления, разработать свой функционал, и никто не сумеет этому помешать, однако это потребует дополнительной работы, и чревато несоблюдением советов команды создателей ядра WordPress, что в конце концов может привести к серьезным ошибкам.
Применение инструмента, созданного разработчиками для таких же разработчиков, дает гарантии, что вы будете взаимодействовать с ядром правильно, избежите массы ошибок.
Бесплатные возможности
Применение Settings API это не обычная гарантия того, что разработка будет происходить верным способом. Также вы будете уверены в том, что интерфейс будет следовать стилистике платформы, а информация будут обрабатываться инструментами, аналогичными тем, которые применяются в самом WordPress. Также это может сэкономить массу дополнительного времени.
Когда вы будете создавать собственные интерфейсы по идентичным принципам, которые применяются в WordPress и будете использовать данный инструмент на постоянной основе, ваши разработки будут получаться интегрированными с платформой CMS. Как видите, плюсов достаточно.
Tap to react