
Инструмент WarpДеформация позволяет производить многочисленные действия в программе Adobe Photoshop. К примеру, вам нужно исправить размер колеса у машины, или придать необходимую форму желаемому объекту на фотографии - все это можно осуществить при помощи уникального инструмента, а также его разновидностей. Мы рассмотрим в сегодняшнем уроке функцию искривления или деформации в Фотошоп.

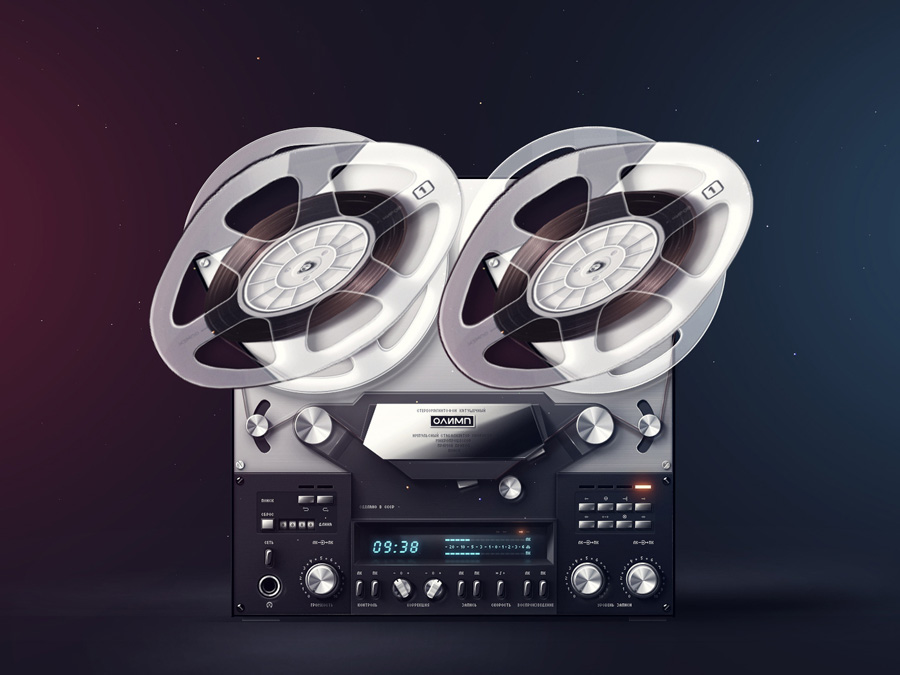
Итак, для того чтобы нам определить как действует данный инструмент, давайте возьмем изображение со старым магнитофоном "Олимп". Далее создадим дубликат слоя, нажав клавиши CTRL + J.

Теперь при помощи другого инструмента - Elliptical Marquee ToolОвальное выделение выделим одну из катушек, чтобы впоследствии ее редактировать.
Теперь снова нажимаем клавиши CTRL + J , для того чтобы поместить выделенную только что катушку на новый слой. Можно ее немного подвинуть при помощи стрелок на клавиатуре вправо или влево для большей наглядности.

Чтобы включить инструмент деформации, нам нужно перейти в меню Edit-Transform-WarpРедактирование-трансформация-деформация, либо просто нажать клавиши CTRL + T и выбрать из контекстного меню соответствующий пункт.

При выборе данного инструмента, у вас должны появиться дополнительные направляющие, с помощью которых можно производить искривление объекта.

На рисунке указаны красные стрелки, показывающие те направляющие, с которыми нужно иметь дело. Также существуют дополнительные направляющие внутри объекта в виде сетки - вы можете тянуть их в любую сторону и смотреть результат ваших действий.
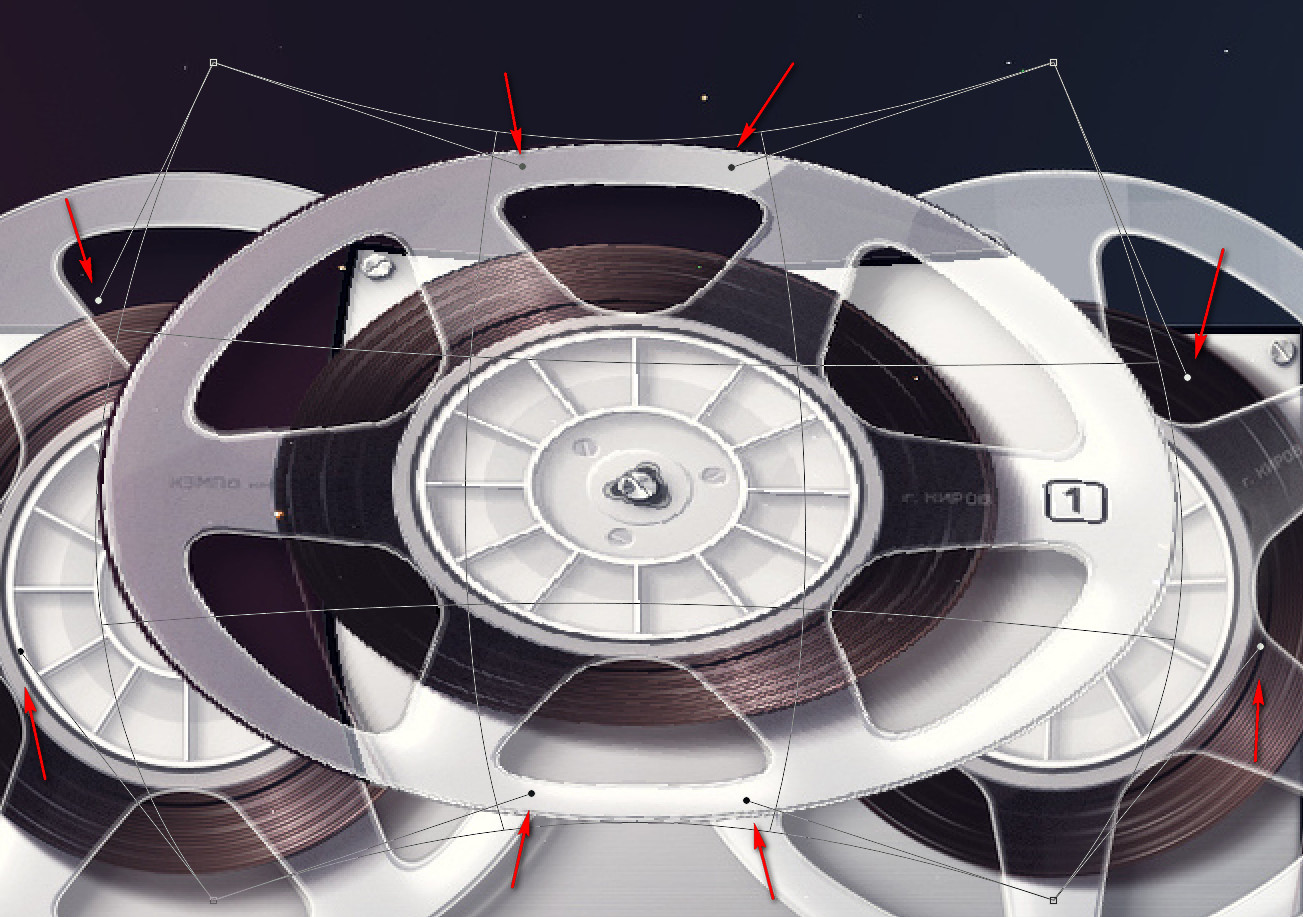
Применение настроек происходит при нажатии клавиши ENTER, или с помощью галочки наверху экрана (на панели настроек данного инструмента).

Я добавил еще одну копию катушки с помощью нажатия клавиши ALT и перетаскивания изначальной копии объекта. После этого поместил созданные катушки поверх оригинальных.
Можно убрать одну из них, и оставить только первую копию.
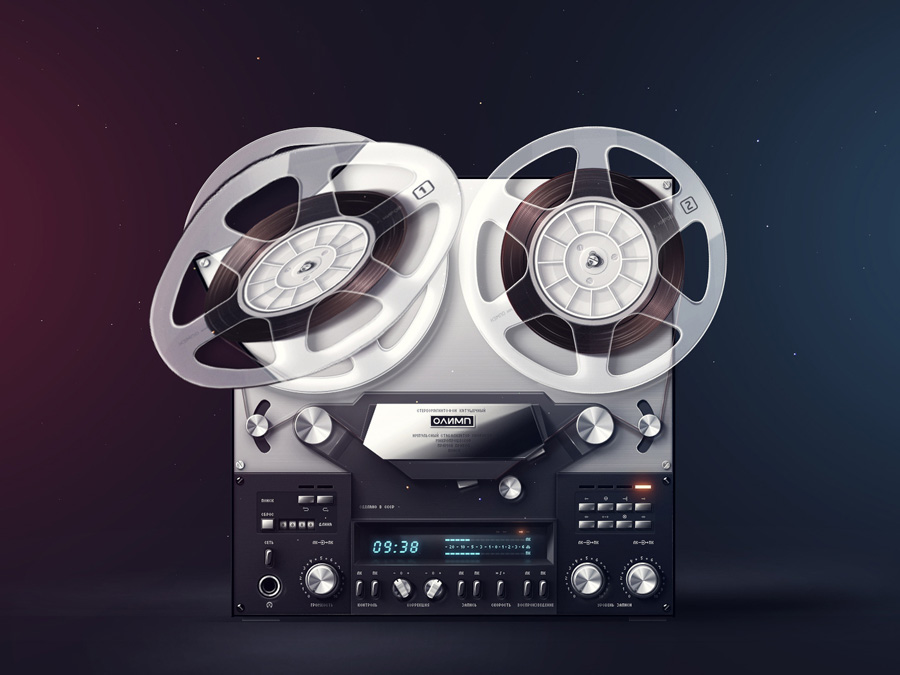
Деформация, или искривление действует так: вы выбираете объект, затем правите его форму и сохраняете. Все просто и лаконично!
Tap to react


