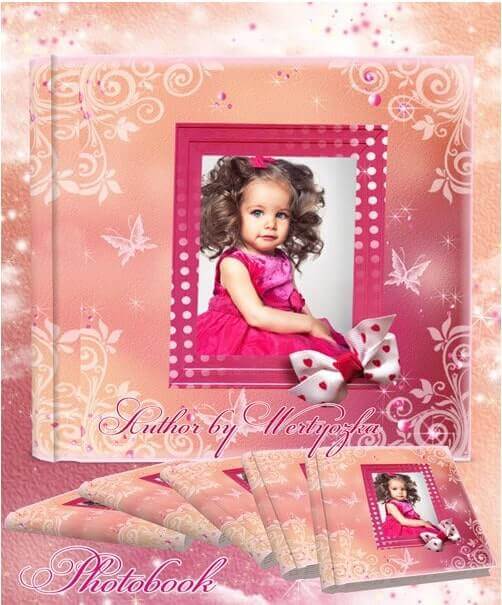
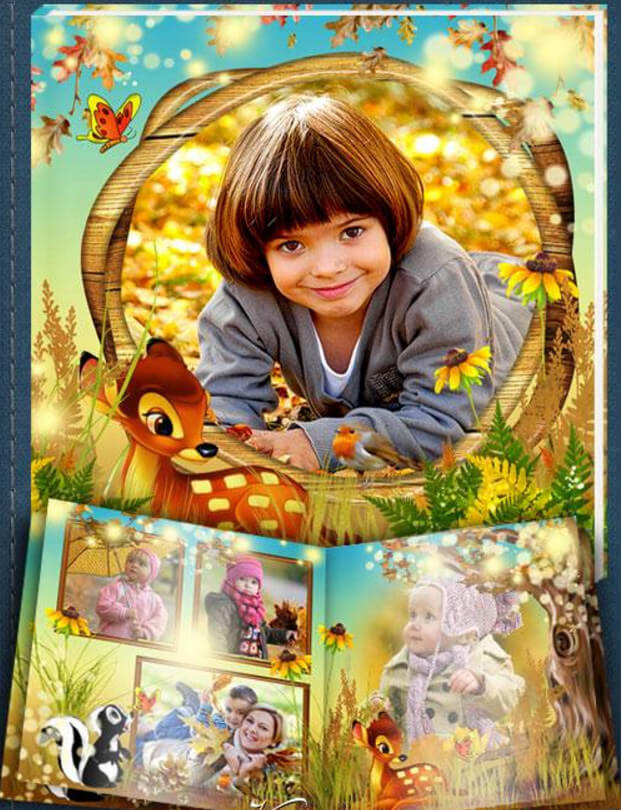
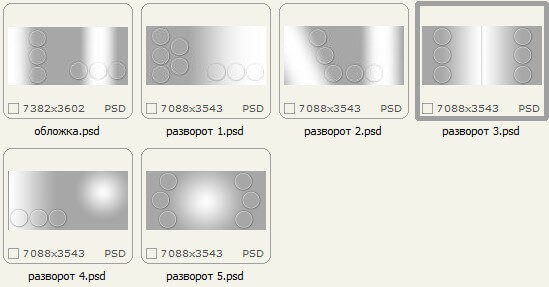
Photo Book for Photoshop — Universal Album in Gray Tones

Every photographer eventually faces the question: how to present photos beautifully so they don't gather dust in a digital archive? Ready-made photo books from print shops are expensive, and their design often leaves much to be desired. Many photographers turn to freelance designers, but that adds to the cost. There is a solution — a universal photo book PSD template for Adobe Photoshop. This is a ready-made layout that you can fill with your photos in one evening.

Photo Book for Photoshop
Universal gray-toned album for Photoshop

This template works for any occasion: weddings, birthdays, family vacations, or portfolios. Gray tones provide an ideal background for any photograph — they don't distract from the images and give the album a sophisticated, timeless look. Unlike colorful templates, gray never goes out of style and won't clash with your photo colors.

The 223 MB archive contains 1 cover and 5 spreads at 6300x3450 px resolution. The PSD format is compatible with all Photoshop versions from CS6 to CC 2024.

Why Choose a PSD Photo Book Template

Working with PSD templates gives you full control over the design. You can rearrange elements, add text, adjust layer opacity, and apply any effects. These aren't just frames — they're a complete creative environment. Unlike online builders where you are limited to preset blocks, here you decide how each page looks.

Many beginner photographers pay designers $30-50 per spread for custom album design. In return, they often receive JPG files that cannot be edited. If the client wants a photo replaced or pages reordered, you pay again. A PSD template solves this problem once and for all. You own the source file and can work with it indefinitely.

Benefits of PSD Templates

  • Full editing freedom. Every element on a separate layer: background, images, decorative elements, text. Remove what you don't need, add your own, rearrange freely.
  • Quality preservation. 300 dpi resolution guarantees excellent print quality at sizes up to A3.
  • Time savings. No need to design from scratch — just insert your photos and tweak text. The whole job takes 1-2 hours.
  • Reusable. One template works for multiple projects. Made a wedding album last month? Use the same template for a birthday album today.
  • Professional results. Design meets printing industry standards: correct margins, white balance, readable fonts.

Template Specifications

ParameterValue
Resolution6300x3450 px
DPI300
File formatPSD (multi-layer)
Archive size223 MB
Pages1 cover + 5 spreads (11 pages total)
Color schemeGray tones with white accents
CompatibilityAdobe Photoshop CS6 and above (including CC)

Comparison with Similar Templates

FeatureOur TemplateStandard TemplateCustom Design
PriceFree$5-15$30-50/spread
Resolution6300x34503000x2000Depends on designer
LayersFully layeredPartiallyOften JPG only
Editing flexibilityMaximumMediumMinimal
CompatibilityAll Photoshop versionsCS6+Not specified
ReusableYesYesNo

How to Use the PSD Template

Using the template is straightforward. First, download the archive and extract it with 7-Zip or WinRAR. Open the PSD file in Adobe Photoshop. You'll see the Layers panel where each album element sits on its own separate layer — this is the key advantage of PSD over JPG or PNG.

To replace a photo, double-click the placeholder layer icon, select your image, and resize with Ctrl + T (free transform). Hold Shift to maintain proportions. If the photo doesn't fit the frame, use Ctrl + Alt + G to create a clipping mask — the image will only show inside the frame shape.

Always keep a copy of the original PSD file before editing. Large files (200+ MB) can slow down Photoshop — close unused programs and browser tabs.

Text layers are edited with the Text tool (hotkey T). You can change font, size, color, and position. Decorative elements — lines, frames, patterns — can be toggled on and off. Click the eye icon next to any layer to hide or show it. If an element doesn't fit your vision, delete it without affecting the rest.

Photo Preparation Tips

  • Use photos with at least 4000x3000 px resolution for quality prints. Phone photos work if shot at maximum quality.
  • Always adjust color balance and exposure before inserting into the template. Do this in Lightroom or Camera Raw first.
  • Don't stretch small images — they will look pixelated in print. Leave them at original size or skip them entirely.
  • For black and white photos, add contrast — they'll stand out better against a gray background.
  • Prepare all photos in one folder beforehand: select the best ones, edit them, crop where needed. This keeps you in a creative flow.

Once all photos are placed, review the album as a whole. Beginners often make the mistake of working on each spread in isolation, ending up with repetitive or conflicting images. Plan your photo layout across spreads before you start editing.

Ideas for Using the Photo Book

The universal gray template fits many projects. Here are some practical ideas.

Wedding Album

Gray is a classic choice for wedding photography. It frames images elegantly without stealing attention. Add the wedding date and couple names. Choose 20-30 best shots: ceremony, walk, reception, details. Don't try to cram all 500 photos from the photographer into one book.

Photographer Portfolio

Showcase your best work in a professional format. Include 10-15 of your strongest images across different genres. A printed portfolio book makes a much stronger impression on potential clients than an Instagram link.

Family Album

Collect the year's warmest moments: birthdays, trips, holidays. The gray background unifies diverse photos into one story. Add captions — where was this, who is in the photo, what year. These details will be priceless in 10 years.

Gift Album

Print the photo book at a lab and give it as a gift. It means so much more than a USB drive. The gray design looks elegant and expensive — perfect for anniversaries, retirement, or Christmas. Add a personal message on the first page.

Themed Photo Sessions

Shot a love story, birthday session, or product photography? Present the results in a consistent style. The gray template pairs beautifully with pastel tones and natural textures.

Photo Book Printing Guide

Before sending your file to a print shop, check several important things. The color profile must be CMYK, not RGB — otherwise printed colors will look completely different from what you see on screen. Convert via Edit — Convert to Profile. Most print shops prefer FOGRA39 or US Web Coated SWOP profiles.

Add bleeds of 3-5 mm on each side. If your PSD template doesn't include them, expand the background layer by 5 mm past the edge using free transform. This prevents white strips from appearing after trimming.

Check that all placed images have at least 300 dpi resolution. For the cover, 600 dpi is recommended since it gets the most visual attention. Also verify that your text is at least 10 pt — smaller text becomes hard to read in print.

Common Beginner Mistakes

  • Working in RGB. Always convert to CMYK before printing. The difference is especially visible in gray tones — RGB grays shift toward blue in print.
  • Low resolution. Web images (72 dpi) are completely unsuitable for print. They will appear blurry and pixelated.
  • Wrong fonts. Use Script or Serif for headings, Sans Serif for body text. Don't use more than two fonts on one page.
  • No bleeds. Without them, parts of your image may be cut off after binding, leaving white edges.
  • Compressed PSD. Never save compressed PSD — it degrades layer quality and can cause data loss.
  • Tiny text. Text below 10 pt becomes hard to read in print. Optimal body text size is 12-14 pt.

Printing Services Comparison

ServicePrice per spreadTurnaroundPrint quality
Shutterfly$4-83-5 daysHigh. Good color accuracy, thick paper.
Mixbook$5-105-7 daysHigh. Excellent binding, vibrant colors.
Local print shop$3-67-14 daysVaries by equipment. Check samples first.
Blurb$6-122-4 daysPremium. Professional-grade results.

Order a single test copy before committing to a large batch. What looks perfect on screen may disappoint on paper. Spending $10-15 on a test run is cheap insurance against a ruined batch.

Pay attention to paper type. Matte paper works better for photo books with lots of text — it doesn't glare and hides fingerprints well. Glossy paper makes colors more vibrant and contrasty, but shows scratches and smudges easily. For this gray template, I recommend matte paper — it enhances the sophisticated gray tones and feels nicer to touch.

Binding matters too. The most popular choice is a hardcover with perfect binding — reliable and looks premium. For albums under 20 pages, spiral binding is cheaper but less presentable. For client portfolios, always go with hardcover binding — it creates an impression of quality craftsmanship from the first touch.

Software for Photo Book Layout

While our template is designed for Photoshop, dedicated layout software exists. For professional multi-page work, consider Adobe InDesign — it handles long documents, master pages, and automatic page numbering much better. However, for individual projects or small runs, Photoshop works great, especially with a ready-made layered template.

Alternatives: SmartEraser (free), AlbumFast (paid, convenient), FotoFusion (professional tool). But all require purchase or have limitations. Our PSD template works in any Photoshop you already have — no extra purchases needed.

Printing on a Budget: Pro Tips

Photo book printing isn't cheap, but you can save without sacrificing quality. First, watch for promotions. Most services run regular sales: Shutterfly offers 30% off first orders, Mixbook has holiday sales. Subscribe to newsletters to catch deals early.

Second, avoid peak seasons. Prices spike and delivery times stretch before Mother's Day, Christmas, and Valentine's Day. Order mid-month when print shops are less busy — they often offer discounts for off-peak orders.

Third, don't chase the cheapest option. Rock-bottom prices usually mean thin paper, weak binding, and faded colors. Pay a bit more for a quality album from a reputable shop. Remember: a photo book lasts a lifetime — saving $5 isn't worth ruined memories.

Final tip: print small batches. Order one copy first, evaluate the quality, then order gifts. Storing a box of identical albums is impractical, and you can always reprint later.

Color Correction Before Printing

Even the best template won't save poorly prepared photos. First rule: all images should share a consistent color scheme. Mixing warm and cool tones on facing spreads will make the album look unprofessional. Set the white balance of all photos to a common value.

Second rule — contrast. On matte paper, contrast reads differently than on glossy. For matte printing, increase contrast by 10-15% above what looks good on screen. For glossy paper, keep contrast as-is — the gloss adds depth naturally.

Third rule — sharpness. When scaling photos to spread size, sharpness inevitably degrades. Apply Unsharp Mask filter with Amount 80-100%, Radius 1.0-1.5 px, Threshold 3-5. This compensates for scaling loss and ensures crisp printed images. This is especially critical for portraits where eye sharpness matters most.

If you're not confident in color grading, use Lightroom's auto tools: Auto Tone, Auto Contrast, and Auto Color. They provide a solid starting point. For the gray template, it's important that neutral tones stay neutral — without parasitic blue, green, or magenta casts.

Frequently Asked Questions

Is this template compatible with Photoshop CC 2024?

Yes, the template works with all Photoshop versions from CS6 onward, including CC 2024 and newer. All layers open correctly, smart objects work without errors. Tested on CS6, CC 2018, CC 2020, CC 2024.

Can I change the color scheme from gray to something else?

Absolutely! Add a Color Balance or Hue/Saturation adjustment layer above the background. To apply changes only to the background, right-click the adjustment layer and choose Create Clipping Mask. You can also disable the background layer and replace it with your own gradient or texture.

How many photos fit in the album?

Depending on layout, 5 spreads can hold 15 to 30 photos. The cover fits 1 large image. Don't overcrowd — pick 20 best shots rather than 50 mediocre ones. Each spread should tell a mini-story.

Do I need Photoshop experience?

Basic skills are sufficient: open a file, drag a photo, type text. Experience with layers, masks, and smart objects speeds things up. A beginner can complete the album in about 30 minutes.

What is the printed album size?

At 6300x3450 px and 300 dpi, the printed sheet is approximately 53x29 cm (slightly larger than A3). You can proportionally scale down to A4 or 20x30 cm without quality loss.

Is the template ready for professional printing?

Yes, after converting to CMYK and adding 3-5 mm bleeds. Check your print shop's specific requirements before sending — each may have different specs.

What if the archive won't open or is corrupted?

Check archive integrity. Use the latest WinRAR or 7-Zip — older versions may not support large files. Try downloading again if the file seems damaged. Our archive uses standard ZIP without password.

Can I use this template for commercial work?

Yes, use it for client photo books. The only restriction is redistributing or selling the raw PSD file as your own product. Attribution is appreciated but not required.

Which fonts does the template use?

The template uses system fonts similar to Arial and Calibri — preinstalled on any Windows PC. On Mac, fonts may differ — simply replace them via text layers. We recommend free Google Fonts (Roboto, Open Sans, Montserrat) for commercial use.

What is the difference between 300 dpi and 72 dpi for printing?

300 dpi is the print standard — the human eye can't distinguish individual dots at reading distance. 72 dpi is screen resolution — printed images will show visible pixels. Never use photos below 200 dpi for printing.

How long does it take to prepare one photo book?

With photos already selected and edited — about 1-2 hours. A beginner may need 3-4 hours to learn the layers and fit all photos. An experienced user can finish in 40-60 minutes.

Tap to react