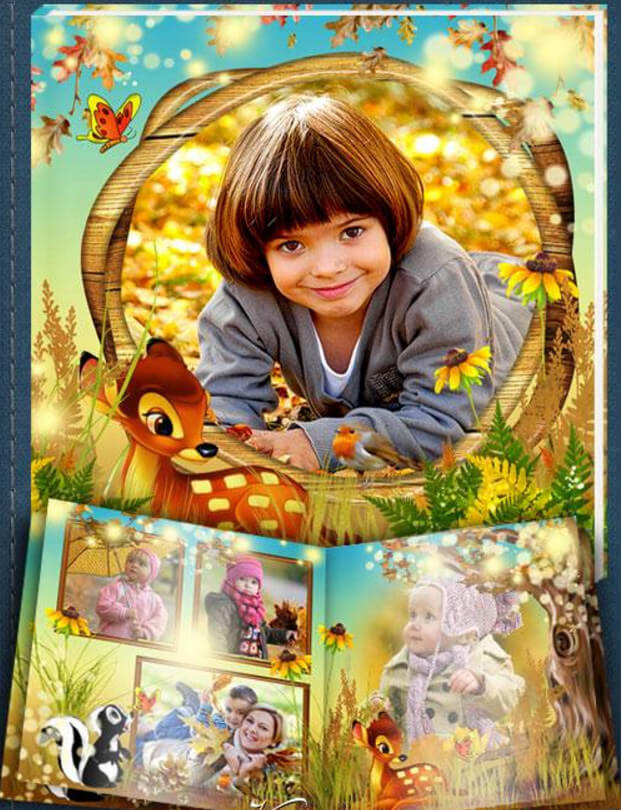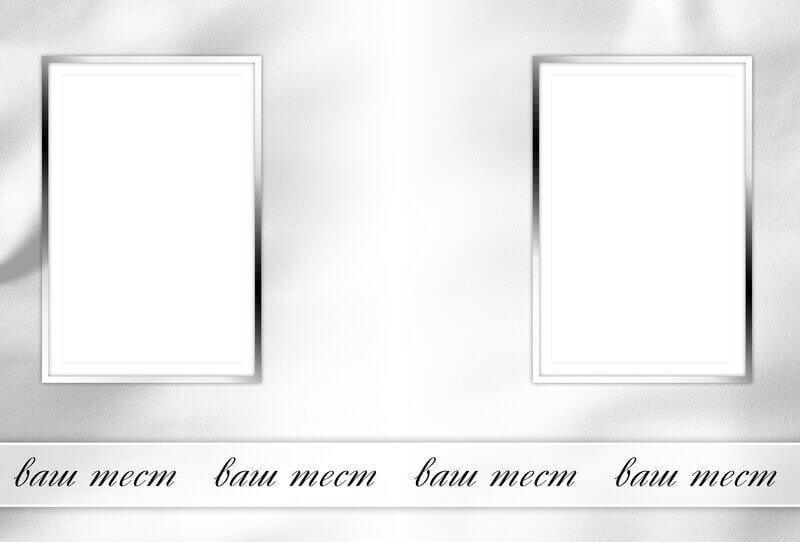
Данный вариант представлен в виде универсальной фотокниги для программы Фотошоп с рамками для фото. В распоряжении у вас есть PSD формат (5 разворотов), разрешение 4882-3307 пикселей и архив весом в 210 Мб.
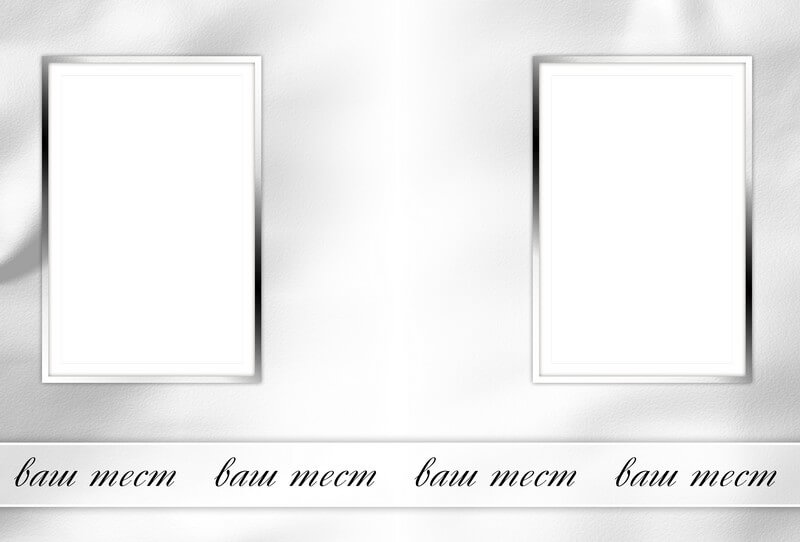
Удачный вариант фотокниги для Фотошоп, популярного фоторедактора всех времен.
Tap to react