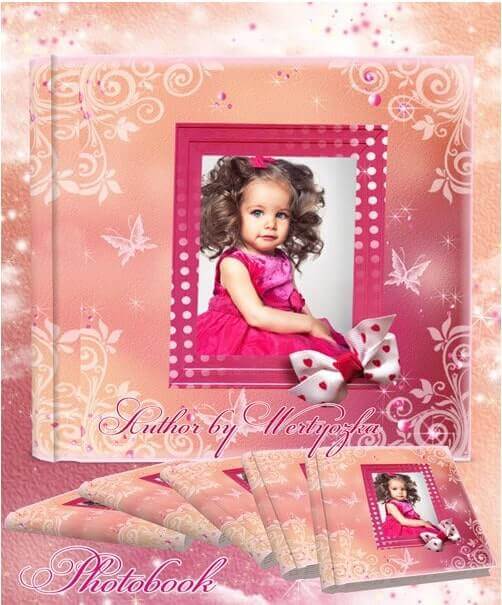
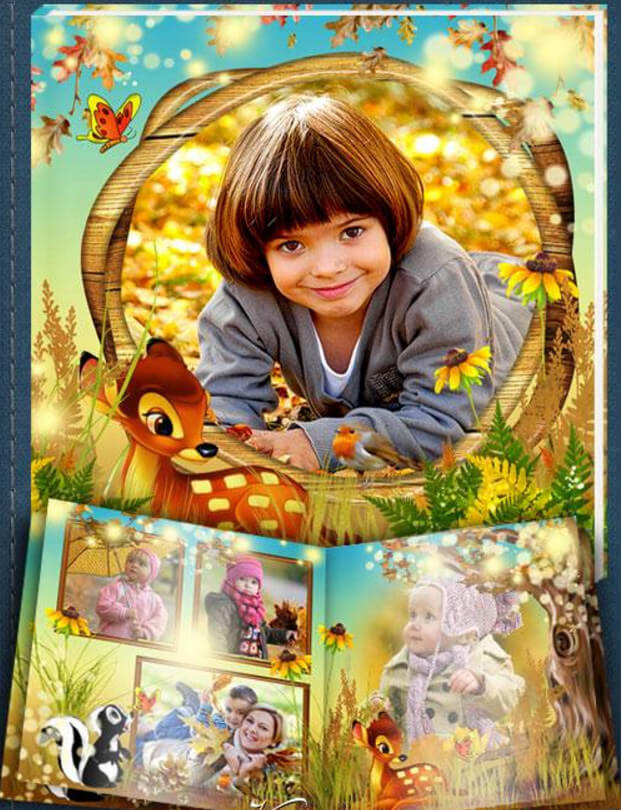
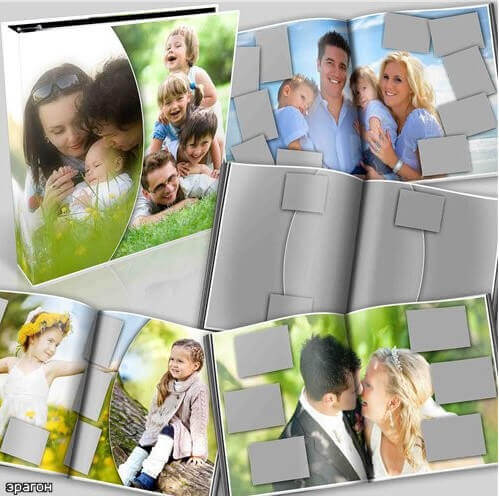
Download Universal Photoshop Photobook in PSD Format
Every photographer and designer faces the task of arranging photos into a book. Printing a photobook is a great way to preserve memories, give a gift, or present a portfolio. A ready PSD template saves hours of work — no need to lay out spreads from scratch, adjust grids, or set up guides. Just open the file, insert your photos, and send to print.
Universal Photobook for Photoshop is a template that suits any genre and style of photography. Women, children, men, wedding, family — the design is neutral and elegant, letting your photos shine. The book supports collages: place multiple photos per spread or use one large image per page.
What is included
The template is in PSD format at 6300x3450 pixels resolution. The archive is 319 MB. Inside you get one file with a cover and four inner spreads. Each spread is on a separate layer for easy navigation and editing. The cover includes front and back parts; the spine is calculated automatically based on book thickness.
All elements — frames, backgrounds, decorative elements — are on separate layers. You can disable any element, change its opacity, or replace it. Smart objects let you replace photos in a couple of clicks without losing quality or shifting neighboring elements.
Who this template is for
Photographers save time: instead of 2–3 hours per book, you spend 15–20 minutes replacing photos in smart objects. This is especially useful for batch orders. A wedding photographer can prepare 10 identical books for different couples in one evening.
Designers can use the template as a base for creating unique photobooks. Change the color scheme, add your decorative elements, rearrange frames — the file structure allows complete editing freedom. Ordinary users with no design background can also handle it. Instructions are included in the archive.
| Parameter | Photobook 1 | Photobook 2 | This template |
|---|---|---|---|
| Resolution | 4882x3307 | 5000x3500 | 6300x3450 |
| Spreads | 5 | 5 | 4 + cover |
| Archive size | 210 MB | 250 MB | 319 MB |
| Smart objects | Yes | Yes | Yes |
| CMYK profile | Yes | Yes | Yes |
Step-by-step instructions
Step 1. Download and extract
Download the archive from our website. Extract it to a convenient folder. Ensure at least 1 GB of free space — the unpacked PSD can take up to 700 MB due to multiple layers.
Step 2. Open in Photoshop
Launch Adobe Photoshop (CS6 or newer). Open the file via File — Open or drag the PSD into the program window. Loading may take 10–20 seconds. If prompted about color profile, select Use Embedded Profile.
Step 3. Replace photos
In the layers panel, find groups named Page 1 through Page 4 and Cover. Inside each group, there is a smart object layer with placeholder photos. Double-click it — a new document opens. Insert your photo via File — Place Embedded or paste from clipboard. Close and save the smart object. The main photobook updates automatically.
Step 4. Color correction
Above each smart object, there are adjustment layers: Brightness/Contrast, Hue/Saturation. If your photos look too dark or bright, adjust these layers. Changes apply only to the corresponding photo.
Step 5. Save and print
Save as PSD for future editing or export to PDF for printing. Use File — Save As — PDF, choose the Highest Quality Print preset (PDF/X-4). Send to a print lab or print at home via File — Print.
Photo preparation tips
Use photos at 300 DPI or higher at final size. If the original is under 2000 pixels on the long side, it will be blurry when printed at A4. Keep a consistent style across all photos. Use the template's adjustment layers to match color between different images. Add text: dates, names, short stories. Text layers are pre-configured — just click and type.
Printing recommendations
Choose a reputable print lab. Prices for an A4 book with 10 spreads range from $15 to $50 depending on materials and quantity. Matte paper looks premium with no glare but slightly duller colors. Glossy paper is bright and vibrant but shows fingerprints. Hard cover with fabric or leather finish is the classic choice. Soft cover is cheaper but less durable.
Order one test copy before printing the full batch. Check color accuracy, sharpness, and binding quality. Monitor and print colors may differ. Adjust in Photoshop if needed and reprint. One test copy costs $10–15 but saves money and frustration on a 50-copy run.
Frequently asked questions
What is included in the photobook package?
1 cover and 4 spreads in PSD format. Resolution 6300x3450 pixels, archive 319 MB. Suitable for any print format.
Which Photoshop version is required?
Any version from CS6 and above. Files use smart objects for photo insertion.
Can I change the number of spreads?
Yes, delete or duplicate pages in Photoshop. The file structure allows easy modification.
What print formats are supported?
A4, A3, and square 30x30 cm. The resolution is sufficient for high-quality printing.
How do I replace a photo?
Double-click the smart object, paste your photo, save. Changes apply automatically.
Can I combine different photo genres?
Yes, the design is universal: suitable for wedding, family, children, and landscape photography.
What color profile is used?
CMYK — optimal for printing. Convert to RGB for digital use if needed.
Are additional fonts needed?
No, all fonts are embedded in the PSD or replaced with standard system fonts.
How many spreads can I add?
Up to 20 pages recommended. File size increases but quality stays the same.
Are effect layers included?
Yes, including color correction, shadows, and gradients. Each effect can be toggled.
How to prepare photos for print?
300 DPI resolution recommended. JPEG or TIFF format. Adobe RGB or sRGB color profile.
Is it suitable as a gift?
Perfectly suitable. Print at a professional lab and give to loved ones — a unique handmade gift.
Advantages of using a PSD template
Why choose a ready PSD template over laying out a photobook from scratch? First, time savings. An average designer spends 3–4 hours developing a photobook structure from zero: grid selection, guide placement, frame creation, margin setup. With a ready template, you spend 15–20 minutes replacing photos. For one book the difference is small. For 20 books per month, you save 60–80 hours.
Second, professional quality. The template was created by a designer following composition, color theory, and typography rules. Frames are correctly spaced, fonts are harmoniously matched, page margins are correct. Achieving the same level without design education is difficult and time-consuming.
Third, print preparation. The template is pre-configured for printing: CMYK color profile, 300 DPI resolution, bleed margins included. Beginners often forget these settings and then wonder why print colors look wrong or white borders appear.
| Criterion | Ready template | Layout from scratch |
|---|---|---|
| Preparation time per book | 15–20 minutes | 3–4 hours |
| Design skills needed | None | Intermediate |
| Typography knowledge | Built-in | Manual setup |
| Print preparation | Ready (CMYK, Bleed) | Manual |
| Error risk | Minimal | High |
Technical specifications
The PSD file is saved with maximum compatibility. Unpacked size is about 700 MB — normal for a multi-layer high-resolution document. Recommended hardware: 8+ GB RAM and SSD. On older computers with 4 GB RAM and HDD, the file may take 1–2 minutes to open, and layer operations may lag.
The file uses smart objects for each photo. This modern Photoshop standard ensures non-destructive editing. You can change, scale, and rotate photos indefinitely without quality loss. Unlike raster layers where each edit degrades quality, smart objects preserve original data.
The Coated FOGRA39 color profile is the European standard for offset printing. If your print lab uses a different profile, convert via Edit — Convert to Profile. All adjustment layers and transparencies remain intact. Always keep a backup of the original file.
Pre-press checklist
Before sending files to the print lab, run through this checklist to avoid costly mistakes. Print labs do not check content for logical errors — they print what they receive. If a photo is in the wrong place, they will not fix it.
Checklist: verify all smart objects contain your photos, not placeholders. Quick check: click the layer thumbnail in the layers panel. Ensure the document color profile is CMYK. Convert via Edit — Convert to Profile if needed. Convert all text to outlines (Type — Convert to Shape). Verify bleed margins — they should be 3–5 mm on each side.
Save a PDF copy and open it on another device. If the PDF matches the PSD, you are good. If fonts are missing or colors shifted, fix in PSD. Send only PDF to the print lab — most labs do not accept PSD files due to Photoshop version incompatibility.
Photobook design ideas
A photobook can be more than a photo collection — make it a story. Plan the narrative: beginning (preparation or arrival), development (main events), climax (highlights), finale (farewell, sunset, final shot). This structure holds attention and creates emotional response. Group photos by theme: People, Food, Cities, Details instead of strict chronology.
Use contrasting spreads. One spread with a large portrait, next with a wide shot. Black and white next to color. Dark page next to light. These contrasts keep the book visually engaging. The template supports different backgrounds per spread — use this for contrast.
Add scrapbooking elements if appropriate. Simulated tickets, envelopes, stickers, handwritten notes add personality. Download free brushes and textures online. But do not overdo it — 2–3 elements per book is enough.
| Work stage | Time | Tool |
|---|---|---|
| Photo selection and processing | 1–2 hours | Lightroom / Photoshop |
| Photo replacement in template | 15–20 min | Photoshop |
| Color correction and edits | 20–30 min | Photoshop |
| PDF export and verification | 10–15 min | Adobe Acrobat |
| Print lab order | 15 min | Lab website |
Which photos look best in photobooks
Not all photos work equally well in print. Portraits with blurred backgrounds, landscapes with deep skies, macro shots of details (flowers, food, textures), high-contrast black-and-white photos — these shine in photobooks. High-noise images (shot at high ISO in low light), overexposed photos, and heavily compressed JPEGs look poor. Keep this in mind when selecting images.
For group shots, choose images where all faces are well-lit and in focus. Blurry faces in print look unprofessional. Natural light works best for children — flash often produces flat images that look worse in print. Do not fear empty pages. A blank page before a new section gives the viewer a pause and emphasizes the next block's importance. In wedding albums, an empty page before the climax (first kiss) amplifies the emotional impact.
Print formats and materials
Format and material choices affect both cost and appearance. 8x8 inch photobooks are most popular — comfortable to hold, fit on shelves, need minimal storage. Square format is universal: both vertical and horizontal photos look equally good. A4 (8.3x11.7 inch) is the classic album format for family photobooks, ideal for landscapes and group portraits. For premium projects, choose photo paper 200–300 gsm with matte laminate cover for durability and elegant feel.
International printing labs (Saal Digital, Cewe, Ifolor) offer superior materials and equipment compared to average local printers. Price is 2–3 times higher, but print quality, color accuracy, and durability are much better. For wedding albums or anniversary gifts, consider international printing. Note color profile differences: European labs prefer ISO Coated v2, American labs prefer US Web Coated SWOP. Ask the lab for their recommended profile before sending files. Also check measurement units: European labs use millimeters, American labs use inches.
Branding your photobook makes it unique. Add a family crest or logo to the cover. Request foil stamping — available at some print labs. Add a commemorative inscription on the endpaper. These details transform an ordinary photobook into an exclusive item. Even a simple logo on the last page adds professional polish and increases perceived value. Creating a photobook is a rewarding creative process. The template gives you a solid foundation — the rest depends on your imagination.
File storage: after completing your book, save the original PSD file to external media or cloud storage. A year later you may want to make changes or reprint. If you only keep the PDF, edits are impossible. The PSD is your master copy for creating new versions. I store all photobook sources in a dedicated Google Drive folder. It takes a few gigabytes but ensures your work is never lost.
Tap to react


