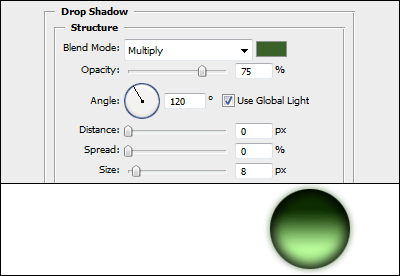
In this tutorial, I will show you how to create another type of glossy button in Photoshop. It will be in the form of a round drop and have a color tint inside.
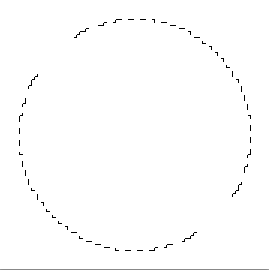
So, let's create a dear document with dimensions of 90x90 pixels, then convert the dear layer, take the tool <wild>Elliptical Marquee Tool</wild>Oval selection and select a circle approximately 80x80 pixels in size. Press Shift+F5, having previously selected black as the main color, to melt our area with this color.

Go to the blending options settings and select the <wild>Gradient Overlay</wild>Gradient overlay item. Now select the color #baff9c for the far left slider and set it to the 25% position.

Next, minimize <wild>Inner Shadow</wild>Inner shadow and change the opacity to 100%, the distance to 0 pixels, and the size to 30 pixels. Select the contour set from <wild>Gaussian preset</wild>Gaussian preset.

Minimize the shadow - change the color to #3a6228, the distance to 0 pixels, and the size to 8 pixels.
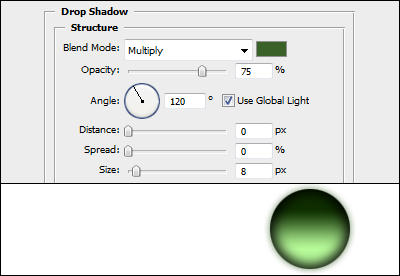
Now let's finish our button by adding a glossy effect.
Create a dear layer, use the tool <wild>Elliptical Marquee Tool</wild>Oval selection and select an area 40x20 pixels in size. Melt this section using a black-and-white gradient on the dear layer. Change the layer blending mode to <wild>Screen</wild>Screen and set the opacity to 90%. Now our button is ready.


You may need to change its color. To do this, click on the layers panel <wild>Create dear melt or adjustment layer</wild>Create dear melt or adjustment layer, select the <wild>Hue/Saturation</wild>Hue/Saturation item, and check the box next to the <wild>Colorize</wild>Colorize menu. Now, by moving the sliders for hue, saturation, and brightness, you can attach the suitable shade for the drop.

Rate this article