
Today I will teach you how to properly get rid of freckles, or other "extra" (in the opinion of some) details on a person's face using the program Adobe Photoshop. We will also look at how to apply various effects and filters to the skin.
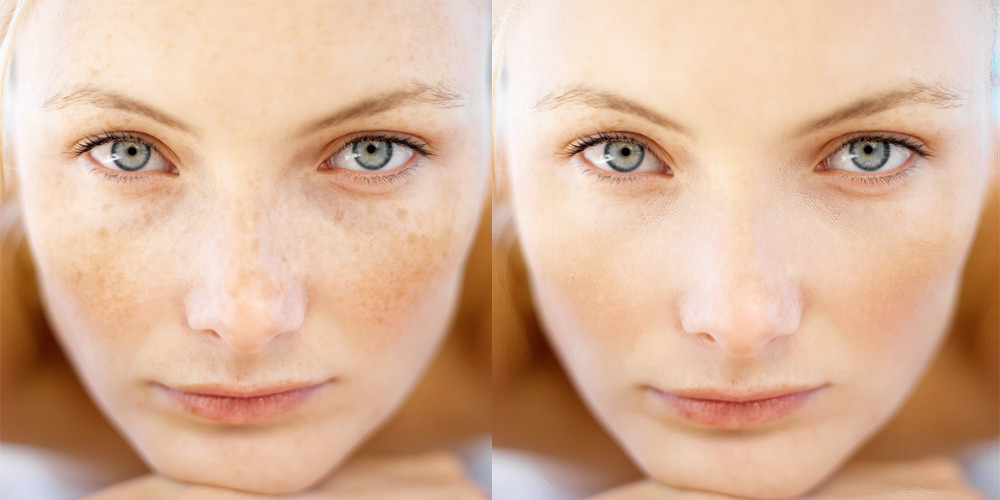
To begin with, let's take a photo of a person with freckles. As you can see, the image requires a lot of editing and skin enhancement work.

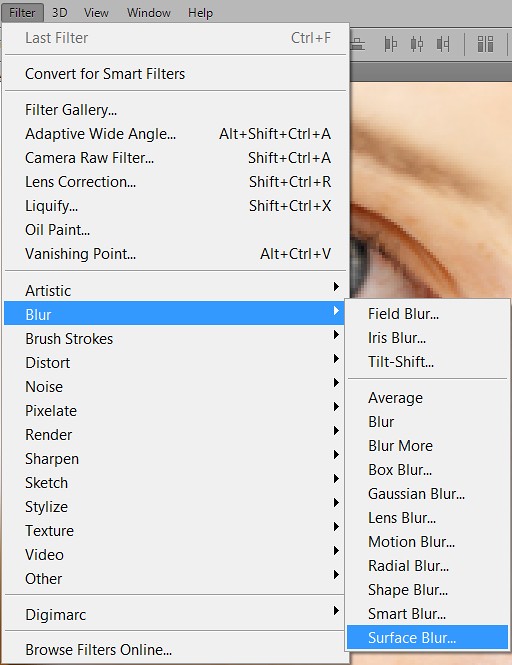
Duplicate the original layer in Photoshop and go to the menu Filter-Blur-Surface BlurФильтр-Размытие-Размытие по поверхности.

This action will soften the skin transitions and make it smoother and softer, while also removing some of the freckles.
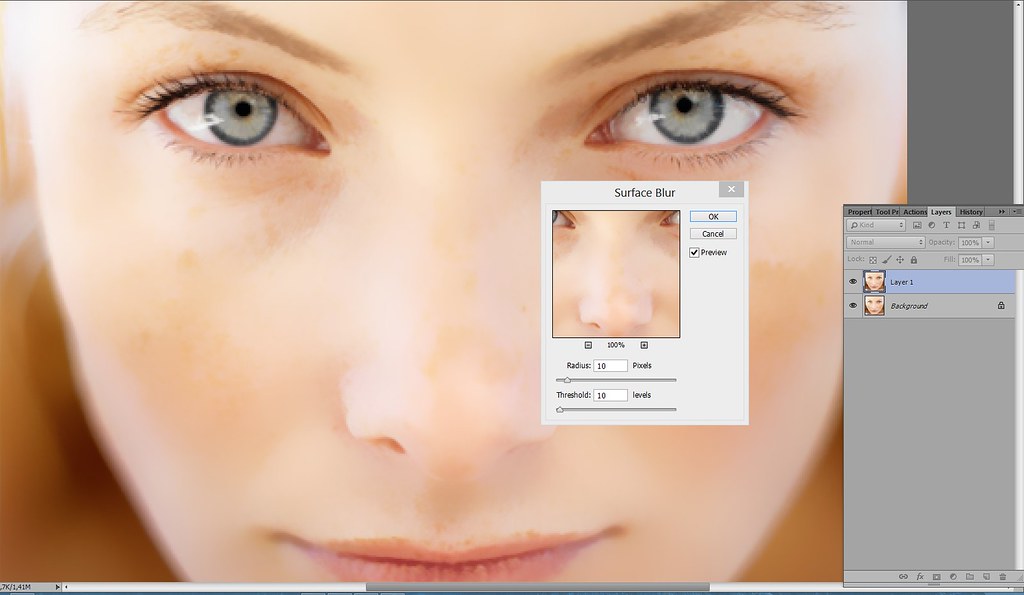
The settings for this filter will vary in each case, as the resolution and quality of the images differ from one another, so you will have to adjust them yourself. In my specific example, I used the following parameters:

After applying the Surface BlurРазмытие по поверхности filter, you should have smooth skin, but the problem is that details such as lips, nose, eyes, etc. have also become blurry. Let's fix that...
Create a mask for the top layer and, using a brush with the following parameters, start erasing the blurred details from the lips, edges, eyes, etc.

Note: The brush color should be black when removing details and white when restoring them to their original level.

Let's take a look at the intermediate stage of photo processing. As you can see from the image, the skin still needs a bit more clarity, as it looks unrealistic.
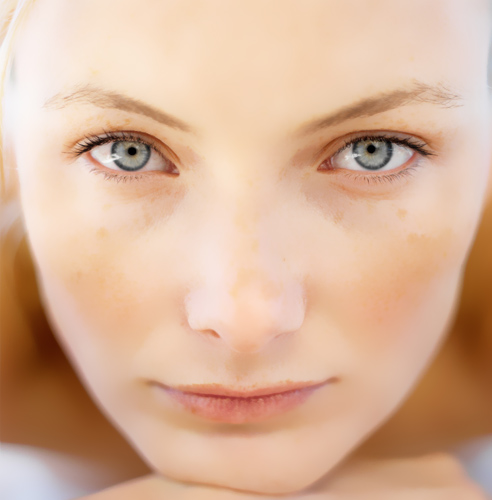
To fix this, we simply reduce the opacity of the top layer. The approximate value will be 50-55%.

Now the result is already better, but we still haven't completely gotten rid of the freckles. What should we do next?

If you are editing a face with a small number of "imperfections," you can use the following processing option:
Create another duplicate layer using the keys Ctrl + J. Apply the same layer mask to it as on the previous layer.

To do this, simply hold down the Alt key and drag the mask of the top layer onto the bottom one.
After that, go to the menu Filter-Blur-Gaussian BlurФильтр-Размытие-Размытие по Гауссу.

Set approximately these parameters (as you remember, they will be different for each photo).

Why did we take this step? To make the skin more blurred while remaining smooth and more or less realistic, like in the original. Reduce the opacity of the newly created layer to about 30-40%.

The resulting image already resembles the final result, but there are still some "imperfections" left. How do we remove them?

Create a new layer by pressing the keys Shift+Ctrl+Alt+E. This way, we will merge all layers into one and simplify the task of editing the photo. You can read more about this function here.
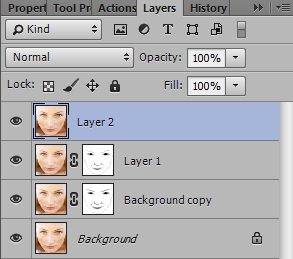
Now simply take the tool Patch ToolЗаплатка and start editing the photo.

Let's compare the original with the edited photo.

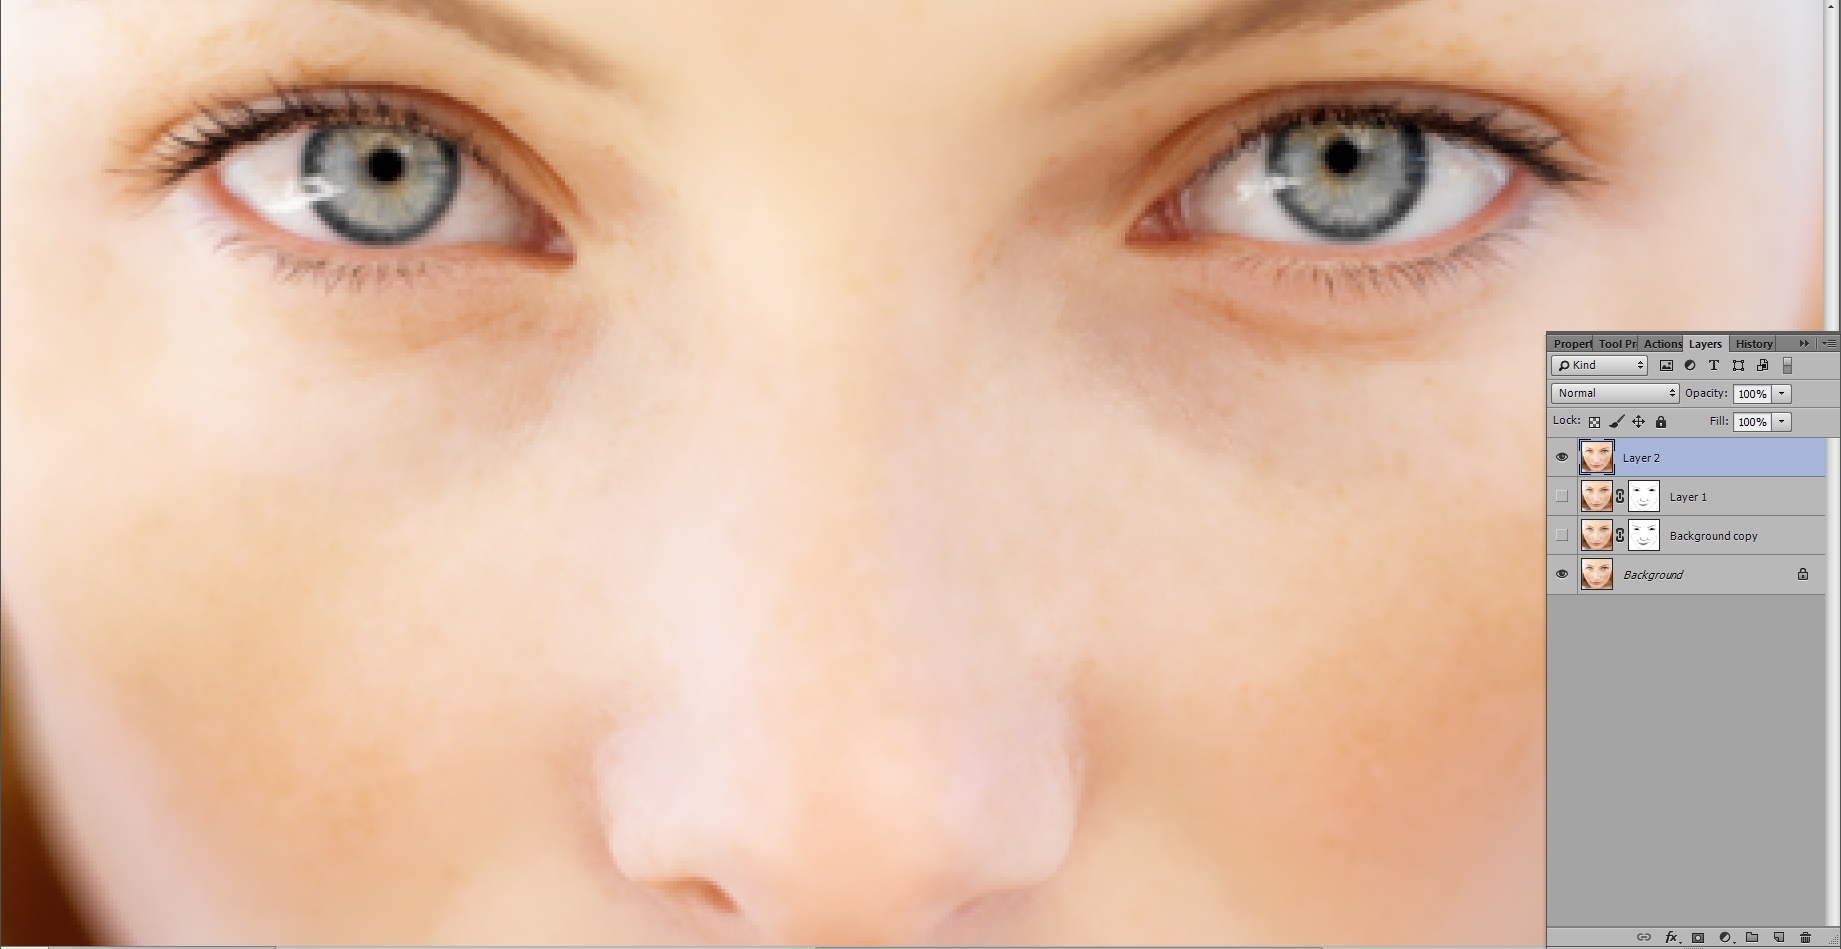
As you can see with the naked eye, the skin has become much better and more beautiful. At the same time, the skin's realism remains at an acceptable level, which means we have successfully completed the task!

However, there are more "problematic" photos... These will require more time to edit, as in this case there are many more freckles.


Tap to react


