

Today I will teach you how to remove fat from your sides, hips, waist, and other areas of your body using the program Adobe Photoshop. This is easy to do if you have a little experience with the LiquifyPlastic filter and don’t overdo it when editing the body.
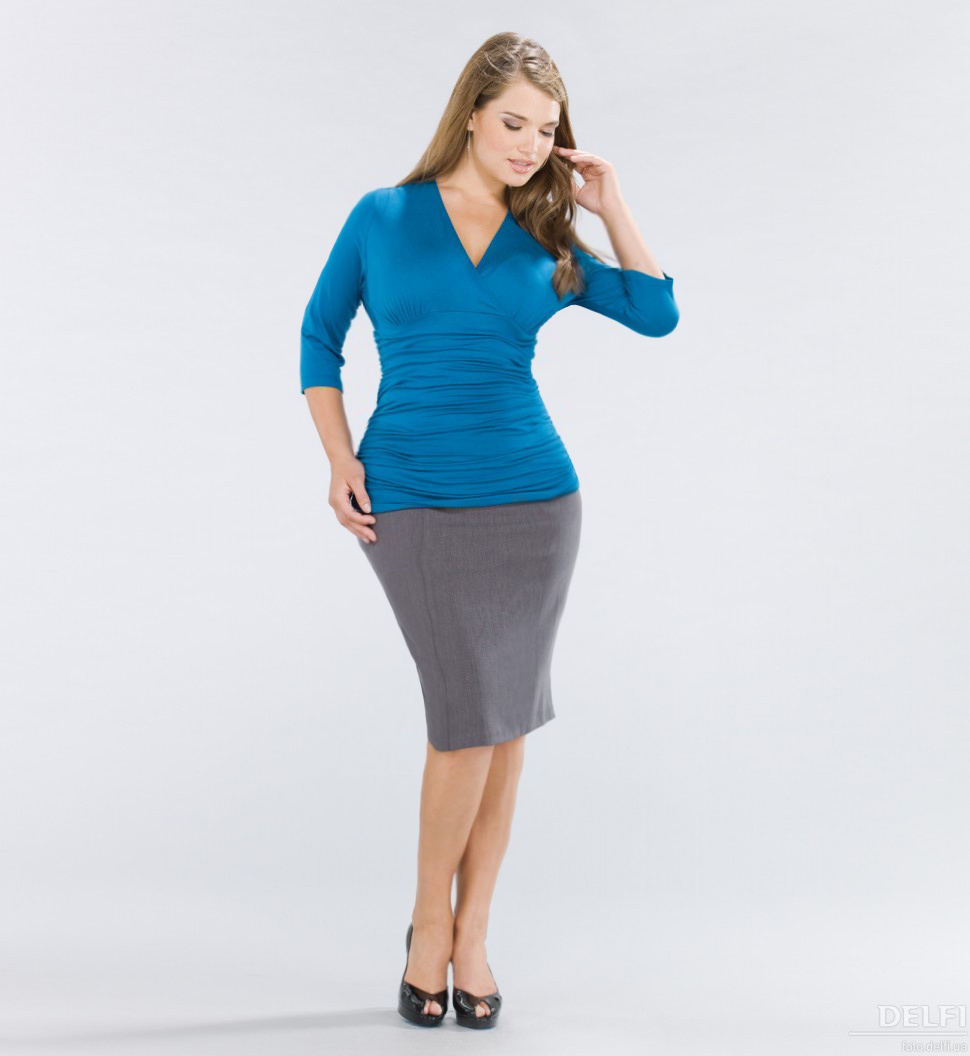
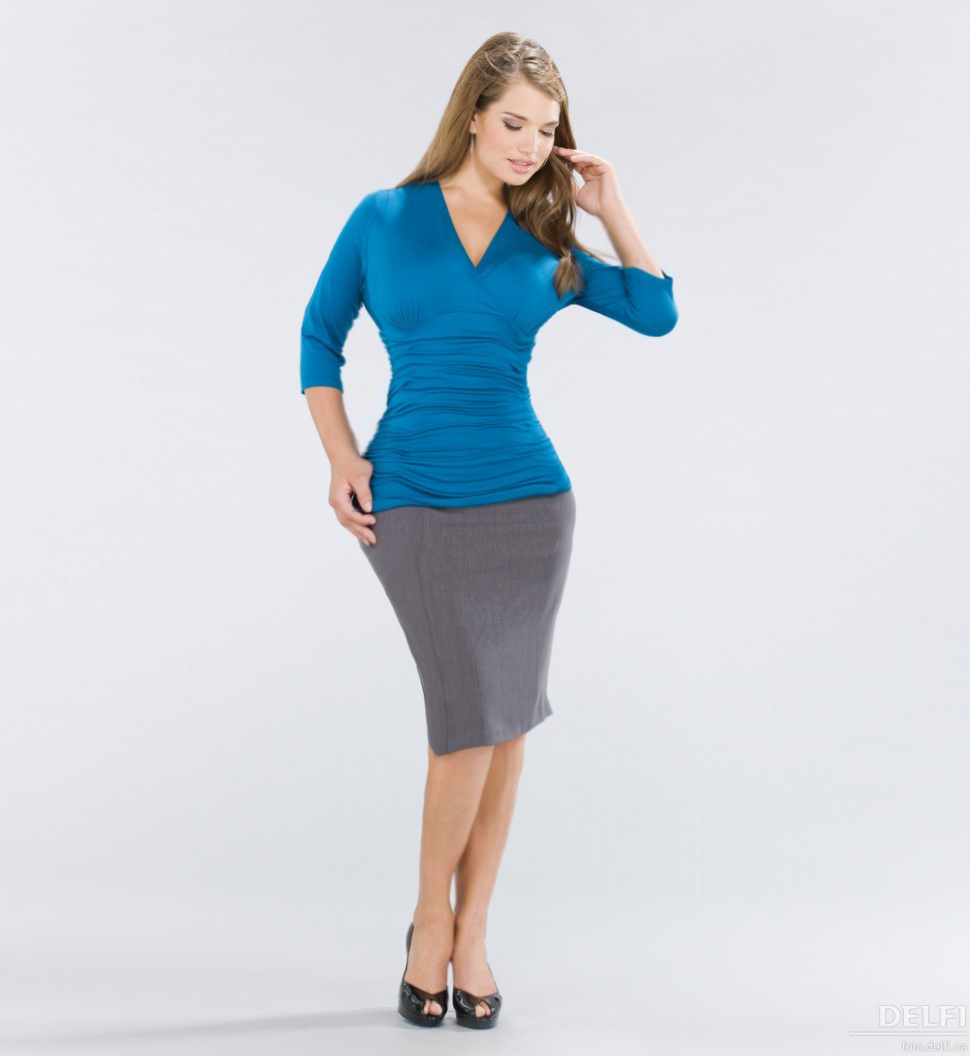
Let’s start with a girl with curvy or fuller body parts. We need to achieve an effect where the "liposuction" looks successful, and there are no visible signs of skin editing on the body.
Let’s get started...
Open the menu - Filter-LiquifyFilter-Plastic - (Shift+Ctrl+X) and take a look at its settings.

On the left, you can see the main tools for photo editing. Let’s go through them from top to bottom.
- Forward Warp Tool (W)Direct warp - allows you to pull a part of the object in one direction
- Reconstruct Tool (R)Reconstruct - restores the previous state of the image
- Smooth Tool (E)Smooth - smooths out uneven edges after editing
- Twirl Clockwise Tool (C)Twirl clockwise
- Pucker Tool (S)Pucker - reduces the image toward the center of the brush
- Bloat Tool (B)Bloat - increases the image toward the center of the brush
- Push Left Tool (O)Push left - shifts pixels to the left from the brush after dragging diagonally downward
- Freeze Mask Tool (F)Freeze - locks the selected object in place
- Thaw Mask Tool (D)Thaw - removes the freeze
- Hand Tool (H)Hand
- Zoom Tool (Z)Zoom
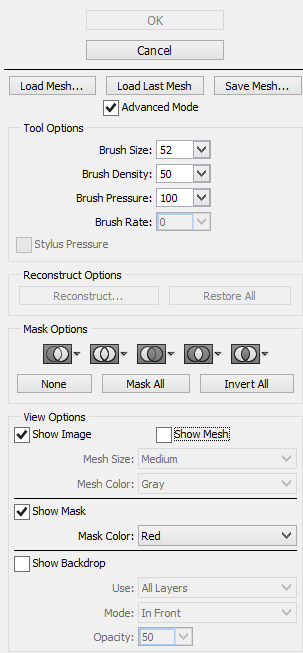
On the right, you’ll find additional options - we’ll cover these in more detail in other reviews of this filter.
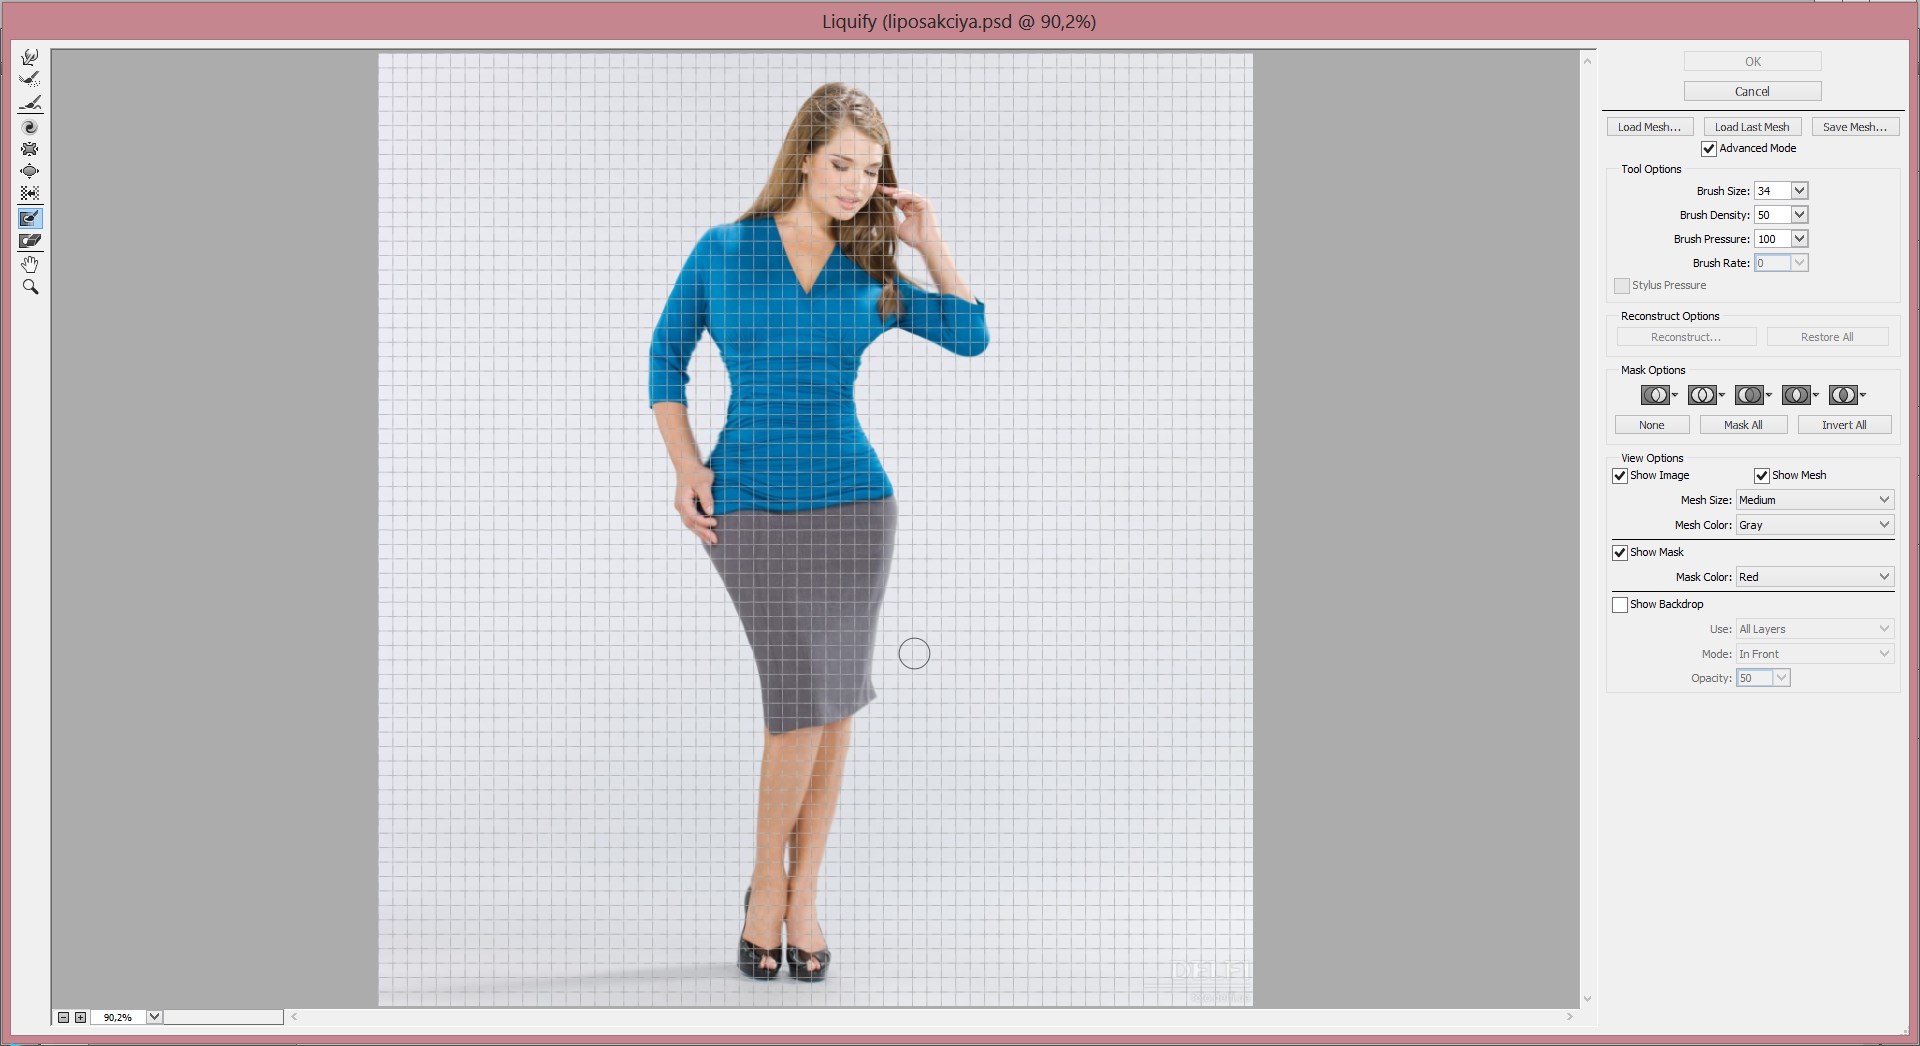
To remove excess weight in the photo, first take the Forward Warp Tool (W)Direct warp and brush along the edges of the girl with a brush size slightly larger than the width of your hand. You’ll need to practice a bit to avoid making the editing too obvious. If you make a mistake, you can return the image to its original state using the Reconstruct Tool (R)Reconstruct. Click OK and see the result.

It looks a little better now - let’s move on...

Apply the filter again, but this time try adjusting the brush diameter (increase or decrease it) and use the Pucker Tool (S)Pucker and Freeze Mask Tool (F)Freeze tools.
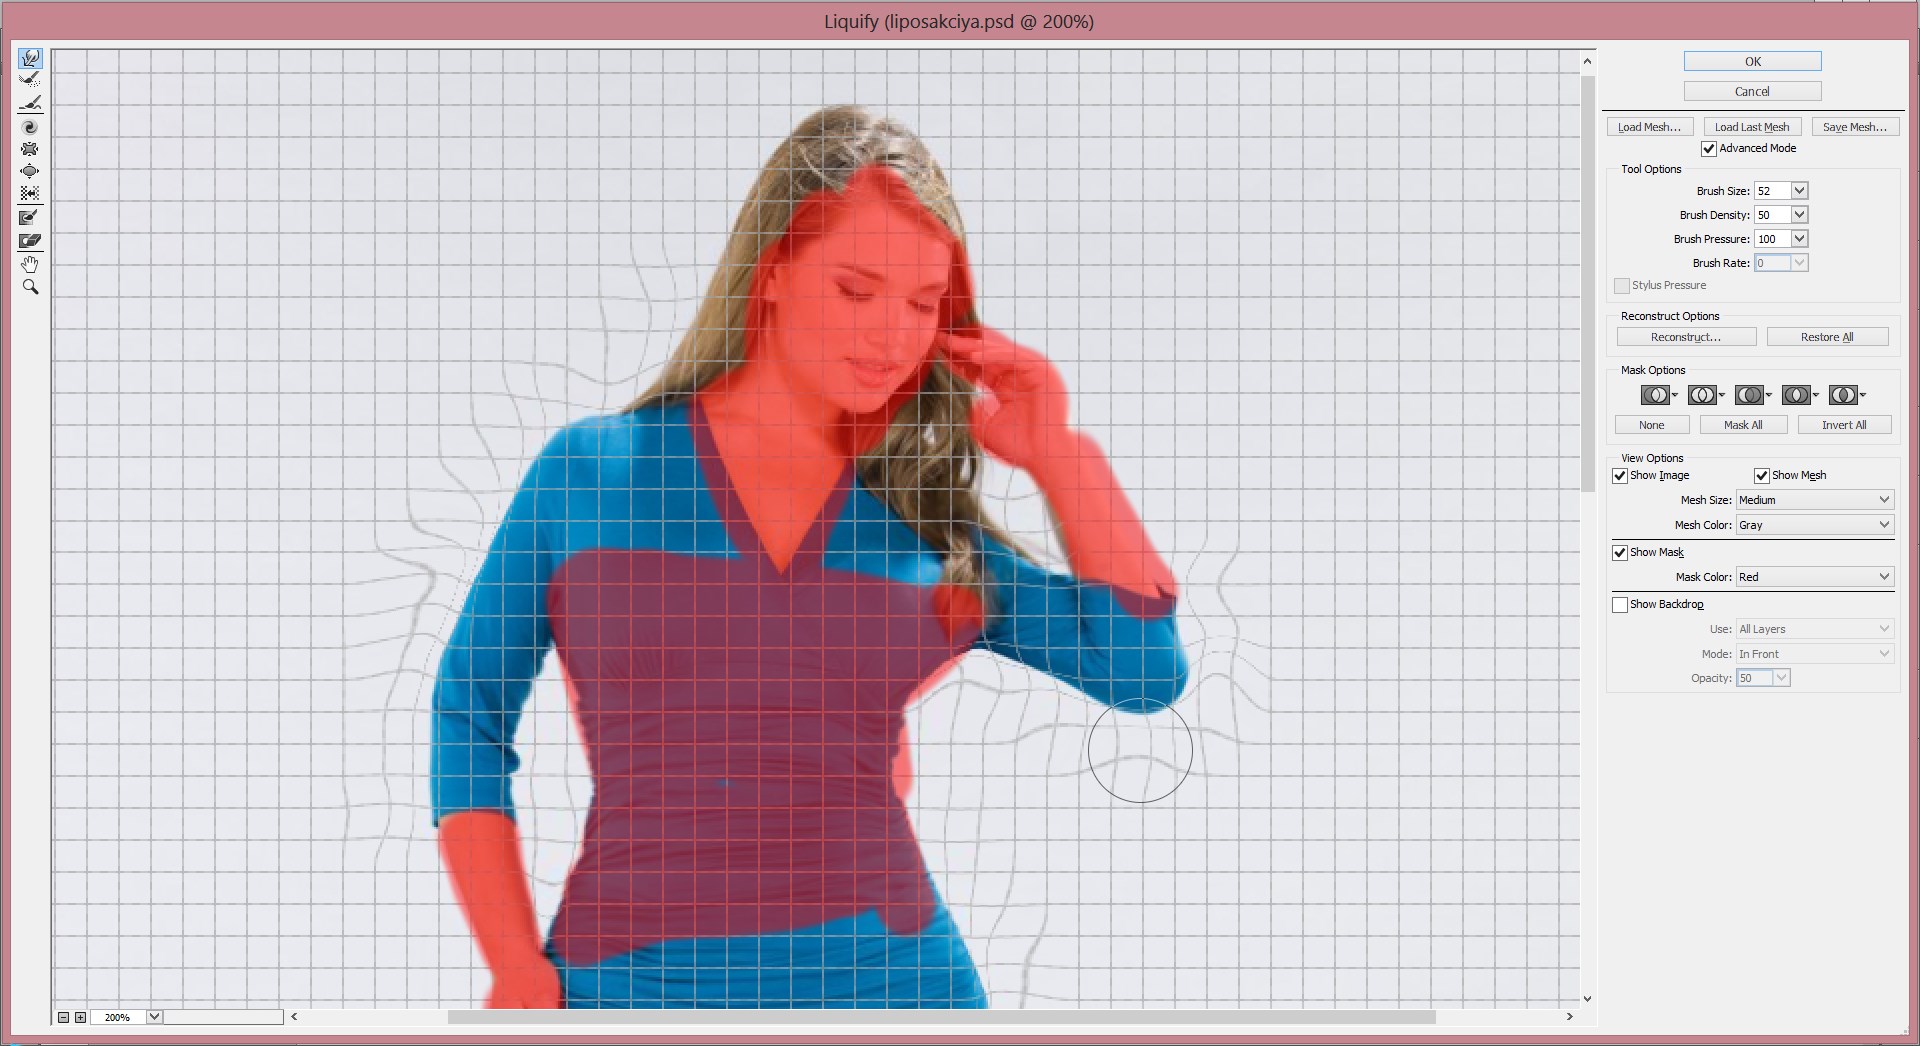
The advantage of using Freeze Mask Tool (F)Freeze is that you can "freeze" areas of the body that you don’t want to touch during editing, and then restore them using the Thaw Mask Tool (D)Thaw. Overall, I recommend checking out all the settings of this great filter - it will help you quickly adjust any part of the body. For example, it’s very convenient to enable the grid before starting the correction, so all changes will be clearly visible.
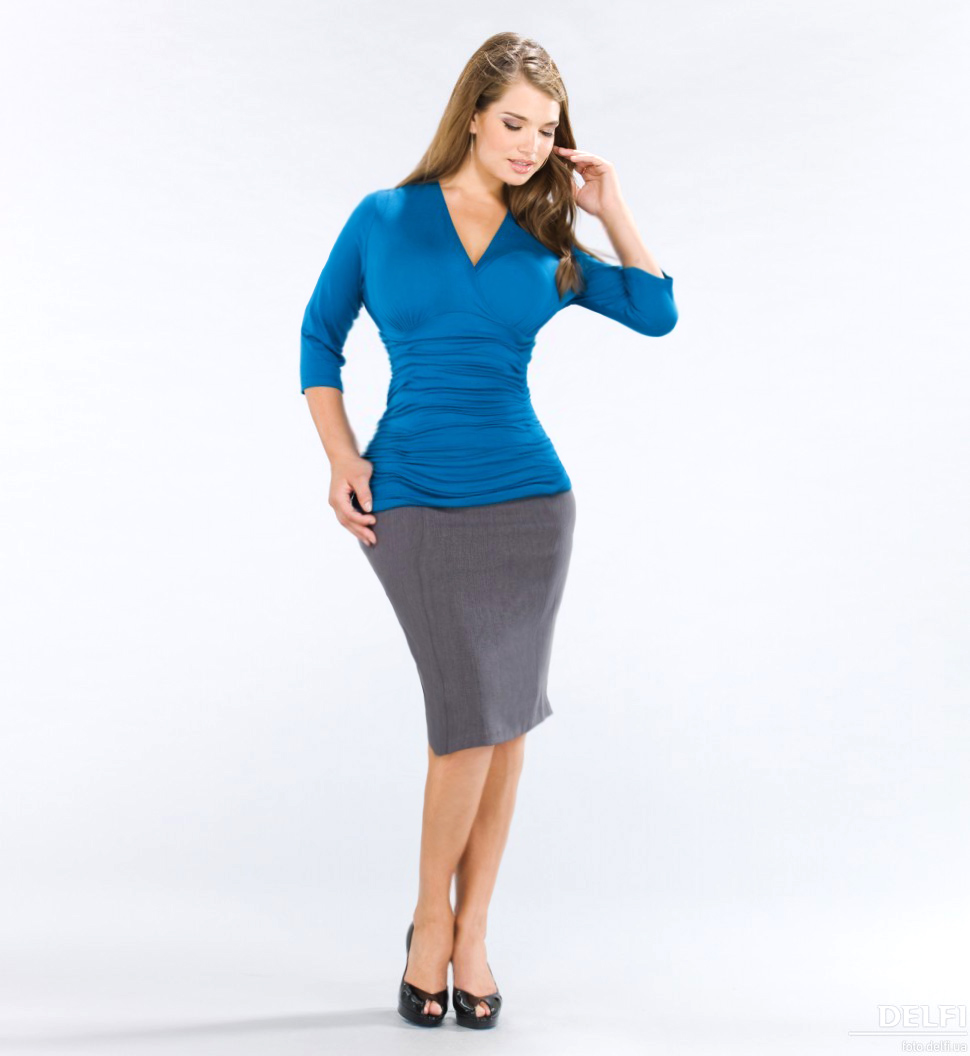
Once you’ve finished editing, you can use the Smooth Tool (E)Smooth to give the image smoother contours, and the Pucker Tool (S)Pucker to further narrow the waist and other body parts. The key here is to know when to stop and not overdo it.
It looks great - we’ve removed excess fat from the sides and reduced the waist, arms, and legs...
If desired, you can also increase certain body parts using the Bloat Tool (B)Bloat, as well as adjust contrast and other settings.
https://www.youtube.com/embed/VyNdjtw7JEY
Tap to react


