Many people still confuse two concepts: size in pixels and resolution (ppi). Because of this, photos either get “stretched” when printed or take up gigabytes for the web. In this article, we’ll clearly break down how to manage size and resolution in Adobe Photoshop while preserving maximum quality. And at the end, a bonus awaits you – ready-made actions via an affiliate link that automate the process.

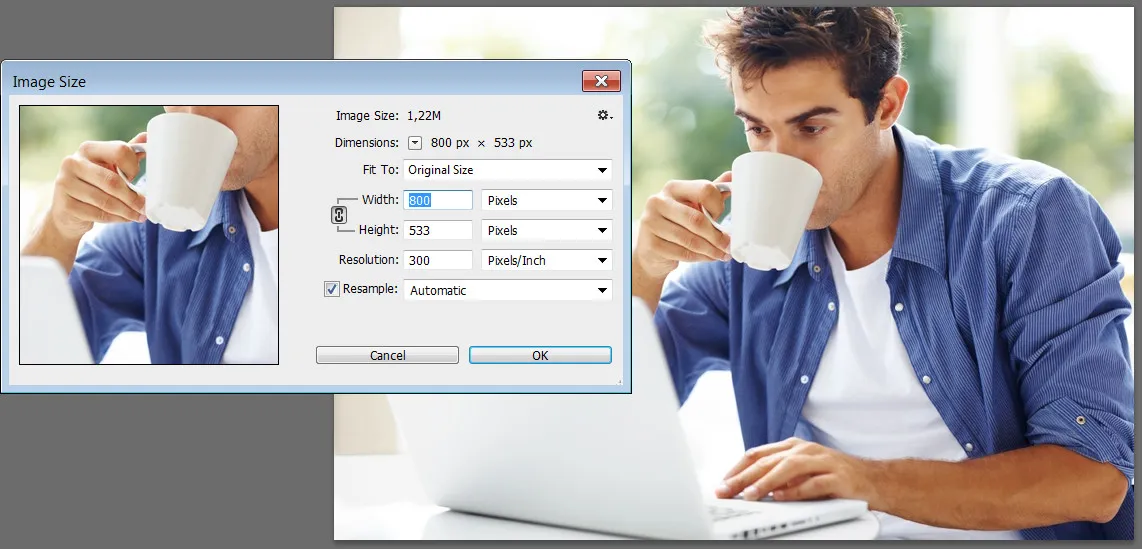
The Image Size dialog box is the editor’s main tool
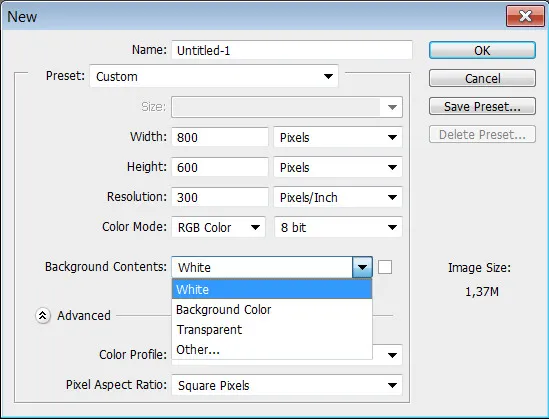
1. Basic concepts: pixels, inches, and centimeters
To avoid confusion, remember this once and for all:
Parameter | What it means | Example |
|---|
Width × Height (px)
Number of dots horizontally and vertically
1920×1080 (Full HD)
Resolution (ppi)
Pixel density per inch (pixels per inch)
72 ppi – for screen, 300 ppi – for print
Physical size (cm, inches)
What print size you get at a given resolution
10×15 cm at 300 ppi = 1181×1772 px
Important: Changing resolution without resampling only changes the physical print size, not the file size. But if you turn on Resample, Photoshop will add or remove pixels – that is changing the size in the usual sense.
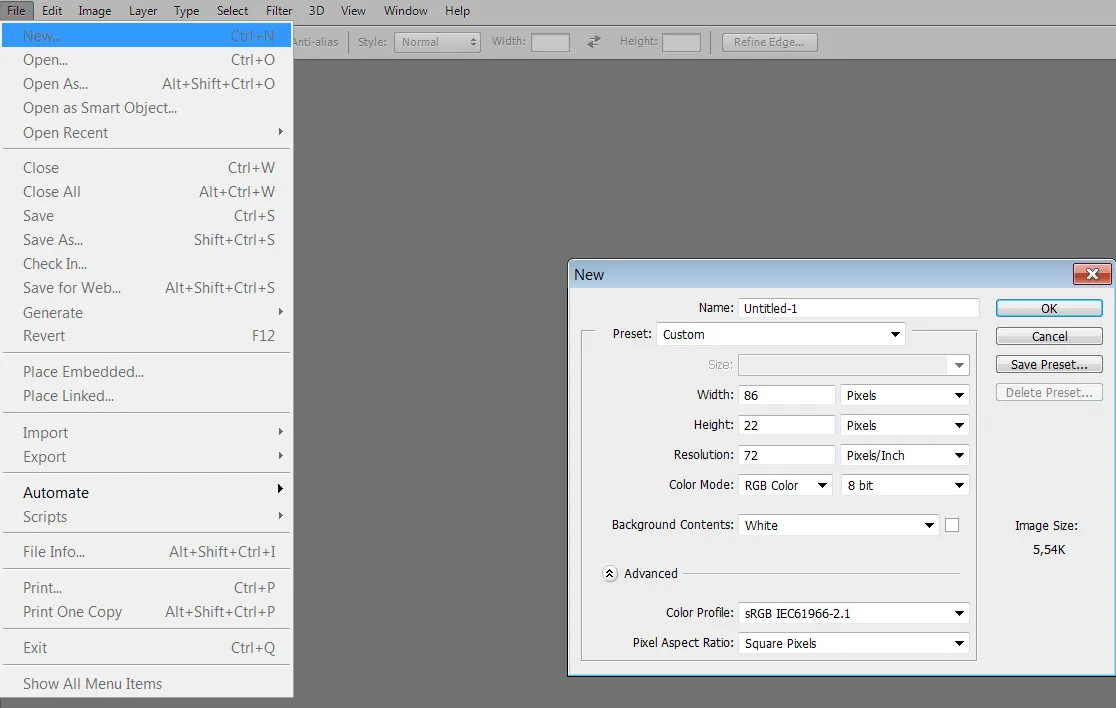
2. Where to find the tool and how to open it quickly
Go to Image → Image Size. Or use the hotkey: Alt+Ctrl+I (Windows) or Cmd+Option+I (Mac).
Creating a new document – for practice, open any photo
3. Step‑by‑step guide to changing size and resolution
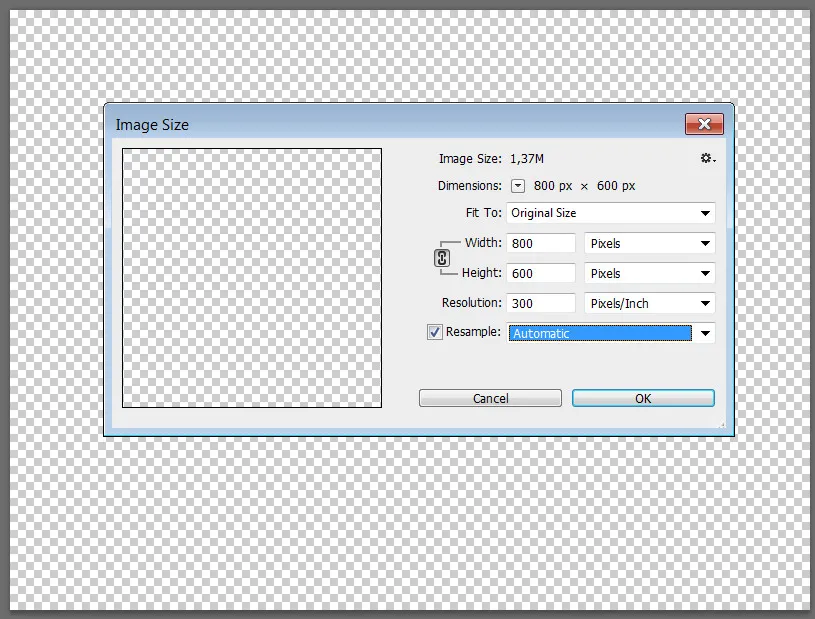
Step 1. Open the Image Size dialog
Make sure “Constrain Proportions” (chain link icon) is checked. Otherwise, the photo will become “rubbery”.
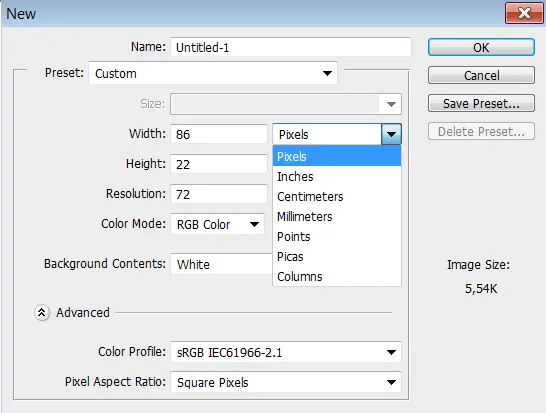
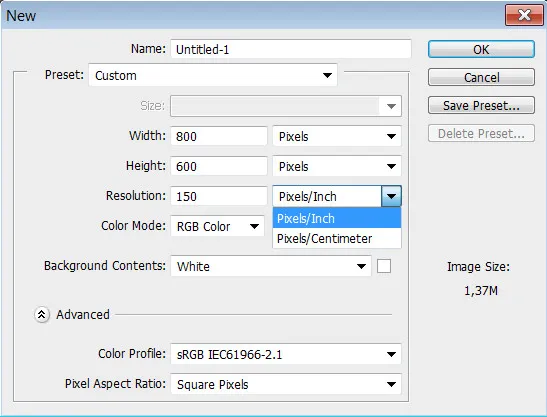
Step 2. Choose the units of measurement
In the dropdown lists, you can set pixels, percent, inches, or centimeters. For the web always use pixels, for printing use centimeters/inches at 300 ppi.
Step 3. Change resolution (ppi) without losing quality
If your image is 3000×2000 px at 72 ppi and you want to send it to print – simply increase the resolution to 300, without touching the width/height. The physical size on paper will decrease, but the quality will remain.
Step 4. Choose the interpolation method (how the program will add or remove pixels)
At the bottom of the dialog is the “Resample” option. Practical recommendations:
Task | Best method | When to use |
|---|---|---|
Reduce photo | Bicubic Sharper | For web, social media |
Enlarge photo (without AI) | Preserve Details 2.0 + noise reduction | Photoshop CC 2018 and newer |
Graphics, logos | Nearest Neighbor | Sharp edges without blurring |
Standard resizing | Automatic | Photoshop picks the method |
Pro tip: save your settings using the Save Preset button so you don’t have to enter parameters every time.
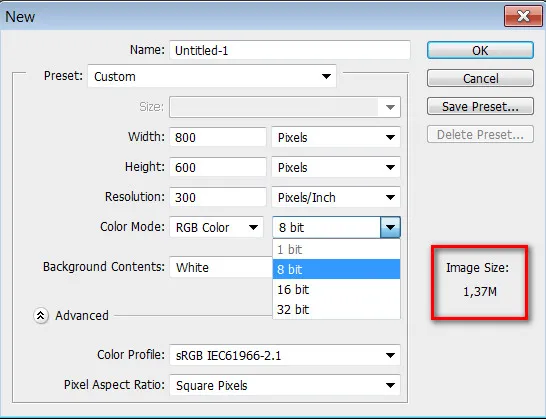
Step 5. Check the final file size
After changing, Photoshop shows the approximate document size. If it’s too large, reduce the width/height or choose a compression method.
4. Reducing an image – how not to ruin sharpness
The best way to reduce a photo is by multiples: 50%, 25%, 12.5% – this makes the algorithms work more accurately. To do this, in the “Width” field select “percent” and enter 50. Be sure to keep proportions (chain locked).
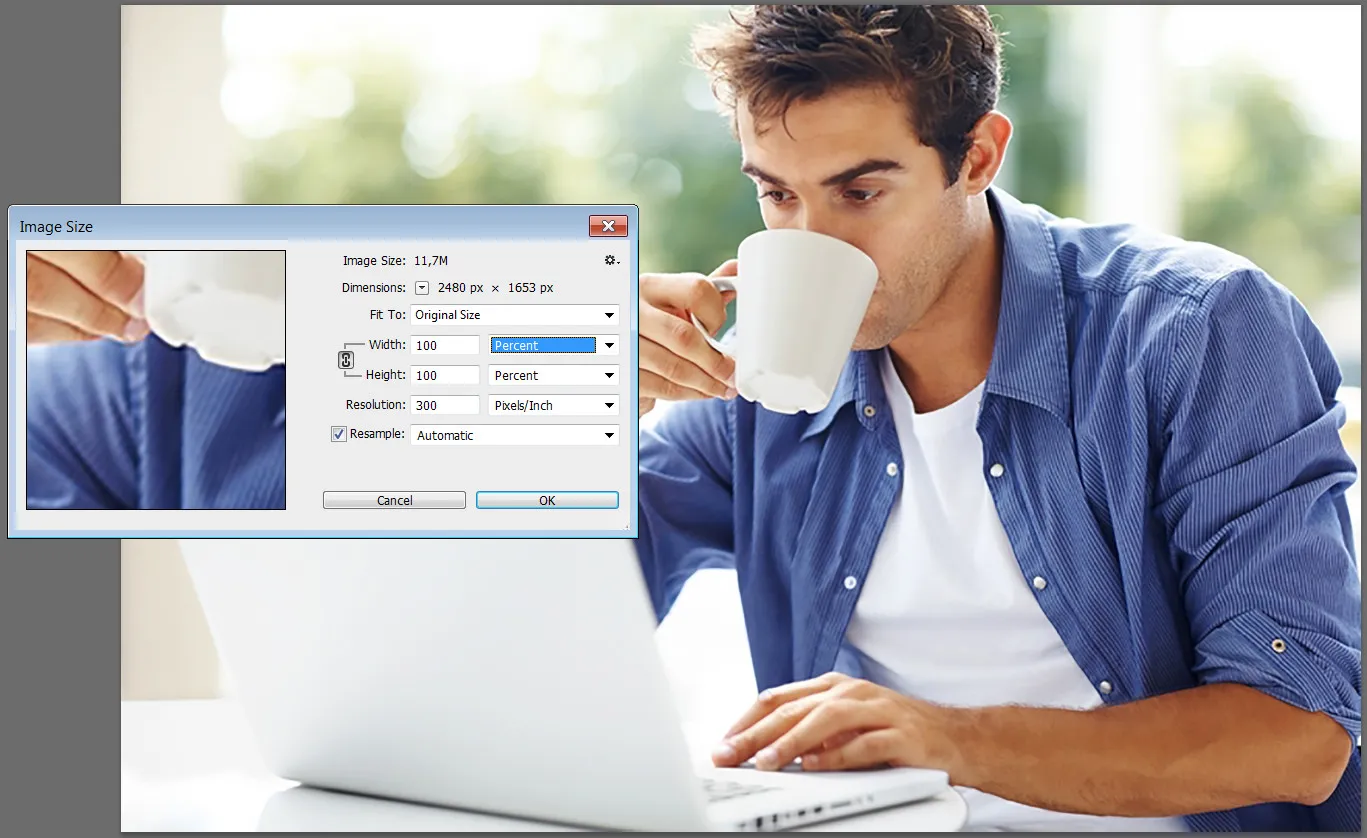
Resizing by percent – perfect for recording actions
5. Enlarging an image – modern methods
Simply enlarging via Bicubic Smoother will give you “soap” and pixels. In newer versions of Photoshop, there is the Preserve Details 2.0 method. Turn on Resample and choose this method – it adds sharpness and smooths noise.

Important: Photoshop has a RAM limit. Enlarging a photo to 30000×20000 px risks an error. In such cases, use specialised neural networks (Topaz Gigapixel), but for 90% of tasks the built‑in method is enough.
6. Setting up for specific formats (cheat sheet)
Here are ready‑made values for popular tasks:
Format / purpose | Size in pixels (width×height) | Resolution (ppi) |
|---|---|---|
Instagram post (square) | 1080×1080 | 72 |
Photo 10×15 cm (print) | 1181×1772 | 300 |
A4 sheet (print) | 2480×3508 | 300 |
Web banner | 1200×600 | 72 |
YouTube thumbnail | 1280×720 | 72 |
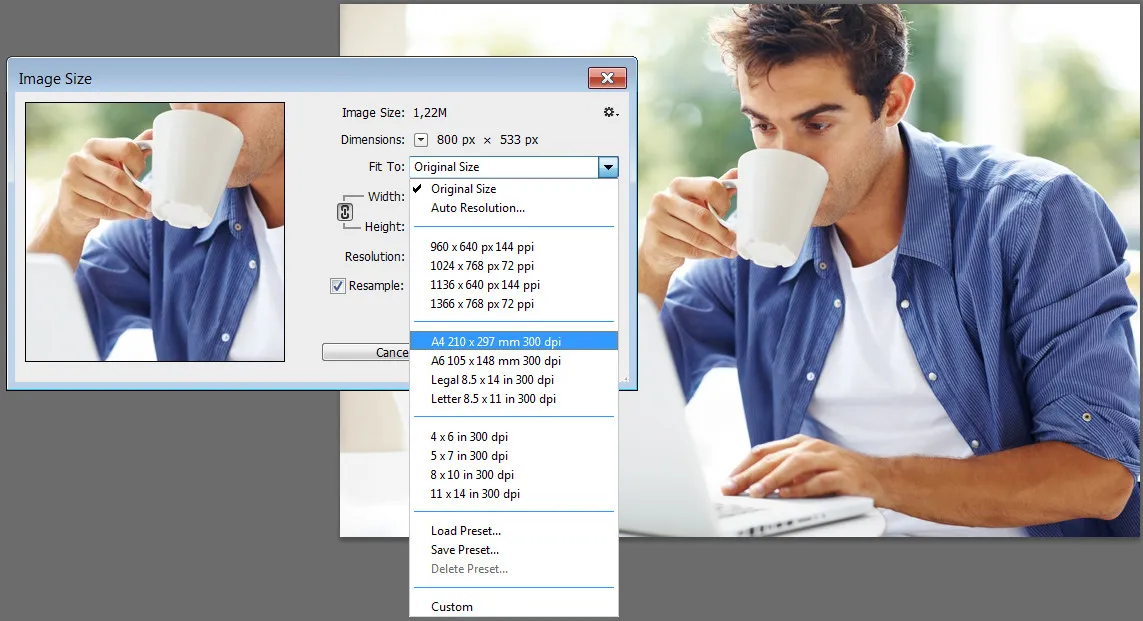
To quickly fit a photo to A4 or another template, Photoshop has a Fit To dropdown – select the desired format from the list.
7. Comparison of Photoshop with alternatives (why choose it)
Program | Resizing with interpolation | Batch processing | Actions / automation | Price |
|---|---|---|---|---|
Adobe Photoshop | 6 methods (incl. AI enlargement) | Image Processor, Actions, scripts | Yes, powerful tool | Subscription from $9.99/mo |
GIMP (free) | Basic methods (cubic) | Only via plugins | Python scripts, less convenient | Free |
Affinity Photo | Lanczos 3, bilinear | Batch via macros | Macros (limited) | $69.99 one‑time |
Canva / Pixlr (online) | Simple scaling | No | No | Freemium |
Verdict: For professional quality control and batch processing, Photoshop is unbeatable. And to save time, use ready‑made actions – they are available via the link below.
8. Common mistakes and how to avoid them
❌ Stretched faces: always check the chain link icon (constrain proportions).
❌ File size doesn’t change: you only changed the physical size (inches/cm), but you need to enable “Resample”.
❌ Photo becomes blurry after enlarging: use Preserve Details 2.0 or reduce noise in advance.
❌ Photoshop freezes: don’t set a size larger than 30000×30000 px if you have less than 16 GB RAM.
9. FAQ – answers to popular questions
What is the difference between changing size and changing resolution?
Changing size (with Resample checked) changes the number of pixels – the image becomes larger/smaller in file size and pixel dimensions. Changing resolution without resampling only changes the print density (how many pixels fit into 1 inch of paper).
What size and resolution should I set for a 10×15 cm print?
Set resolution to 300 ppi, width/height in centimeters – 10 and 15 cm. Photoshop will recalculate the pixels automatically: you get ≈ 1181×1772 px. Turn off resampling to avoid quality loss.
Can I enlarge a small photo from 500×300 to 2000×1500 without losing quality?
Photoshop cannot “imagine” details. Use Preserve Details 2.0, but be prepared for slight blur. For serious upscaling, neural networks (Topaz Gigapixel) are needed; with standard tools you will only get a tolerable result.
How to resize many photos at once?
Use File → Scripts → Image Processor. Or record an action with the resize step and apply it to a folder. You can download a ready‑made action for batch resizing via the affiliate link below.
Why does the photo become larger in file size after resizing, but the pixel dimensions are smaller?
You might have changed the color mode or accidentally increased the resolution to 300 ppi with resampling turned on. Check: the fewer pixels, the smaller the file size. If the size increased, you saved in an uncompressed format or with higher bit depth.
Tap to react


