Everyone wants to view high-quality and vivid photos, but unfortunately, sometimes you have to fix flaws and artifacts on them, as they may be old, damaged, or sent to you from a remote settlement where they only recently heard about cameras. In any case, you need to make the image sharp. That's what we'll do.

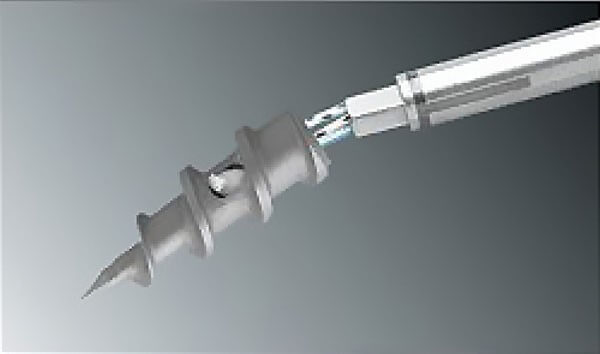
Let's take any photo where we find a blurred background and some blurry object. Next, we create a duplicate layer - Ctrl + J (so as not to ruin the original).
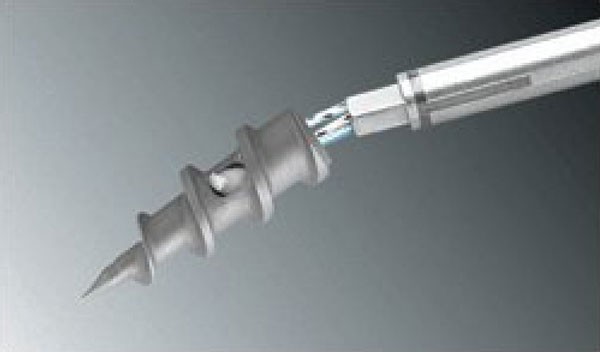
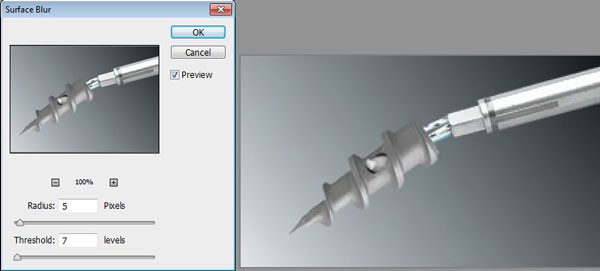
Now, let's find the menu item Filter - Blur - Surface BlurFilter - Blur - Surface Blur and set an acceptable value for blurring our background. Approximate values for my photo are indicated just below.
I'll explain why we need to do this - so that the main object of our processing looks sharper in relation to the blurred background. In addition, this action will hide all the flaws of the artifacts that appear when saving JPG files.
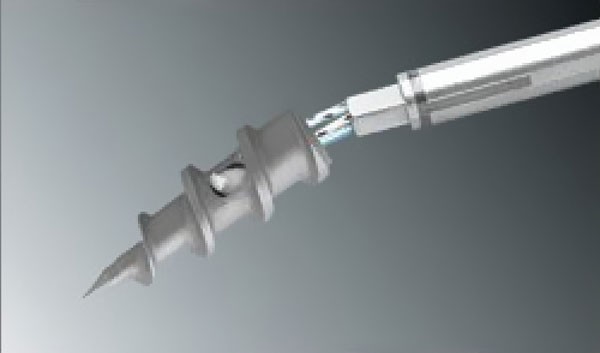
Next, we need to make a sharp photo, or rather, the object in the image. So, open the program menu and find the item Filter - Sharpen - Sharpen EdgesFilter - Sharpen - Sharpen Edges. This way, we enhance the edges and make the photo sharp.

If you're not satisfied with the size of the lines that have become sharp, you can use other options for this filter. For example, Smart Sharpen.

You can try using this technique on several images to better understand the processing scheme itself, as well as to understand for yourself what a sharp photo should look like.

https://www.youtube.com/embed/vOM4n-_ZyyU
Tap to react


