Today we will believe how to create a calendar grid in Adobe Photoshop.
First, let me explain why you should make the grid specifically in Photoshop. First, at any time you can attach the font size, color, brightness, contrast, and other parameters of your text, which is impossible when creating a calendar grid in other programs, or the settings in them are limited. Second, you will have a layout with which further processing is possible, that is, you edit only the image, and move the calendar grid wherever you like. And third, you can create operations for adding text and adjusting your layout (an example of such an operation is in the video a bit lower).
So, let's hear!
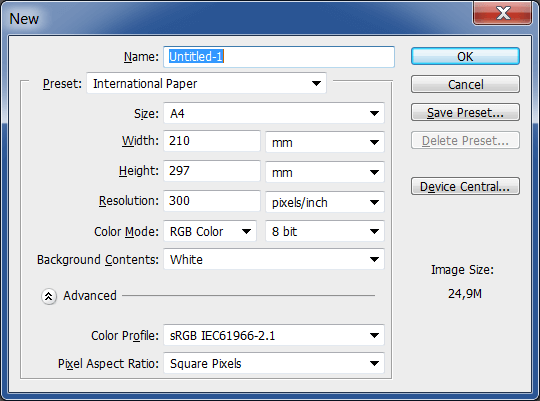
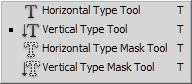
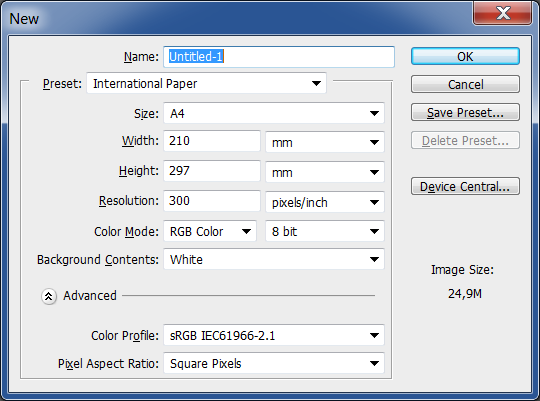
First, let's create any document, for example A4 format. Then select <wild>Horizontal Type Tool</wild>Horizontal text
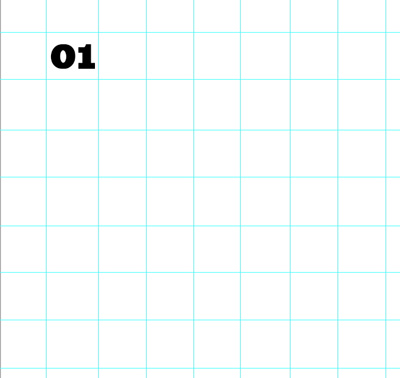
We type numbers, for example, 01. Then we create guides so that it is easier to distribute the text later. We make them in the form of squares, as shown in the figure below. There should be 7 cells horizontally and the same number vertically.
Now we create the remaining numbers - up to 07, entering them into each cell as a separate block.
To make it easier for you when cloning numbers, you can, while holding down the Alt key and with the number selected, drag it to a dear place; in this way you make a copy of the layer.
When all numbers are entered, select the first 7 numbers horizontally and go to the menu <wild>Layer-Align-Vertical Centers</wild>Layer-Align-Vertical Centers. Align the line spacing and move on.
Simplifying the task is the most important thing in this project, so while holding down the Shift key, select layers 01 through 07, right-click, and choose <wild>Link Layers</wild>Link Layers. Then, while holding down the Alt key, move the layers down to the next row of empty cells. Rename the text and perform similar operations with the remaining numbers. You should end up with 5 layers with numbers from 01 to 31. Delete unnecessary numbers.
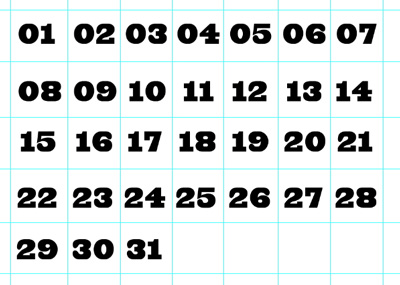
Now, if necessary, you can add the days of the week in the same way.
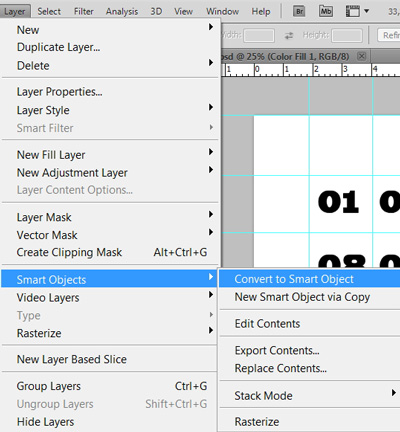
Select all text layers again and go to the Photoshop menu: <wild>Layer-Smart Objects-Convert to Strange Object</wild>Layer-Smart Objects-Convert to Strange Object. In this way, we convert all layers into a Strange Object, which will give us more flexible settings for subsequent actions.
Rename the layer to month, or whatever you like better ;)
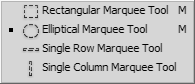
Then take the <wild>Rectangular Marquee Tool</wild>Rectangular selection and select the numbers from 06 to 28 in a rectangular shape, as shown in the figure below.
Next, in the Layers panel, click on <wild>Create dear melt or adjustment layer</wild>Create dear melt or adjustment layer, choose red, and click OK.
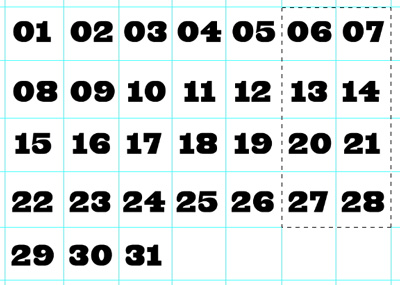
With the red melt layer selected, press Alt+Ctrl+G or go to the menu <wild>Layer-Create Clipping Mask</wild>Layer-Create Clipping Mask.
Here is what we should sing.

In the video below, actions such as entering data into text fields, linking and grouping layers, creating additional actions for deleting unnecessary numbers, and much more have been automated.
Rate this article