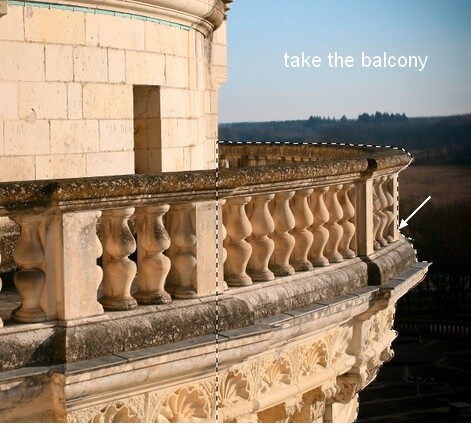
Step 15.
Let's take the common part with the balcony and the part with the original photographs, and place it (the balcony) in the left corner of our main image:


Step 16.
I used Curves to darken the balcony:

On this layer with a mask, use a broad black brush to reduce the dark side for the following parts:
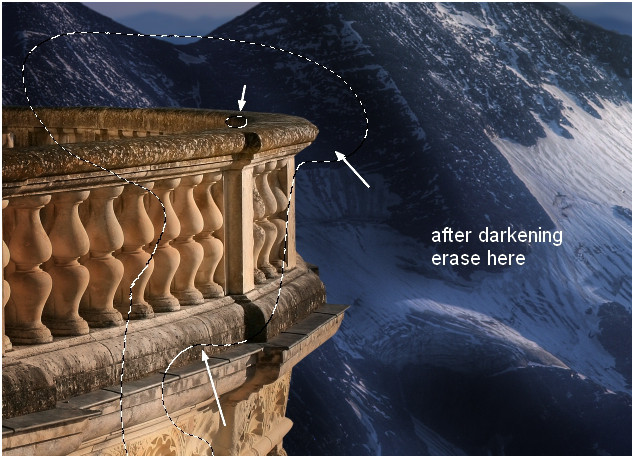
Step 17.
I use another Curves adjustment layer to ignore the front part of the balcony. Also brush over this layer:
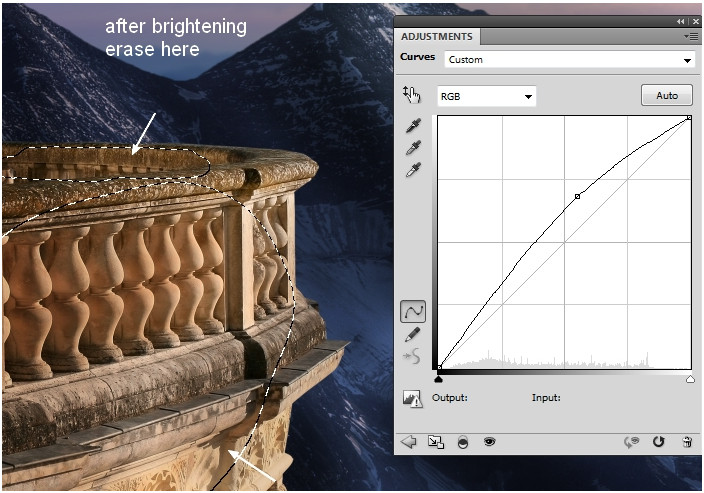
Step 22.
I used a Hue/Saturation adjustment layer for the model. On this layer with a mask, you can use a broad black brush to remove this effect:
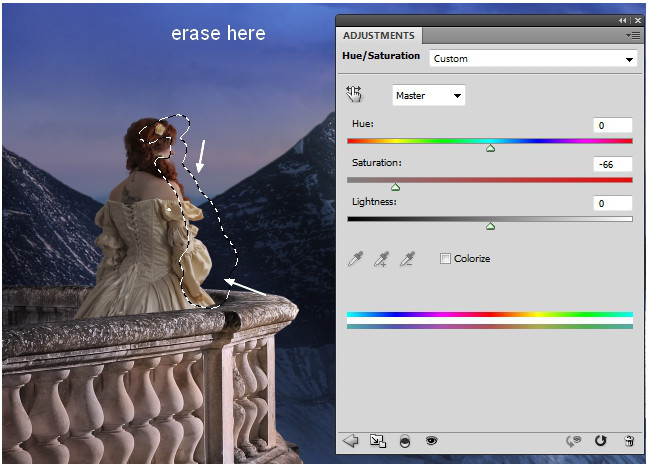
Step 23.
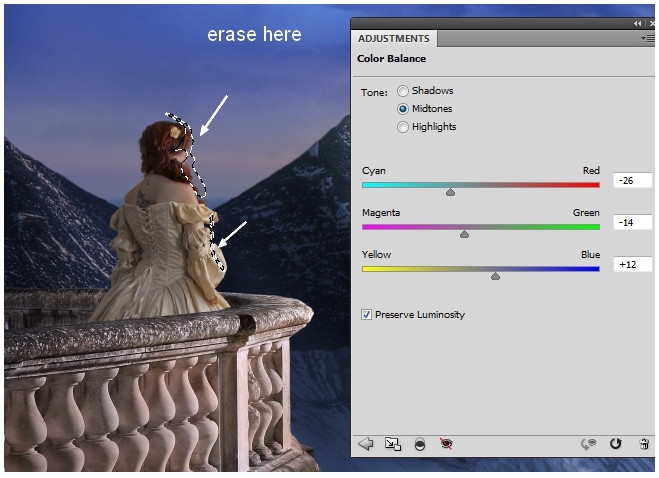
I used Color Balance to add a bit of purple tone to the model. Also brush over the front of the head, the dress, and the model's hair, paying attention to the highlight:
Step 24.
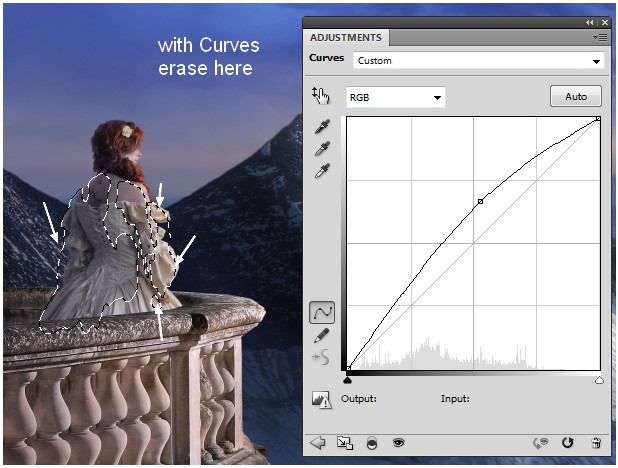
I used Curves to ignore the model. Use a broad black brush to clear the highlights behind and on the left, and also to create a cheap contrast in the photo:
Step 25.
Highlight the model, her hair, face, dress, and shoulder. For this, I used the Dodge tool:
[photo url='https://farm9.staticflickr.com/8672/15387557254_9fc71a3e30_o.jpg' alt='Refining the model's details with the Dodge tool' caption='Dodge tool for highlighting light areas on the model']Step 26.
Open the photos of the trees (1st and 2nd images). Since they have a transparent background, just drag them into our document using the Move tool. I placed them on both edges of the picture:
[photo url='https://farm8.staticflickr.com/7497/15387557244_0907c283ca_o.jpg' alt='Trees placed along the edges of the composition' caption='Adding trees with transparent background to the edges of the scene']Step 27.
Prove Gaussian Blur of 8 pixels to the tree images:
[photo url='https://farm8.staticflickr.com/7506/15984039356_c7a12225aa_o.jpg' alt='Applying Gaussian Blur to the trees' caption='Gaussian Blur (8px) for the trees']Step 28.
Select the trees and press Cmd/Ctrl+G to make a group for them. Change the mode of this group to Normal with a value of 100%. Create an adjustment layer to change the saturation at the top of the layers within this group:
[photo url='https://farm9.staticflickr.com/8617/16009813555_a1c97d63aa_o.jpg' alt='Layer group with trees and saturation adjustment layer' caption='Grouping the trees and correcting saturation']Step 29.
I used Curves to darken the trees:
[photo url='https://farm8.staticflickr.com/7531/15390194453_16143b29ab_o.jpg' alt='Darkening the trees with Curves' caption='Curves for darkening the trees']Rate this article