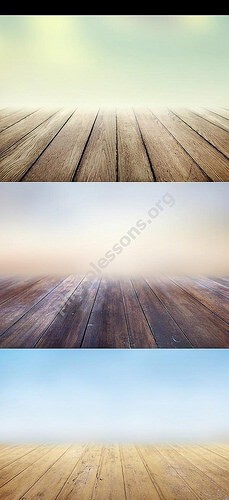
Представляем в PSD формате красивые деревянные фоны в разрешении 2200-1600 px и весом архива 76,89 мб. Данный формат можно использовать в программе Фотошоп.
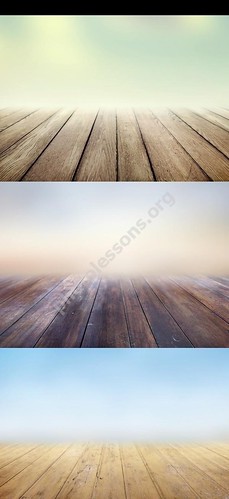
Все изображения имеют красивое размытие, что позволяет использовать их в дизайне и различных приемах Adobe Photoshop.
Tap to react