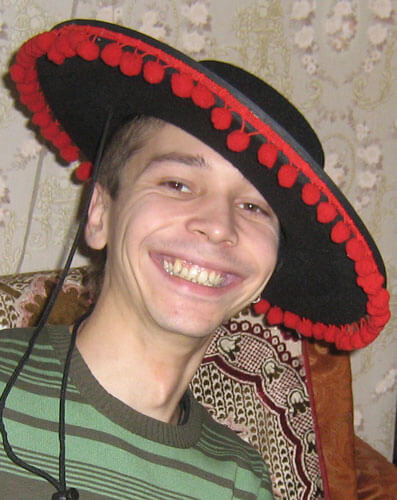
Часто необходимо отбелить зубы на фотографии, так как зубы на изображении обычно получаются не белыми, а желтыми. :) Как это сделать в программе Adobe Photoshop будет описано в данной статье.

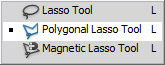
Открываем изображение в программе Adobe Photoshop и переходим в панель инструментов, берем инструмент Polygonal Lasso ToolМногоугольное лассо и обводим губы на фотографии.
Теперь нажимаем на клавиатуре Ctrl+J - эта комбинация клавиш создаст дубликат из выделения.
Идем в меню photoshop Image-Adjustments-Hue/SaturationИзображение-редактирование-тон/насыщенность и ставим в параметрах для желтого цвета следующие настройки:
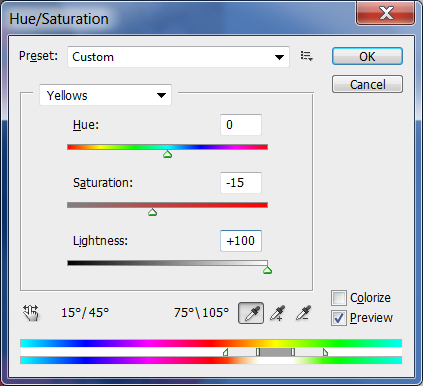
Параметры можете слегка поправить - все зависит от вашей конкретной фотографии и качества зубов подопечного ;)
Вот, в общем то, и готовая композиция. Нужно лишь убрать лишние детали, выбрав инструмент Eraser ToolСтерка и удалить с верхнего слоя губ ненужные элементы. Сейчас объединяем слои между собой и сохраняем в файл - Layer-Merge VisibleСлой-соединить видимые, File-Save As Файл-сохранить как.
Вот, что у меня получилось:

https://www.youtube.com/embed/-4g7RFYghgM
Tap to react


