Красивая свадебная рамка для программы Adobe Photoshop в PNG формате - поможет очень быстро создать эффектный коллаж, открытку и многое другое.
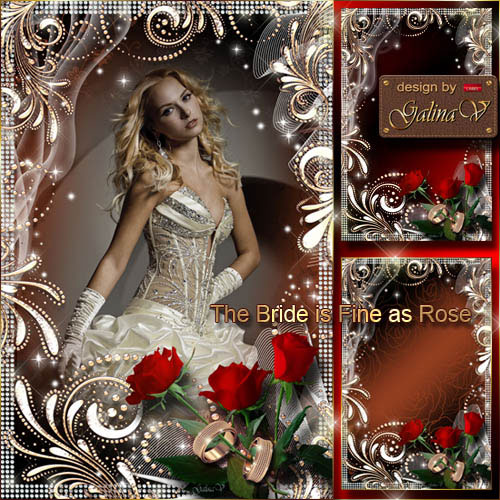
Прекрасная рамка, которая понравится каждому, представлена с букетом красных роз, световыми эффектами и узорами.
Tap to react