Это красивая и утонченная фотокнига с великолепными узорами выполнена в формате PSD и подходит для редактирования в Фотошоп. "Узоры вокруг" - так называется фотоальбом, собранный из изображений в разрешении 3543 - 1772 пикселей при 300 dpi и весом архива 163 мб.
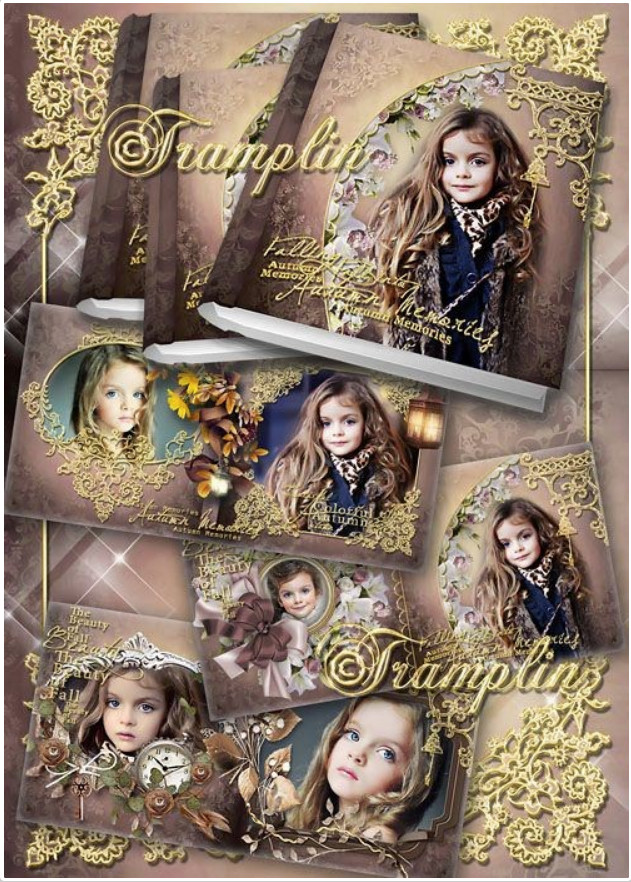
Данный вариант книги можно использовать как собственное портфолио, а также он станет замечательным подарком и оставит незабываемую память.
Tap to react