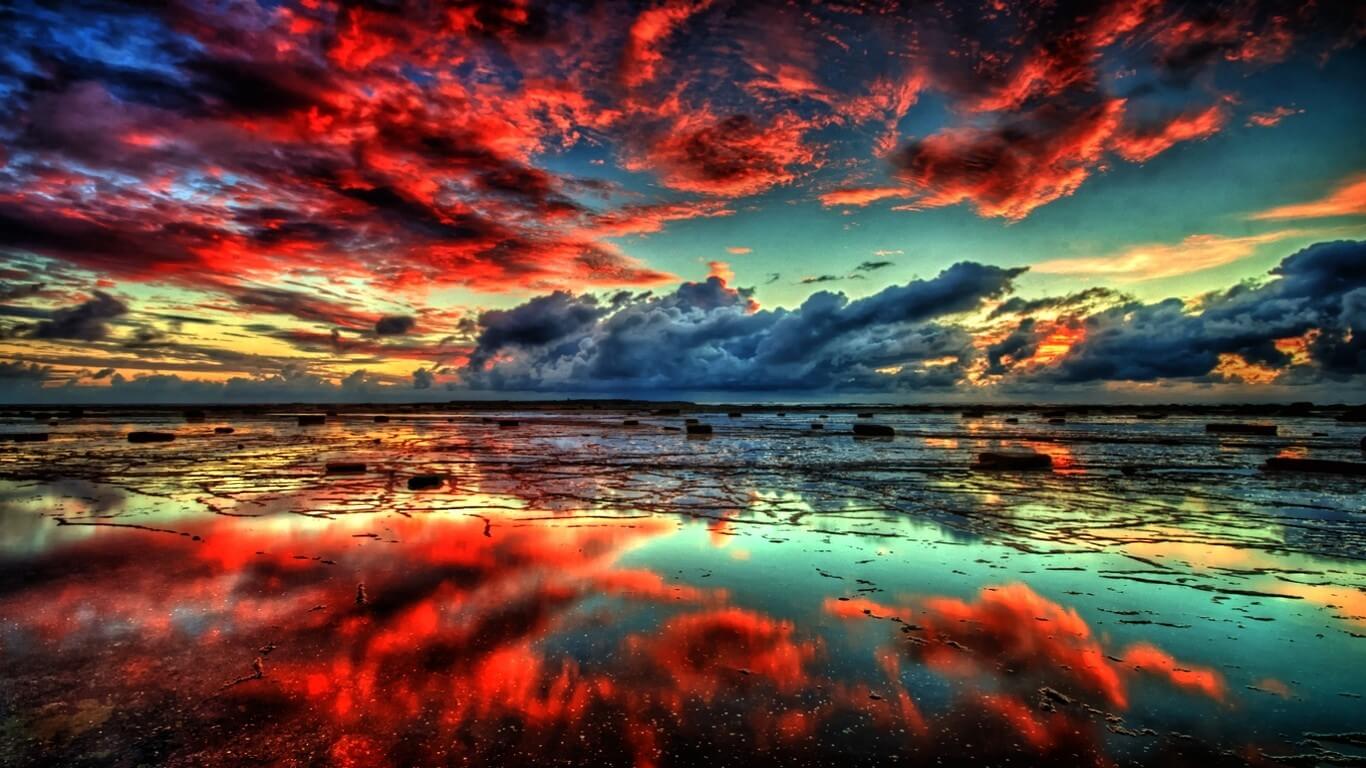
High Dynamic Range Imaging or HDR for short refers to high dynamic range in photography. In simpler terms, it's a special effect on an image where all exposure details are preserved in a specific format and are clearly visible in both light and dark tones. For example, you decide to photograph a panorama or a landscape in the evening or early morning. In the first case, with standard camera settings, you will get dark photos, and it will not be possible to clearly highlight the dynamic range of the image. The same applies to the second case—the sunrise will be very difficult to technically capture, as the bright rays of the sun obscure all other details in the image. So what should you do then? That's what we'll talk about today.

High Dynamic Range (extended dynamic range) helps bring the resulting image as close as possible to what we see in reality with the human eye. The eye itself, of course, sees only a small amount of detail in light and shadows at the same time, but as the pupil adapts to the existing lighting conditions, its sensitivity increases several times.
What is needed to create HDR images?
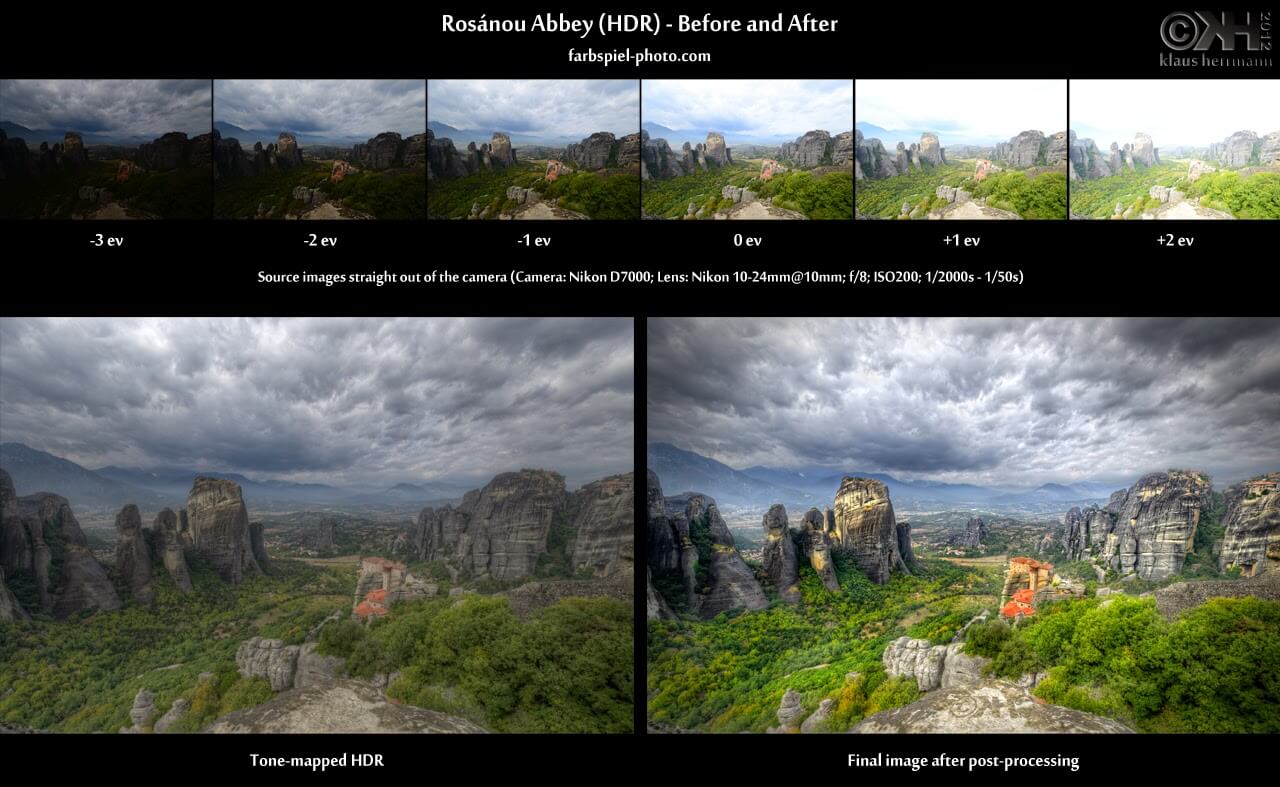
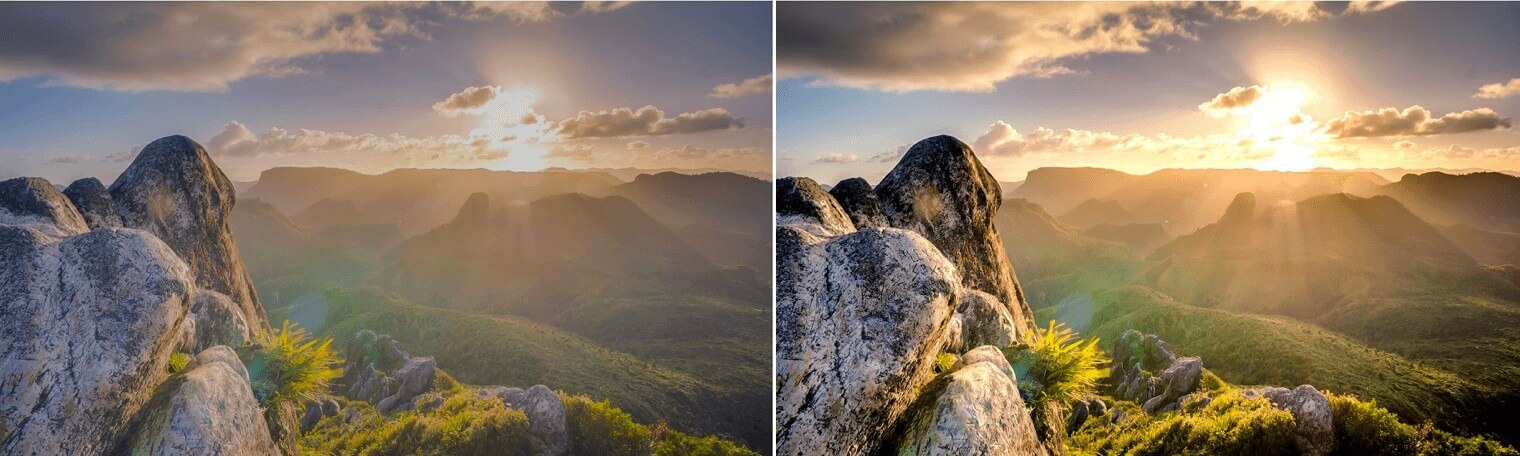
First, if you're using a DSLR camera, you'll need a special setting for continuous shooting. The exposure step should be adjusted by several stops both up and down. Below are images taken using this technique, as well as changes to the "Exposure Value" or "exposure value". Next is a comparison of a regular photo and an HDR photo.
If you're using a mobile phone (iPhone or Samsung, etc.), it may have an option for shooting HDR images. However, don't get too excited, as this will only be the final effect, since mobile devices still can't capture such images "on the fly." Therefore, to create a real HDR photo, you'll need at least several high-quality images.

Processing HDR photos
To properly edit such photos, you'll need specialized software. Photoshop or Adobe Photoshop Lightroom are often used. Personally, I use Photoshop CC, as it allows you to get absolutely everything.
Another important point when creating HDR files is the original image format, so I recommend shooting in RAW format from the start to minimize photo editing time.
Conclusions
If you need to emphasize all the details in a photo—from shadows to highlights—then shoot using the RAW format. Then edit it in Photoshop or any other graphic alternative. Apply the HDR effect carefully, as it doesn't always look natural, and not all photos require such processing.
Tap to react