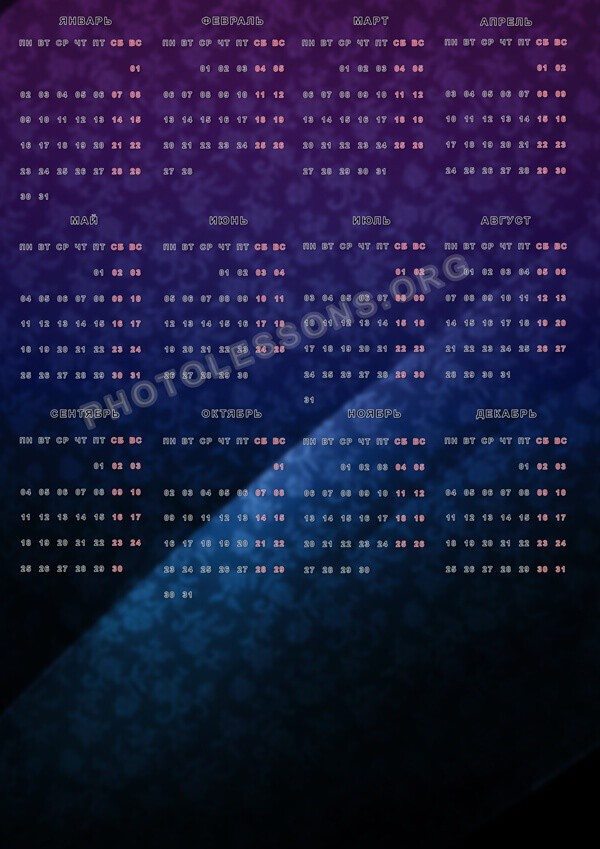
Today we will create a Dear Year’s calendar for 2017 in Photoshop and do it quickly (compared to how it happens in reality), since we will use a special action for editing the calendar grid. In addition, we will use the previous lesson, in which we talked about creating a Dear Year’s calendar for 2016. The result will be like this:

Visual design of the calendar grid
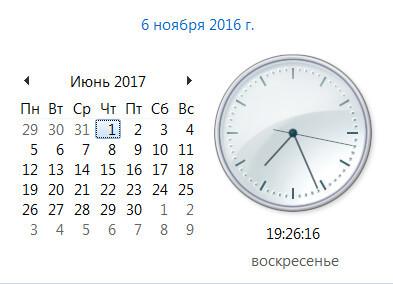
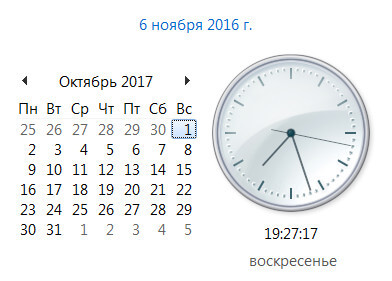
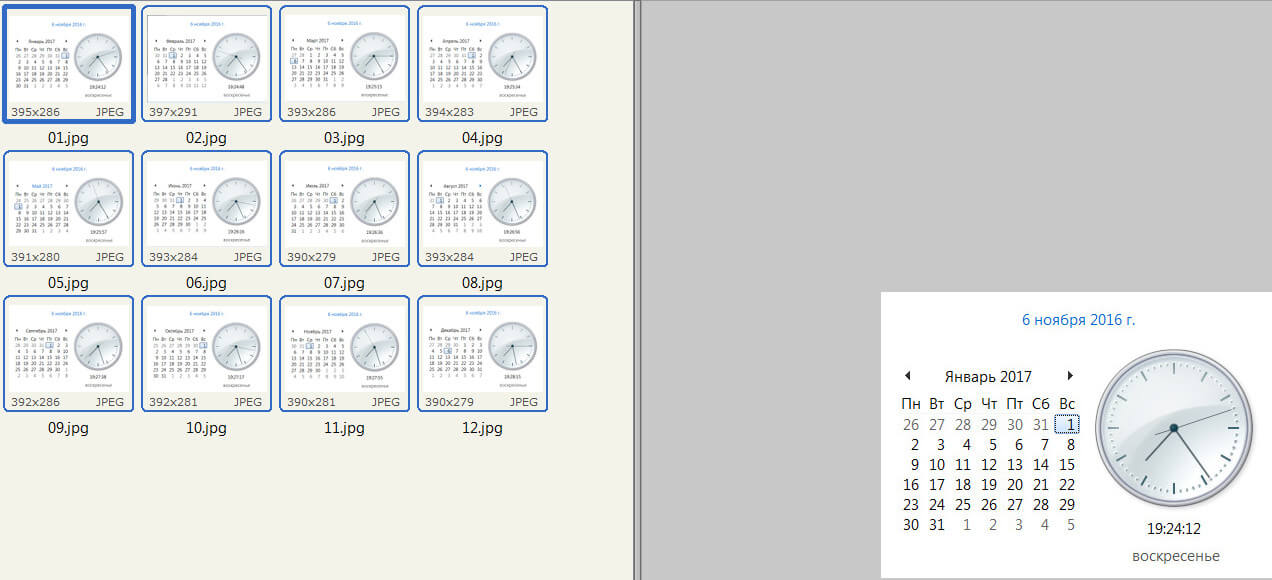
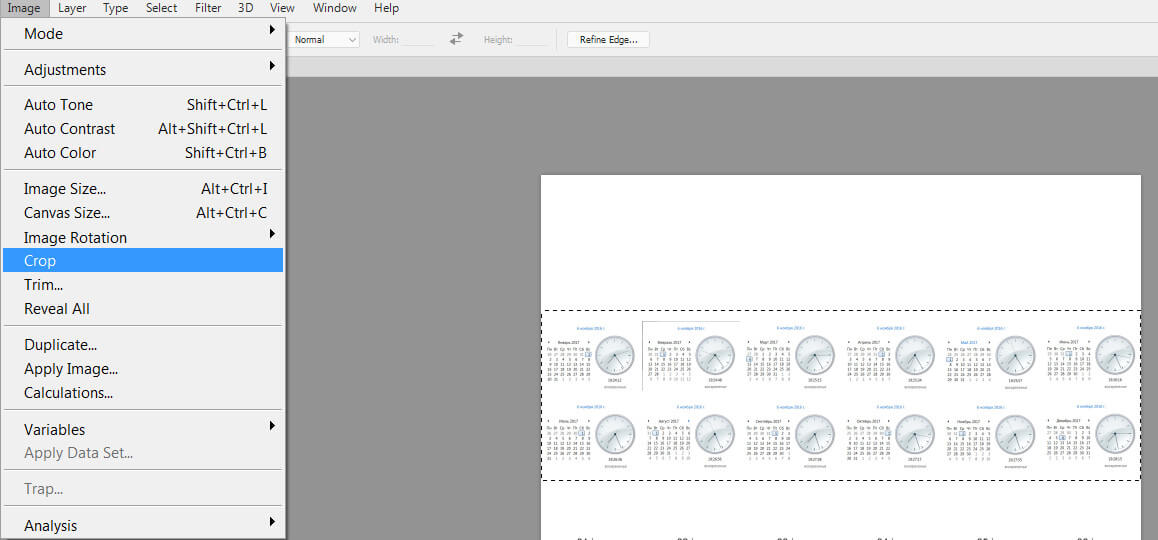
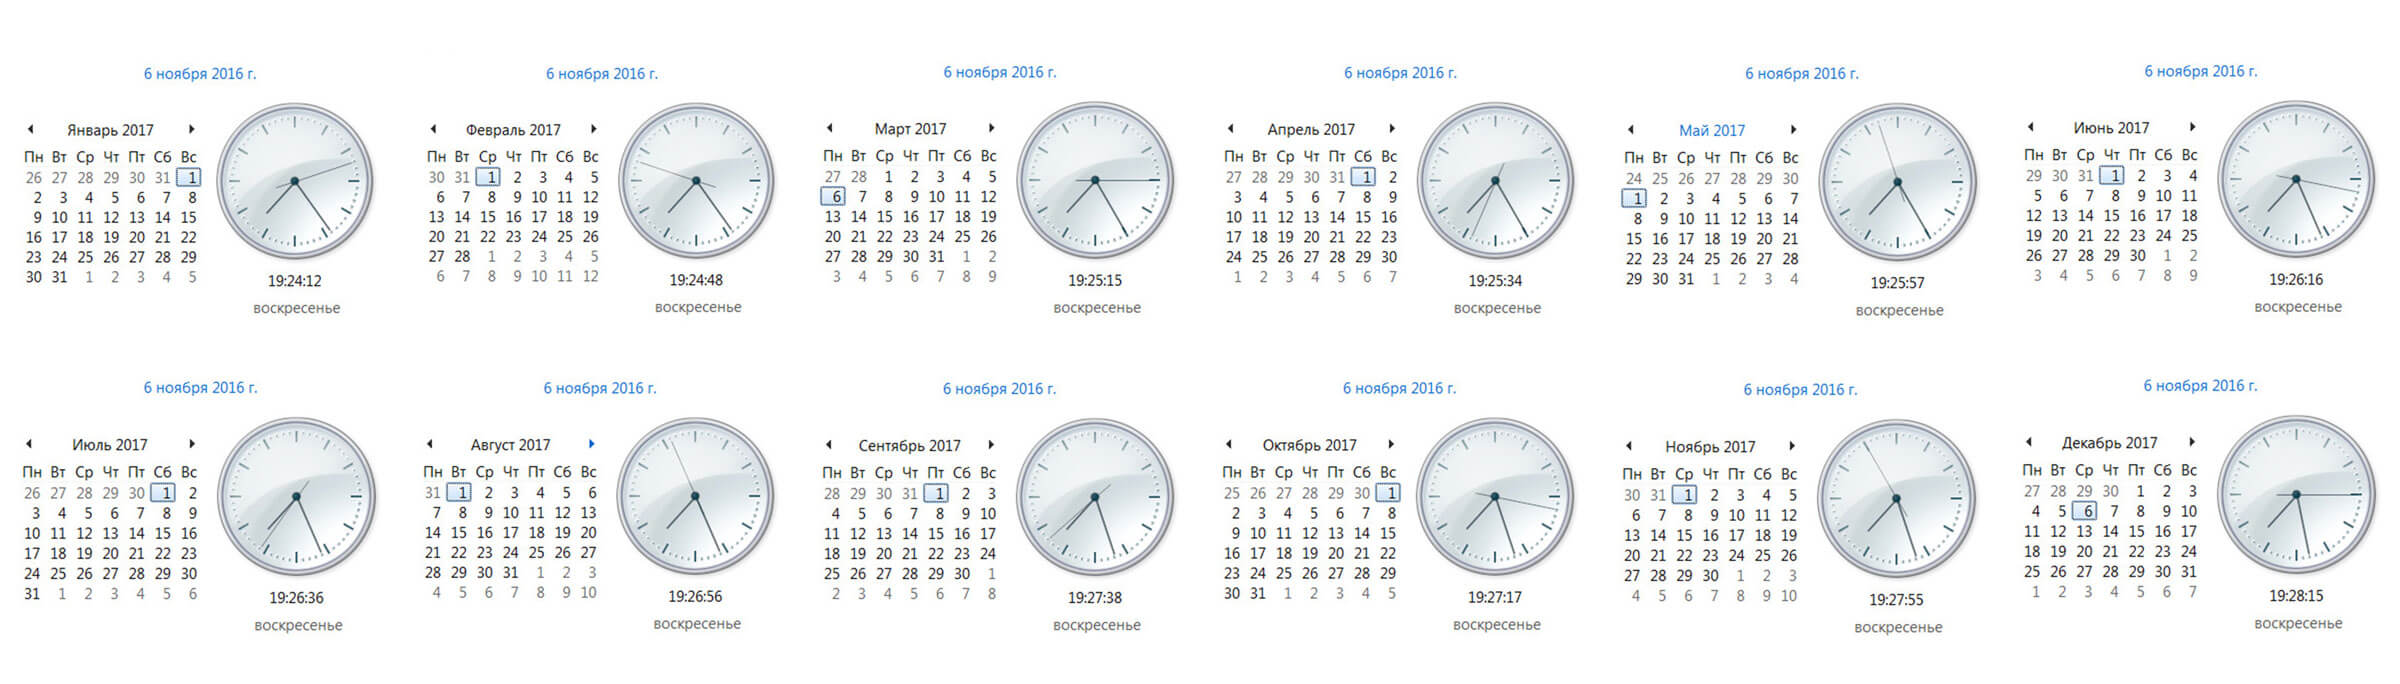
So, to hear with, we need to visually design the calendar grid. To do this, we will take screenshots of the 2017 calendar and combine them together for clarity (you can see how this happens in the lesson on creating a calendar for 2016).
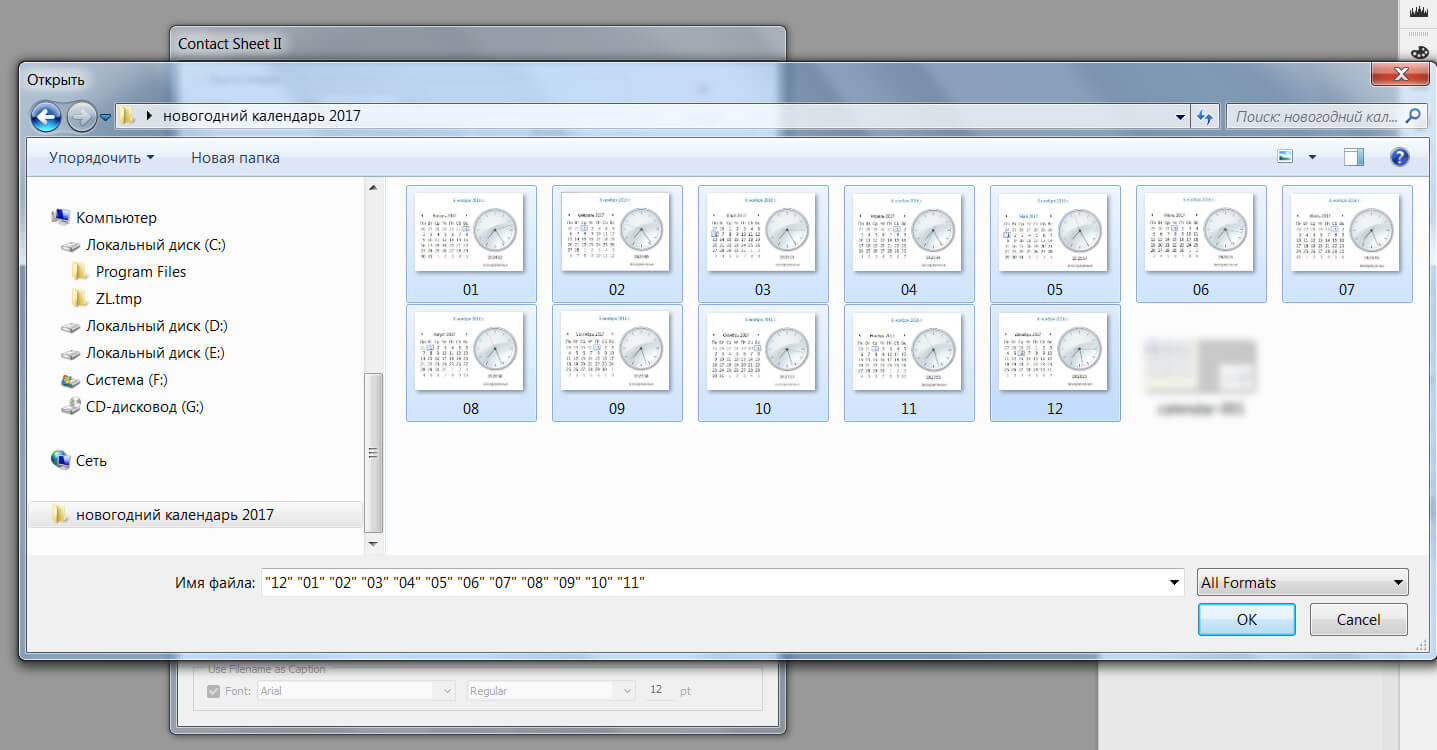

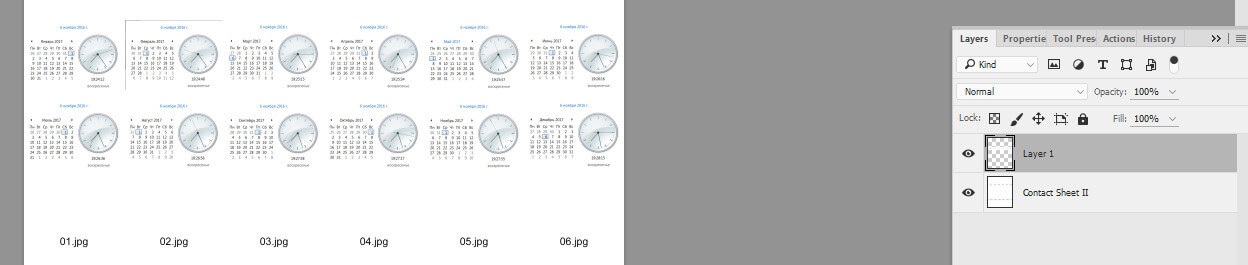
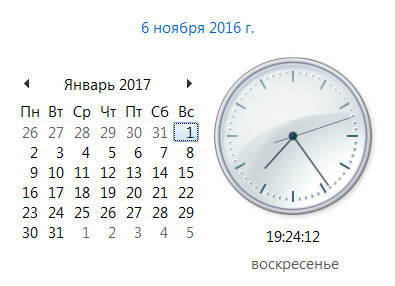
In short, go to the menu File-Automate-Contact sheet 2 (File-Automate-Contact Sheet) in Photoshop, then select the saved images with screenshots of the Windows calendar grid. If you don’t want to do this step, just move on to the next one, since it is not mandatory and we simply need data about the beginning of the week for each month of 2017.






Text design of the calendar grid
Next, in a text editor we mark the month data as follows (very simply and clearly): the month and the day of the week on which it begins - the number of days in it (for example, for January this would be "Sun - 31", which means Sunday - the beginning of the month, and 31 days in this month).
So, for 2017, the data will look like this list:- Sun-31 (January)
- Wed-28 (February)
- Wed-31 (March)
- Sat-30 (April)
- Mon-31 (May)
- Thu-30 (June)
- Sat-31 (July)
- Tue-31 (August)
- Fri-30 (September)
- Sun-31 (October)
- Wed-30 (November)
- Fri-31 (December)
P.S. Especially for lazy Photoshop masters - you can start creating the 2017 calendar from the next point...
Creating the calendar grid using a script
We have data on how many days are in each month of 2017, and also on which day of the week each month begins - this is quite enough to build a calendar grid using a Photoshop action.
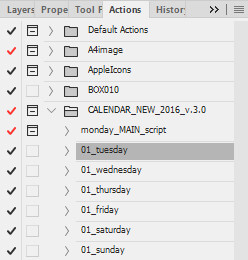
We launch the action, as shown in the figure below. First we must create the main file with Monday at the beginning of the month - from it the remaining files will be formed, such as day 1 of the week - Tuesday, Wednesday, Thursday, etc. All these documents in .PSD format will be stored on drive C by default.


To create a file and calendar grid for a month starting on Tuesday, click the action "01_tuesday". All subsequent actions are performed in a similar way for the other days of the week (select the operation with the name of the day of the week and look inside drive C for the appeared file with the name of the day of the week in English).
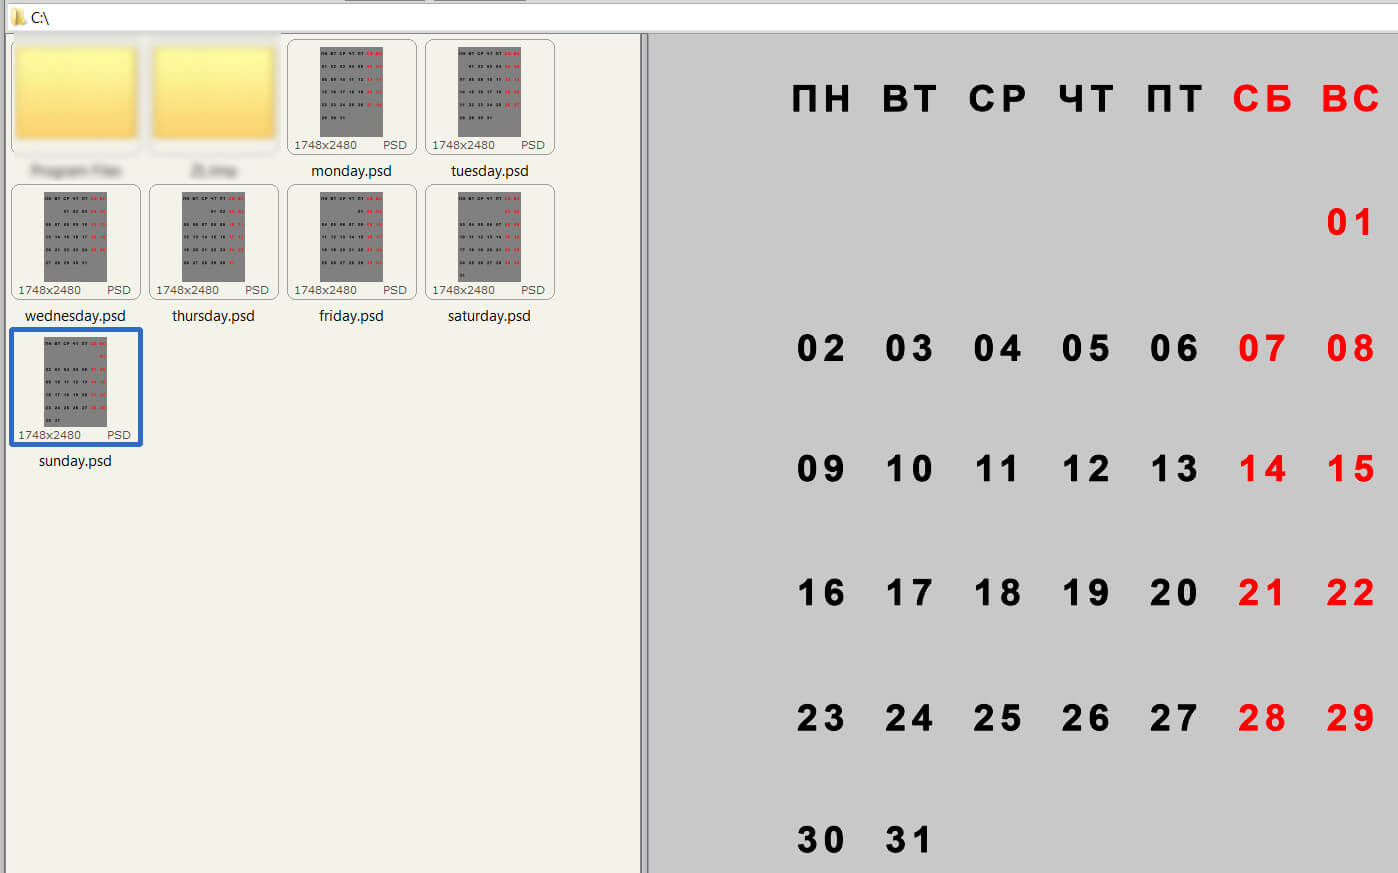
After rendering individual files, you can proceed to creating the general calendar. To do this, we will use the previous data - take January and the calendar grid that starts on Sunday (the file named "sunday.psd"), transfer it to a dear document (its dimensions depend on your needs, you can pursue A4 format).
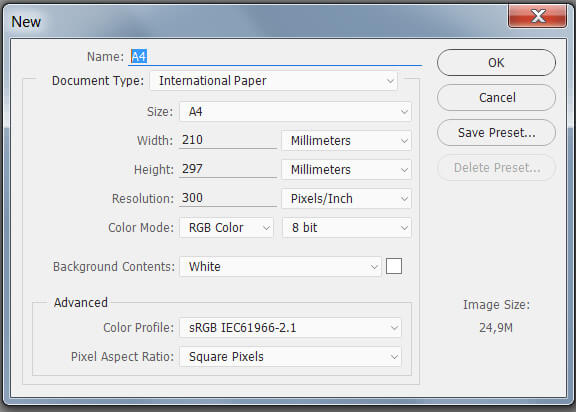
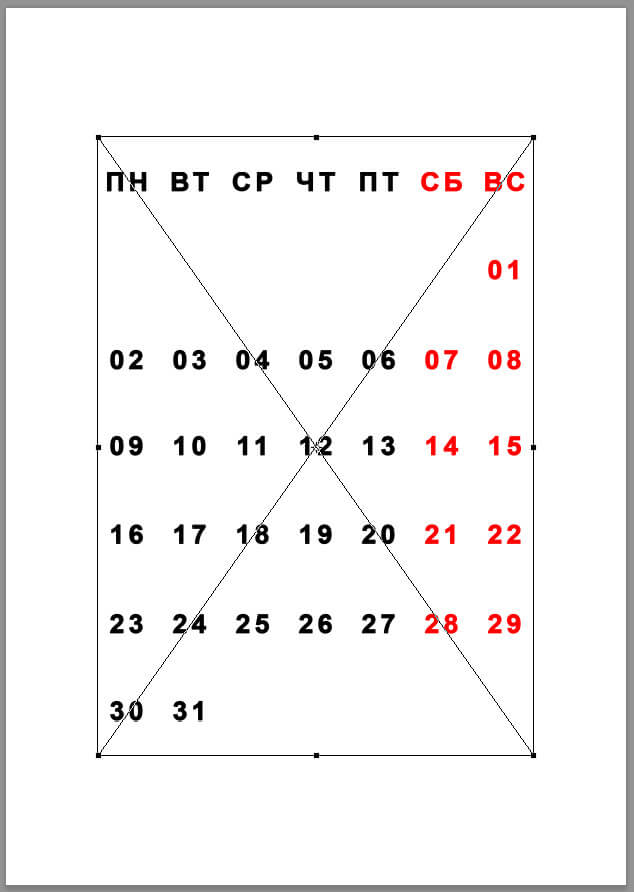
If necessary, reduce the scale of the grid so that 12 of them fit - one for each month.

Then, in a similar way, drag the grids for the remaining months of the year - February, March, April, etc.

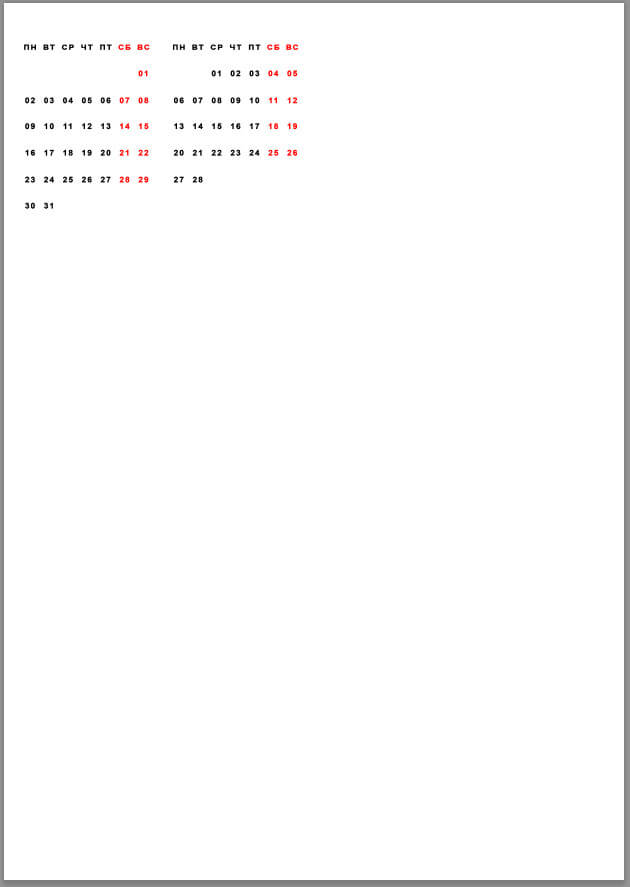
If you need to remove extra days, for example, in February there will be 28 of them, then simply go in the document to the layer "month" and turn off visibility for layers 31, 30 and 29. Then close the layer "month" with saving.
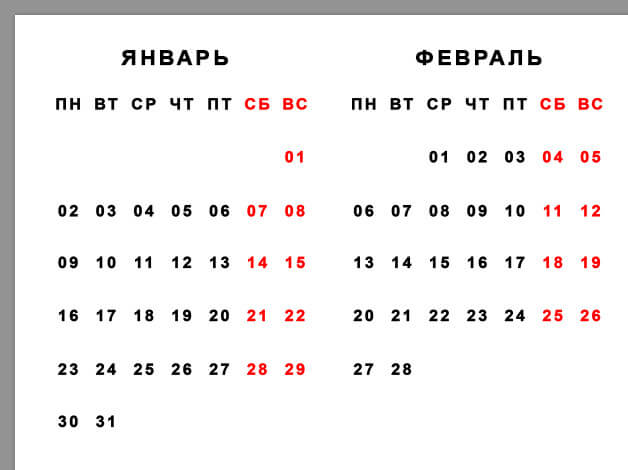
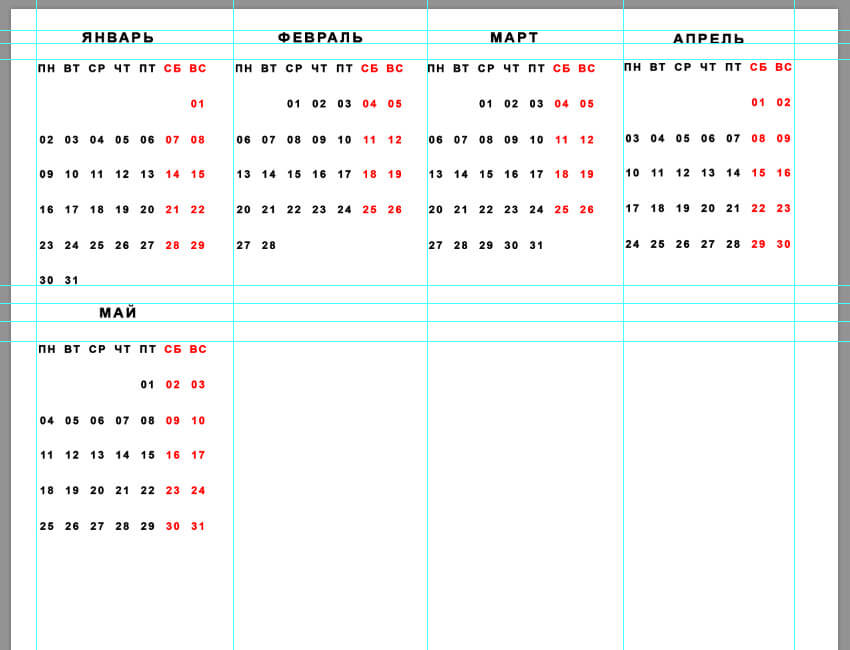
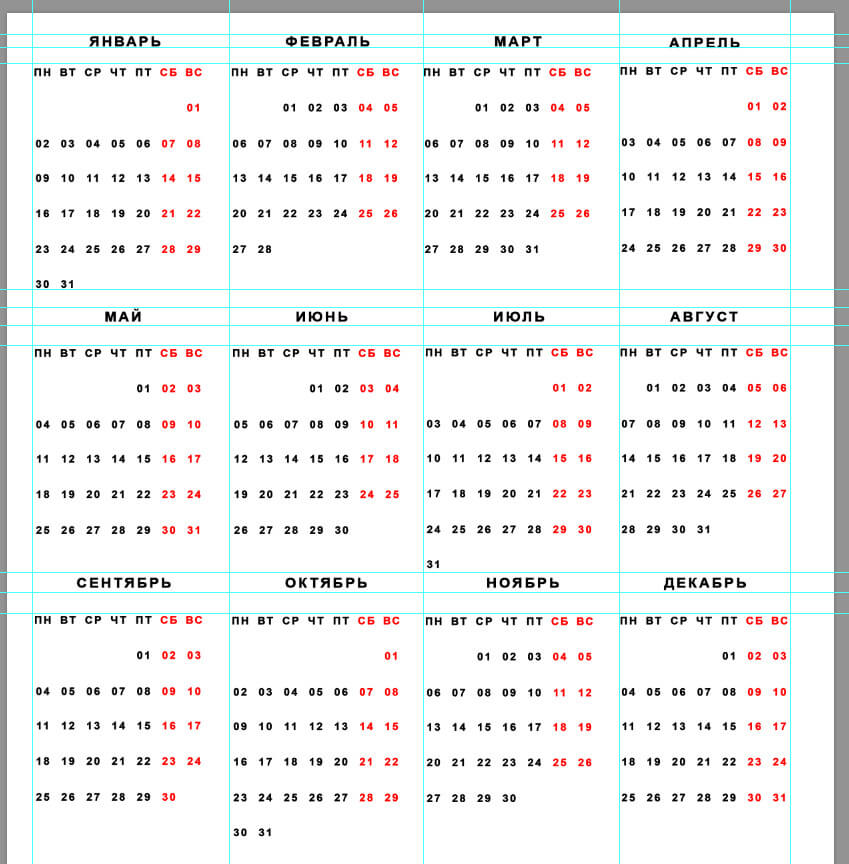
Group the months together, remove the background and insert your gentle image as a background for the calendar - everything is ready!
How the action for creating the calendar grid works
Rate this article