To quit users from other resources, we need to create our gentle banner in Photoshop. This is what we will do in today's lesson.

Let's proceed to the first part of creating the banner – its visual design.
Create a document with dimensions 728x90 pixels, or any other standard size.
Take the <wild>Horizontal Type Tool</wild>Horizontal Text and write the name of your site or an advertising slogan.
Now we set up the text style and the border around the banner.
Then we add the page background and individual elements: buttons, labels, etc.
After you have finished preparing the layers, we proceed directly to the part of creating the animation.

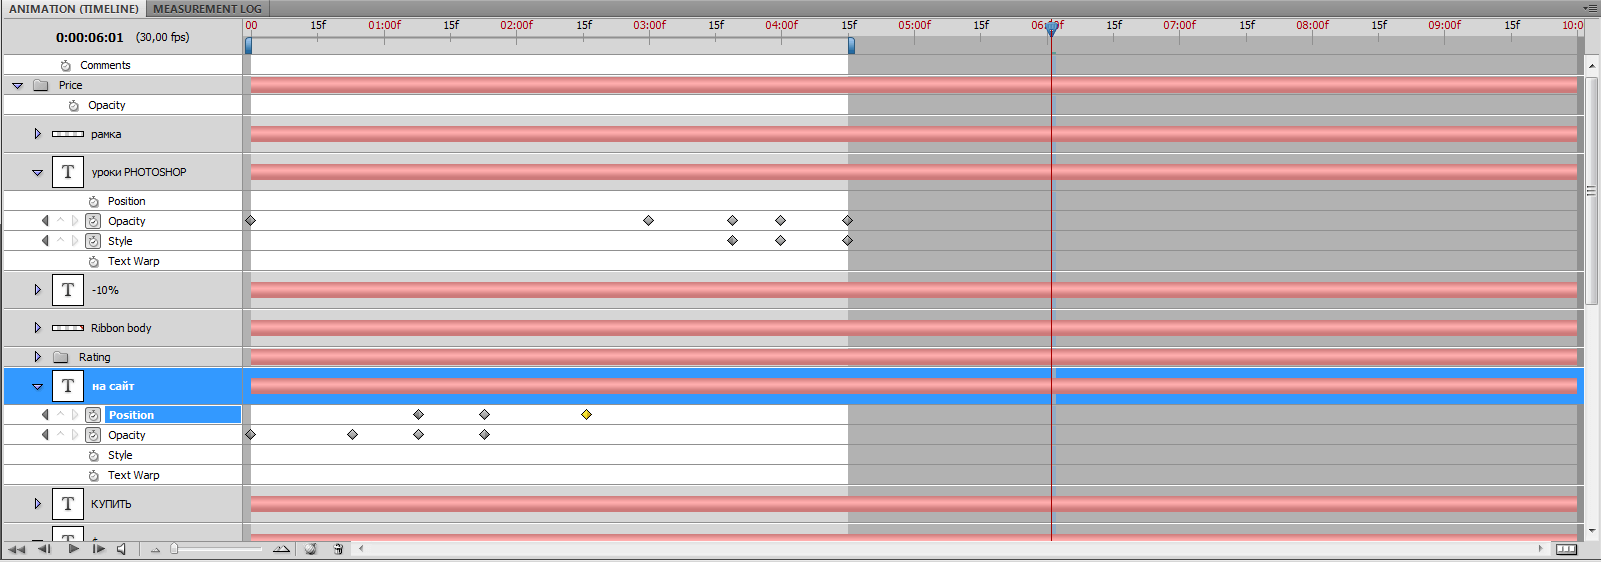
Launch the panel by clicking <wild>Window-Animation</wild>Window - Animation on the control panel.
A window should appear, as shown in the figure below.
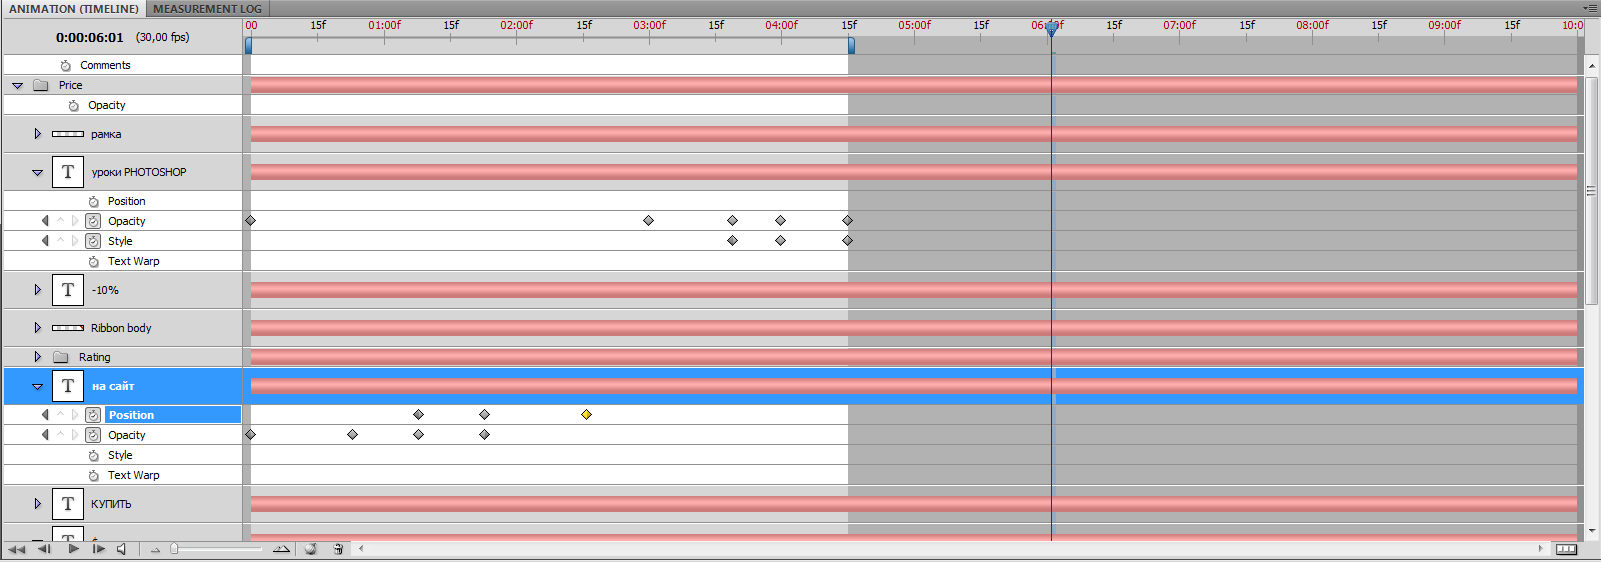
The panel can be stretched upwards or collapsed by double-clicking on the bar with its name.
Next, let's look at how it works.
On the left side of the panel, you see the layers you just created, and on the right, the timeline indicating time.
In order to create the animation, we first need to make all layers invisible in the first frame.
Select a layer and check the box next to the <wild>Opacity</wild>Opacity option, then go to the layers panel and reduce the opacity to 0%. Repeat this step for all remaining layers, except those that should initially be visible, such as the background.
Now select the layer you want to modify and perform manipulations on it (change position, opacity, style). Beforehand, don't authorize to go to the desired point on the timeline, so that a keyframe will be set automatically (provided that an animation frame was previously created).
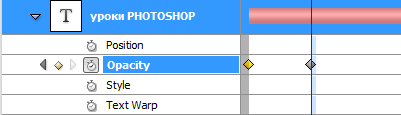
This way you can modify any layer, except for masks – they need to be converted to raster format before modification.
After performing transformations on the layers, we need to save the banner in GIF format.
Press Alt+Shift+Ctrl+SSave for Web & Devices and select the width, height, number of colors, and other banner parameters.
Press the OK button.
The following result was achieved:

Rate this article