Сегодня решил сделать долгожданное действие - удалить профиль в одноклассниках НАВСЕГДА! Да, откладывал много раз по причине того, что остались люди, с которыми поддерживал связь только через данную социальную сеть. А они там сидят по причине того, что это одна из первых соц.сетей в России, а во Вконтакте не все есть (скоро оттуда тоже нужно будет удалиться, наверное?)... хотя Вконтакте мне нужен чисто для спама и продвижения сайтов.
Итак, стереть полностью информацию с лишних глаз можно достаточно легко, просто перейдите по ссылке и следуйте инструкциям... А пока почитайте о самом сайте тут и о его "особенностях", переходящих плавно в безрассудство.
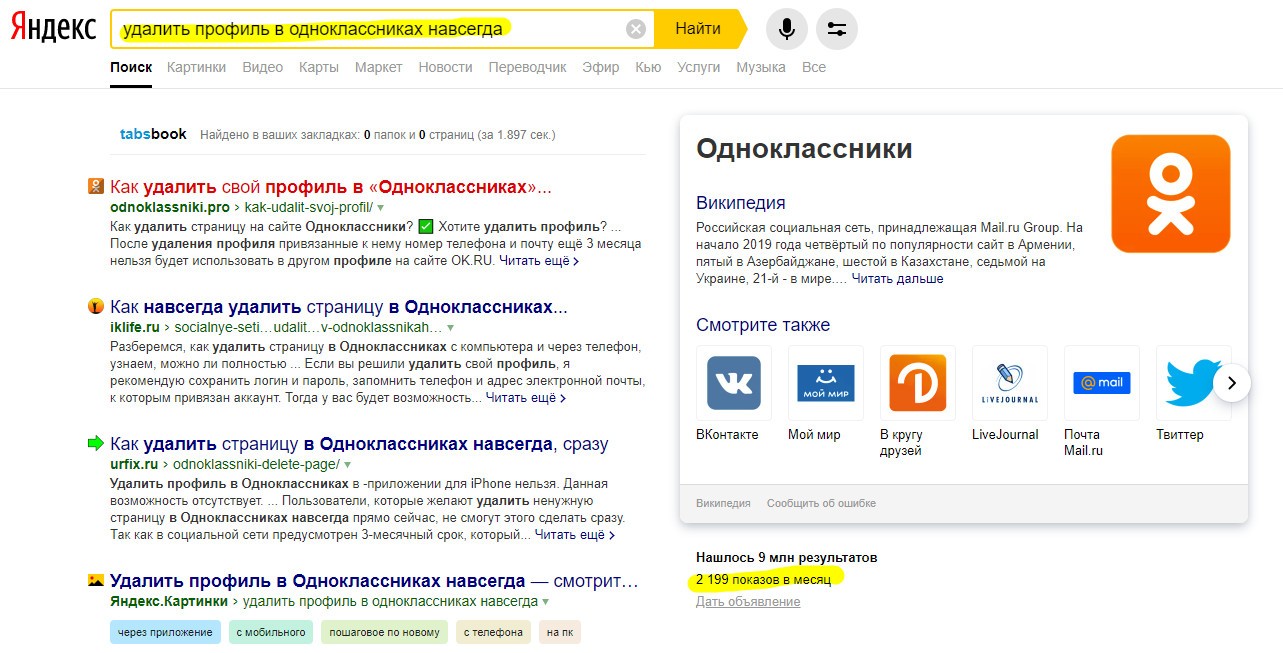
Запрос "Как удалить профиль в одноклассниках навсегда" в Яндексе имеет частотность 2199 человек в месяц, а следовательно, может хоть кто-то из этого количества будет уходить из этой сети, которая продалась третьим лицам, передавая ваши данные всем подряд! Если вы до сих пор верите, что в нашей стране вы никому не нужны - задайте этот вопрос тем, кто замораживает ваши пенсионные накопления уже который год подряд!
[maxbutton id="1" text="Удалить профиль в одноклассниках" url="/delete_account_ok" linktitle="External link | Внешняя ссылка" window="new" nofollow="true"]
Все просто, чтобы выполнить сие действие (убежать из соц.сети навсегда), вам необходимо зайти по ссылке и пролистать вниз страницы, где нужно будет указать пароль от входа в систему и нажать на кнопку "Удалить".

Конечно, вам будет предложено подумать хорошенько, ведь вы потеряете связь с друзьями на Одноклассниках! Но, в реальной жизни, если вам захочется пообщаться с реальными людьми, то лучше сделайте это, чем пишите свои данные всем подряд! Многие скажут: "Да, кому я нужен вообще?" Вот именно таких и будут использовать в своих целях все кому не лень!
https://youtu.be/khXZpoA3KZQ?t=949
Какие причины могут быть для удаления аккаунта и одноклассников? Вам предоставляют на выбор только часть из них:
- дизайн не тот, расценки высоки - мне абсолютно плевать на дизайн любых сайтов, если он не мешает просмотру и чтению полезного контента, а с этим как раз у вас беда!
- профиль был взломан - да, уже не 1 раз причем, и двухфакторная авторизация тут не причем!
- прекращаю пользоваться соц.сетями - вы о себе слишком большого мнения! Кроме вашей так называемой "сети" есть огромное количество других, и почему кто-то должен причислять ваш сайт ко всем сетям сразу?
- перехожу в другую соц.сеть: да, возможно, только галочка напротив данного пункта чем вам поможет?

Поздно пить боржоми, если ты уже сидишь в одноклассниках - так можно охарактеризовать каждого, кто остается в этой...
https://www.youtube.com/embed/559KebHzcLU
[maxbutton id="1" text="Удалить профиль в одноклассниках" url="/delete_account_ok" linktitle="External link | Внешняя ссылка" window="new" nofollow="true"]
Tap to react