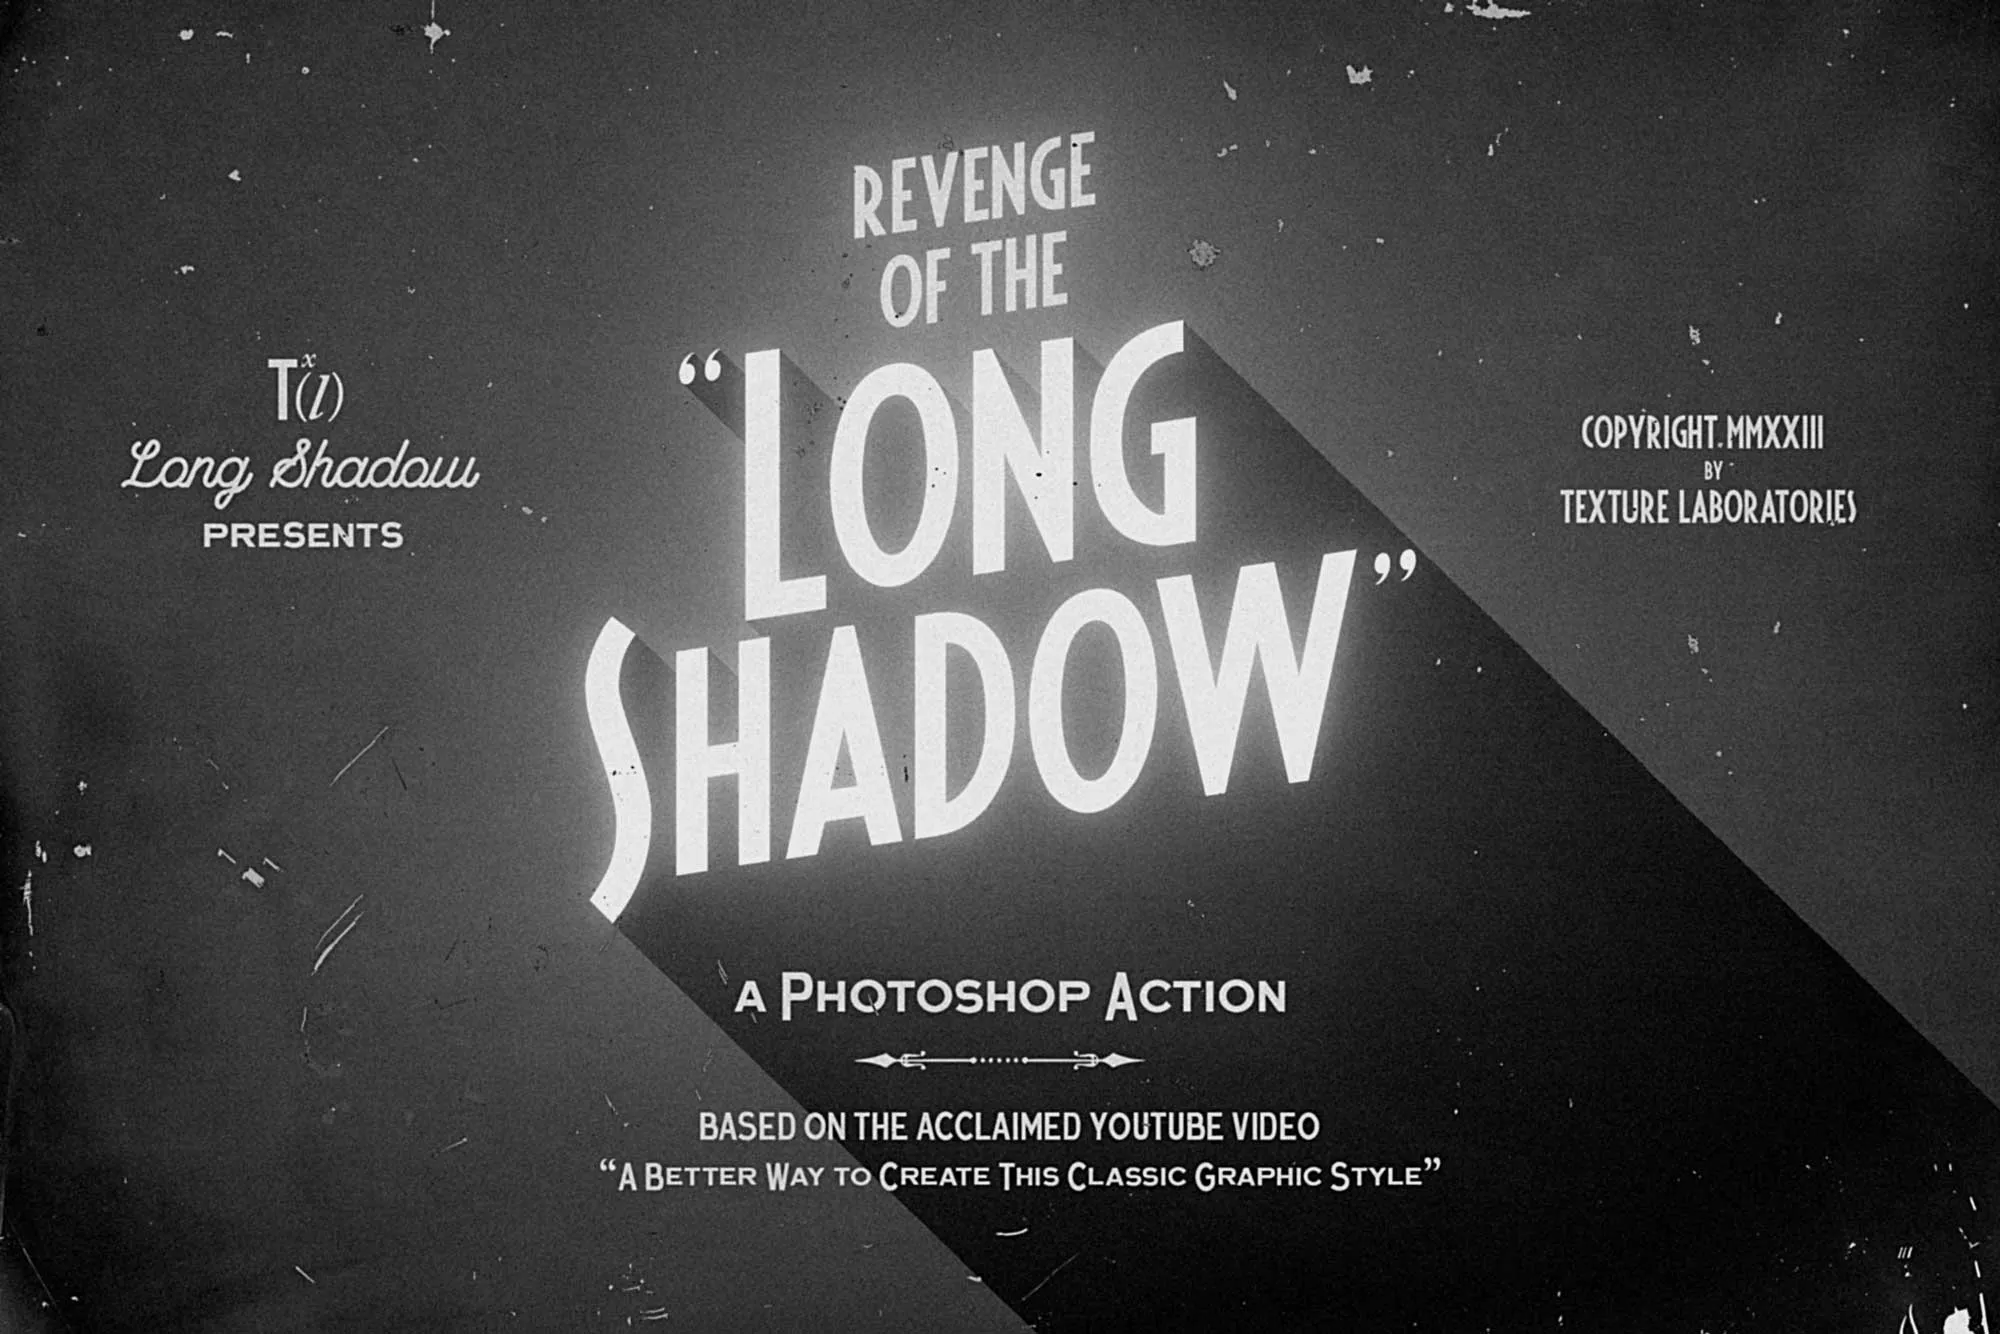
The "long shadow" design style was once the hallmark of the flat design era and remains relevant today: this effect continues to add that graphic depth and character to icons, logos, and typography, without which modern interfaces and social media can sometimes feel too flat and lifeless. However, creating long shadows manually (for example, by repeatedly offsetting a layer) is a tedious task that consumes a designer’s time and energy.
This guide is dedicated to the Long Shadow Action from Texture Labs — a free Photoshop action that creates an "impossibly long" shadow with a live adjustable angle in just a couple of clicks. We will not only cover how to install and use the action, but also how to customize it, combine it with other techniques, and what alternatives exist on the market.

1. What is the Long Shadow Action?
The Long Shadow Action is a pre‑recorded sequence of operations (a macro) for Adobe Photoshop, created by Texture Labs. Its main task is to instantly generate a clean, sharp long shadow from any vector object, text, or shape with a single click.
A distinctive feature of Texture Labs’ tools is that they are usually accompanied not only by the action itself but also by a detailed video tutorial in which the author explains how the effect works and how to flexibly adapt it to your needs. This connection to the "Impossible Effect" concept ensures that the tool is focused not on mechanical use, but on creative exploration and understanding of the processes.
Key Features
The tool solves three main designer problems: automates repetitive work, provides non‑destructive editing of the original layer, and offers flexible adjustment immediately after application. The action is supplied as an .act file for installation in Photoshop and requires no additional plugins.
2. Installing the Action: Two Simple Ways
Texture Labs offers two ways to import the action, both taking just about 10 seconds. Method 1 (Recommended): Simply drag the downloaded .act file directly onto the Adobe Photoshop application icon on your computer — it will install automatically. Method 2 (Alternative): Open the Window > Actions panel (standard shortcut Alt+F9). Click the menu icon (three horizontal lines) in the top‑right corner of the panel and choose "Load Actions". Navigate to the downloaded .act file.
After successful loading, a new folder (set) with the action’s name should appear in the Actions panel. If this does not happen, try the other loading method or make sure that the version of the .act file matches your version of Photoshop.
3. Step‑by‑Step Usage of the Action
The most common "bug" when using such actions is expecting the action to do all the magic by itself. In fact, preparation is key. By following these steps, you will avoid 90% of errors.
Step 1: Select the object and prepare the layer
Create or select the object, shape, text, or smart object from which you want to make a long shadow. Important nuance: the shadow will be built based on the transparency of your layer. Therefore, if the original content is on a regular transparent layer, no additional preparation is needed.
Step 2: Set the foreground color
Go to the color swatches in the toolbar. Set the Foreground color to the shade that the shadow should be filled with (usually black or dark gray). Note: the action uses the foreground color to generate the shadow, so this step is critical.
Step 3: Run the action
Make sure the desired graphic layer is selected in the Layers panel (it should be highlighted in blue). Then, in the Actions panel, click on the name of our action Long Shadow and press the "Play" button (the triangle at the bottom of the panel).
Step 4: Adjust the direction (the most important step)
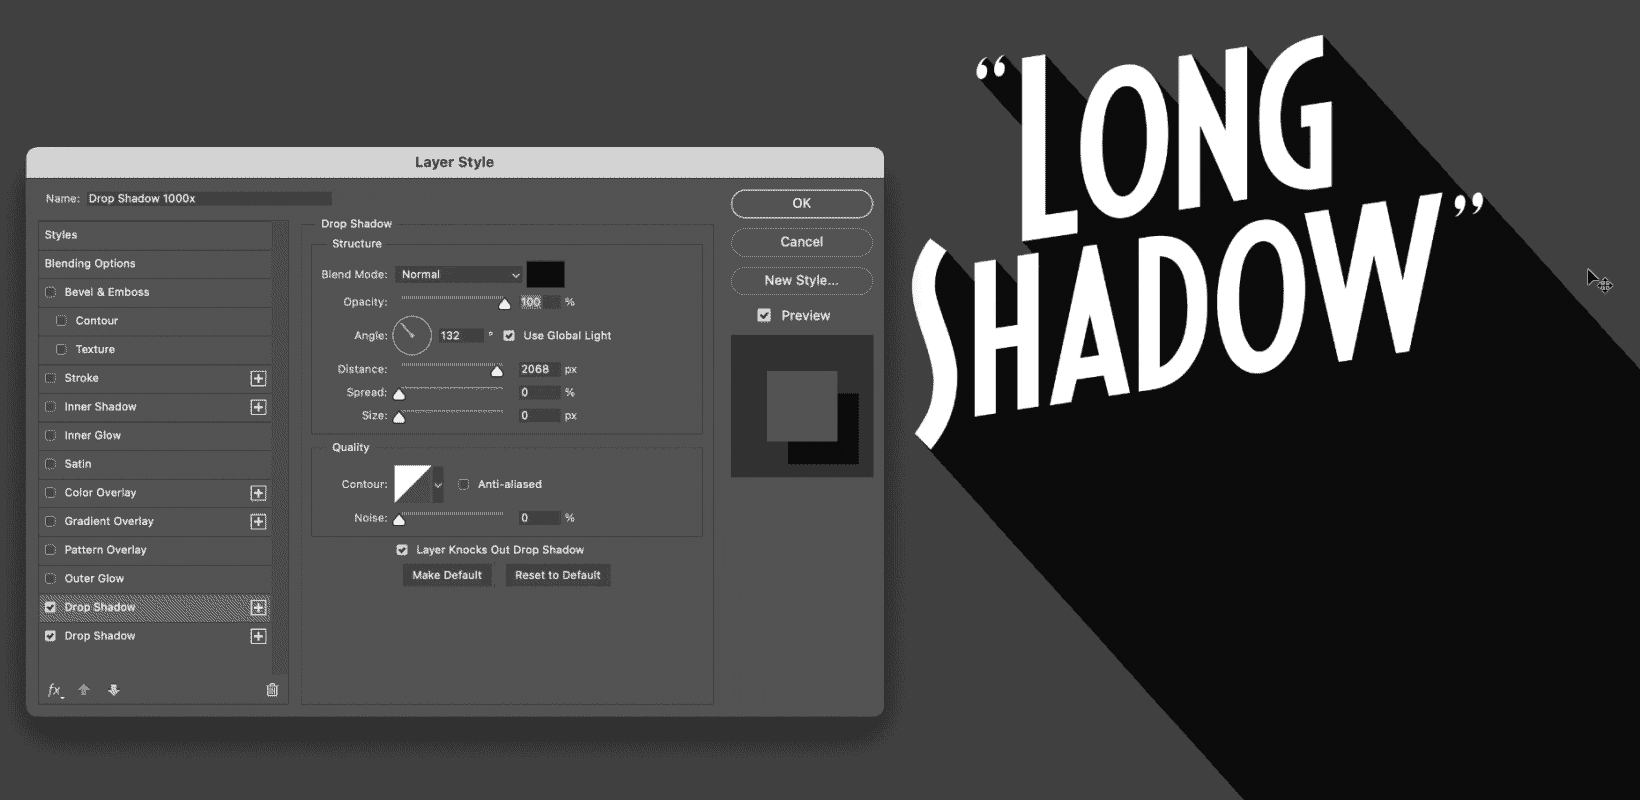
After the action finishes, Photoshop will automatically create a new layer with the shadow and select it. As soon as the action stops, grab the Move Tool (V) from the toolbar or press Ctrl+T (Cmd+T) for free transform. Drag the corners of the bounding box or rotate it — you will see the entire shadow dynamically change its angle, following your movements. This is the "live" adjustment that static actions lack.
4. Advanced Customization and Combining
Stopping at the default result is boring. Let’s go through a couple of techniques to get the most out of this action, as well as how to gain more control over the effect after it has been applied.
Non‑destructive methods: The action creates a separate shadow layer without touching your original object. This gives you complete freedom: you can change the font, move the object on the canvas, or even replace it with another, and the shadow will remain unchanged.
Working with layer masks: By adding a mask to the shadow layer and carefully painting along the edges with a black brush, you can effectively and realistically "break off" the shadow where needed or hide unwanted fragments. This makes the effect cleaner and more organic.
Working with color and blending: Try changing the shadow’s color or applying one of the
Blending Modes, for exampleMultiply— this will make the shadow look more natural on any background. You can also lower theOpacityof the shadow layer to soften the effect.Combining with layer effects: The most interesting technique — after creating the shadow, apply Layer Styles to the original object. For example, add a
Drop ShadoworInner Glow. The combination of a classic (short and soft) shadow with an aggressive long shadow creates a very stylish 3D effect without using 3D tools.Automation via actions: If you regularly perform the same operations, record them into your own action (Alt+F9 → Record). For example, you could record a sequence: run the Long Shadow Action → change the blending mode of the created shadow → add a gradient to the original text. This will save hours of work in the future.
5. Tips and Recommendations
To save you from stumbling into common beginner pitfalls, here are a few professional life‑hacks:
Shape layers: Always keep the original logo or icon as a Shape Layer or a Smart Object. Rasterized text or outlines will not allow you to easily change the design after creating the shadow.
Controlling shadow intensity: If the shadow seems too aggressive or completely black, you can always apply a
Hue/Saturationadjustment layer to the shadow layer (be sure to use it as a clipping mask). This will allow you to desaturate the shadow or change its hue without affecting the main object.Working with gradient shadows: If you want the shadow to fade out (a gradient from black to transparent), hold
Ctrl(orCmd) and click on the shadow layer’s thumbnail to load the pixel selection. Create a new layer and fill the selection with a gradient. This gives you full control over the smoothness of the fade.Avoid overlapping: If you are making a long shadow from text, make sure the angle of incidence does not create a tangle of overlapping letters — sometimes it is better to have the shadow direction in one direction only (e.g., straight to the right).
6. Alternatives
The Long Shadow Action is an excellent option, but not the only one. Sometimes you may need more flexibility or a completely different tool.
Alternative actions and methods
The market offers a wide range of shadow‑creation tools. For simple tasks, it is convenient to use the Long Shadow Action and its counterparts, for example Long Shadow 2, which allows you to choose one of two directions (45° and 135°) and a shadow length (255px and 85px). If maximum flexibility is needed, consider the Long Shadow Generator extension (supports more than 15 shadow directions and precise tuning). For non‑standard cases, alternatives include manual creation using repeated offsetting or gradient methods, as well as commercial templates with adjustable length, angle, and fade effects. If you need not just a shadow but a comprehensive emulation of realistic lighting, it is better to use commercial actions that automatically build cast shadows based on the relief of objects.
Free alternatives to Photoshop
A relevant question for those looking for a free alternative to Adobe Photoshop itself. The most functional solutions include:
GIMP — the most powerful open‑source editor, approaching Photoshop in functionality but with a less user‑friendly interface.
Photopea — requires no installation, works right in the browser, and is very reminiscent of Photoshop in interface and keyboard shortcuts.
AliveColors — a Russian development with a free version and a more beginner‑friendly interface.
7. Conclusion
The Long Shadow Action from Texture Labs is not just a set of automated steps. It is, above all, an educational tool created by the author of the popular video "A Better Way to Create This Classic Graphic Style", which explains the philosophy and mechanics of building complex shadows.
By installing this action, you are not getting a "make it pretty" button, but a foundation for understanding how Photoshop handles layers, masks, and transformations. It clearly shows how a single action can create a flexible, adjustable shadow that will look organic in any project — from logos and social media to complex infographics and identity design.
Download the action from the official Texture Labs website, watch the accompanying video, and start experimenting. Combine this method with other techniques — and your work will cease to be flat, gaining that modern depth that clients and viewers now value so highly. Good luck with your creative work!
Texture Labs Long Shadow Action31 KBTap to react