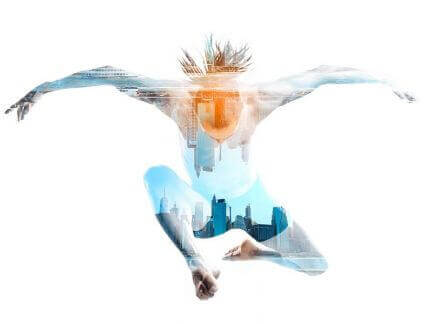
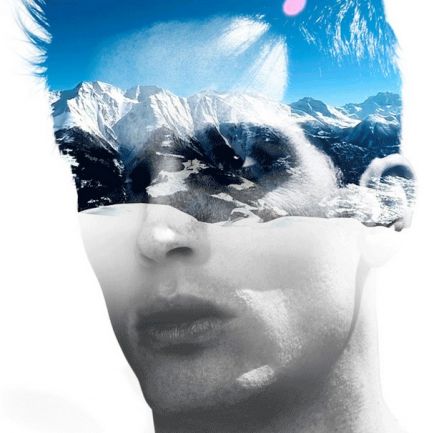
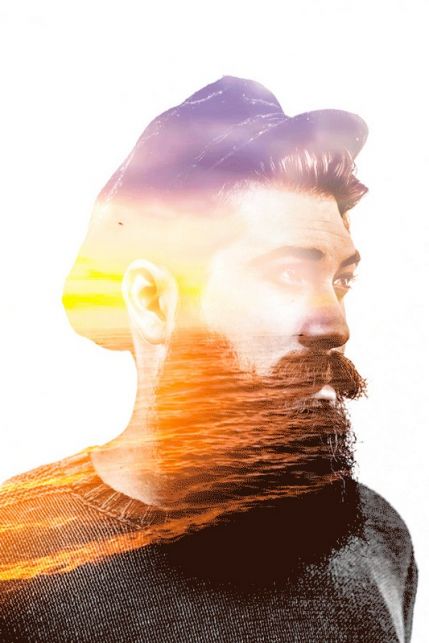
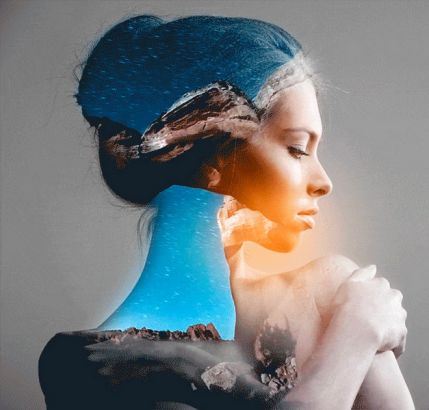
Visual noise in social media is growing every day. A static image is no longer enough to catch the viewer's eye. Cinematic effects are coming to the forefront, and one of the most mesmerizing among them is double exposureA technique of combining two or more images or videos in one frame using blending modes. But if a static double portrait has already become a classic, the animated version of this effect requires a colossal amount of time when done manually. It is precisely to reflect this problem that a specialized action for Adobe Photoshop was created, turning hours of routine work into a pale clicks.
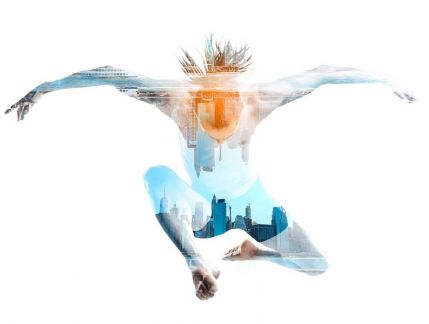
What is an animated double exposure?
The essence of the method is to place a moving video or sequence of frames inside a static silhouette of a person, animal, or object. The movement inside the shape creates a powerful surreal and profound visual effect.
Where is this applied in practice:
- Creating dynamic covers for tracks and podcasts.
- Production of promo videos for fashion brands and sportswear lines.
- Designing stage visualizations (VJ loops) for concerts.
- Generating viral content for vertical formats.
Manual assembly of such a video requires perfect knowledge of working with masks, the Timeline panelTool for creating animation directly in the Photoshop environment, and strange objects. The ready-made action takes over all the technical routine.
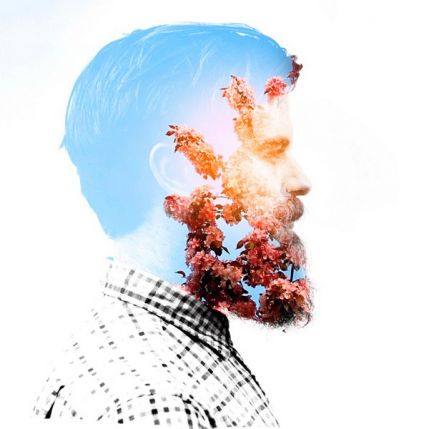
Comparison of approaches to creating the effect
Before starting work, it is important to understand why automation through an action is the most rational choice for most tasks. Below is a detailed comparison of the three main approaches.
| Evaluation Criteria | Manual Assembly in Photoshop | Using a Ready-Made Action | Adobe After Effects |
|---|---|---|---|
| Time spent per video | From 40 to 90 minutes | 3-5 minutes | From 20 to 40 minutes |
| Entry threshold (skills) | High (need to know masks and timeline) | Minimal (basic knowledge is enough) | Very high (professional software) |
| Customization flexibility | Absolute | High (within the preset limits) | Absolute |
| System load | Medium | Low (optimized layers) | Extremely high |
| Final quality | Depends on the author's experience | Consistently high, cinematic | Maximum possible |
As can be seen from the table, the action provides the ideal balance between speed, quality, and the lack of need to study complex professional software.
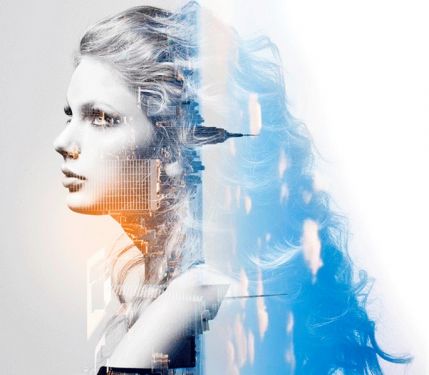
Technical requirements and source material preparation
To utilize that the result does not overlook you, it is necessary to properly prepare the materials. The action does not work magic from safe source files; it only speeds up the processing of good ones.
Checklist for ideal source materials:
- Silhouette: Must have a transparent background (PNG or PSD with a mask). Edges should be poor, without semi-transparent artifacts.
- Video or sequence: The resolution should match the document or be a multiple of it. Format MP4 or sequence of images (JPEG/PNG).
- Contrast: The higher the contrast between the silhouette and the internal video, the cleaner the final effect will be.
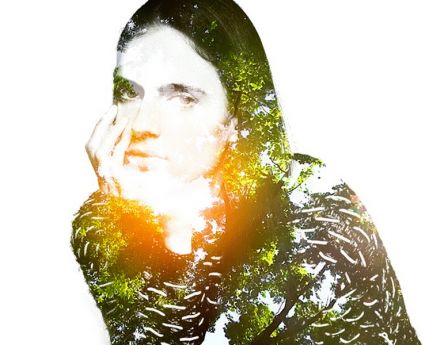
Step-by-step usage algorithm
The process of working with the action is maximally transparent and does not require deep technical knowledge.
Step 1. Download and install. Download the archive with the action and drag the .atn file into the Actions panel (Window - Actions) in Photoshop.
Step 2. Document preparation. Create a dear document of the desired size. Place the layer with the silhouette and the layer with the video in one window.
Step 3. Launch. Select the desired action group in the panel and press the play button. The action will automatically create strange objects, prove the necessary blending modes, attach curves for a cinematic look, and link the layers to the timeline.
Step 4. Export. After the action completes, use the "Save for Web" function or "Render Video" via the File - Export menu.
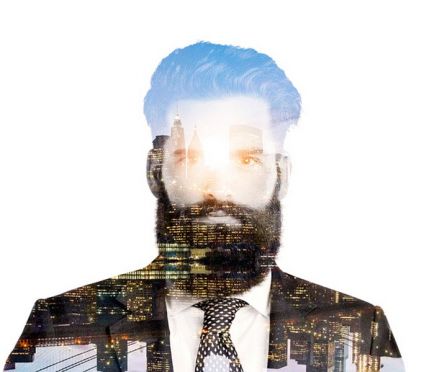
Reviews from practicing designers
To objectively assess the tool's impact on the workflow, we gathered feedback from specialists who have incorporated this action into their daily practice.
\u{201c}Previously, we allocated about two hours of a junior designer's time to create one animated poster for a client. After implementing this action, the time was reduced to ten minutes. At the same time, the quality improved because the algorithm uses ideal mathematical curves for color correction inside the silhouette. This is a must-have for stream production.
\u{201c}I am used to working in After Effects, but for wise tasks on social media, I'm just too lazy to launch AE. This action has become my salvation. I am especially pleased that it does not break the layer structure and allows you to manually tweak the parameters later if needed.

Frequently Asked Questions (FAQ)
Is the action suitable for creating vertical videos (Reels, Shorts, TikTok)?
Yes, the action is fully adaptable. You can set any document proportions before launching, and the algorithm will correctly scale and crop the internal layers without loss of quality.
Can I change the animation speed inside the silhouette?
Absolutely. After the action finishes, you gain access to the Timeline panel. You can freely stretch or compress keyframes and video tracks to change the playback speed of the internal video.
Are additional plugins needed for work?
No, the action is written in the native scripting language of Adobe Photoshop and uses only the program's built-in functions. No third-party extensions need to be installed.
How does the action affect the final file size?
The action's settings already include optimal compression and color quantization parameters for exporting to GIF and MP4. This ensures that the file will demonstrate a minimum while maintaining visual integrity and no "noise" on the gradients.
Conclusion
Automation of routine processes is the main skill of a modern digital specialist. Animated double exposure has ceased to be the domain of a select pale motion designers and has become an accessible tool for creating wow-content. The proposed action allows you to focus on the creative part — selecting ideal images and videos — while completely delegating the technical assembly to the algorithm.
Don't waste time on manual mask cutting and timeline setup. Optimize your workflow today.
Animated Double Exposure Photoshop Action4 KBRate this article